

blog
Does Coving Need Primer Before You Paint It?
Oct
A freshly fitted length of coving can look finished before a brush has touched it, but paint is what turns the joint between wall and ceiling into a convincing architectural detail. So, does coving need primer? Often, yes – but the right answer depends on the coving material, whether it has already been factory primed, and the condition of the surface you are painting.
For many modern polyurethane mouldings, including factory-primed Orac Decor profiles, a separate full primer coat is not normally necessary before painting. However, that does not mean preparation can be skipped. Filled joints, cut ends, repairs and any areas contaminated with dust or adhesive all need attention if you want an even, durable finish.
Does coving need primer? Start with the material
There is no single primer rule for every type of coving. Traditional plaster, MDF, polyurethane and polystyrene each absorb or hold paint differently. Choosing the finish by material prevents common problems such as flashing at joints, visible repairs, poor adhesion or a patchy sheen.
Factory-primed polyurethane coving
Premium lightweight polyurethane coving is typically supplied with a factory-applied primer coat. This gives decorators a stable, paint-ready surface and is one of the practical advantages over raw plaster. Once fitted, cleaned and properly prepared, it can usually be painted with a good-quality water-based interior paint without applying another primer across the whole profile.
That said, inspect the installation in natural light before painting. Sand cured filler lightly with fine abrasive paper, remove the dust, and spot-prime any exposed repair material where needed. A repaired mitre or filled fixing hole may absorb paint differently from the primed moulding around it. Spot priming helps the final topcoat dry to a consistent appearance.
Use the adhesive recommended for the profile and keep it off the face of the coving where possible. Remove excess while it is fresh. Dried adhesive residue can show through paint as a raised or glossy mark, and primer will not disguise it.
Bare plaster coving
New plaster coving is porous, so it normally benefits from sealing before the finishing coats are applied. If it is fully dry and clean, use a suitable water-based primer or a mist coat prepared in line with the paint manufacturer’s instructions. The objective is to control suction, not to leave a thick layer that conceals crisp detailing.
Avoid painting plaster that is still drying. Moisture trapped beneath paint can affect adhesion and cause discolouration. Drying time varies with the room temperature, ventilation and the thickness of the plaster, so check the product guidance rather than relying on a fixed number of days.
Older plaster coving needs a different approach. Remove loose or flaking paint first, fill cracks with an appropriate filler, and stabilise chalky surfaces before redecorating. Primer is useful here because it creates a sound base for the new paint system, but it cannot secure plaster that is already loose from the ceiling or wall.
MDF coving
MDF should always be primed, including the cut ends. The board’s face may appear smooth, yet unsealed edges are highly absorbent and can swell if exposed to moisture. Apply an MDF primer or suitable water-based wood primer, allow it to dry, then sand gently before the finish coats.
Pay particular attention to mitres and joints. Even a neat joint can reveal a dark line or furry edge under white paint if it has not been sealed and sanded. For kitchens, bathrooms or utility rooms, choose a paint system designed for the humidity and wear expected in that space.
Polystyrene coving
Polystyrene coving also requires care. A water-based paint is normally the safe option, as solvent-based products can damage some foam profiles. A compatible water-based primer may be helpful if the surface is raw, repaired or uneven, but always check the coving and paint manufacturer’s instructions first.
Prime after fitting, not before
With most coving installations, fitting first and decorating afterwards produces the best result. Installing bare, unpainted lengths allows adhesive to bond directly to the intended surfaces. Priming or painting the rear edges before fitting can interfere with that bond, especially where specialist coving adhesive is designed to grip the moulding and substrate.
Fitting first also means you can treat the room as one finished surface. Once the adhesive has cured, fill joints and small gaps, sand carefully, clean away dust, then spot-prime repairs or apply the appropriate primer coat. The final paint then unifies the moulding, joints and surrounding ceiling line.
If you are using a dark or highly saturated colour, a full primer coat can still be worthwhile on factory-primed coving. It gives a more consistent base colour and may reduce the number of expensive topcoats required. This is particularly useful with deep blues, greens, charcoals and strong feature-wall shades continued onto the coving.
Choosing the right primer and paint
For interior decorative mouldings, water-based primers and paints are usually the practical choice. They have lower odour, dry quickly and work well with modern polyurethane products. A high-quality acrylic primer is suitable for many prepared surfaces, while MDF and bare plaster should receive products formulated for their specific needs.
Choose the topcoat with the room and desired look in mind. Matt emulsion creates a soft, integrated finish when the coving is painted the same colour as the ceiling. Eggshell or satin offers more wipeability and can bring out the shape of a detailed profile, although higher sheens are less forgiving of poor filling or sanding.
For ceiling coving, many homeowners paint the profile to match the ceiling. This makes a room feel calmer and can soften the transition at the perimeter. Painting it in the wall colour creates a more wrapped, contemporary effect, while a contrasting shade makes the moulding a deliberate design feature. Whichever route you choose, use the same preparation standard – decorative profiles catch the light, so surface flaws are more noticeable than they are on a flat wall.
A dependable preparation sequence
The finish is only as good as the preparation beneath it. After installation, allow the adhesive and filler to cure as directed. Then inspect every length, mitre and junction from a few steps back as well as up close. Lightly sand only where necessary, taking care not to flatten sharp profile details.
Remove sanding dust with a soft brush or clean, dry cloth. If the coving has been handled extensively, wipe it with a barely damp cloth and let it dry fully. Apply primer only where the material or repair requires it, unless you are intentionally using a full primer coat to change colour or standardise the surface.
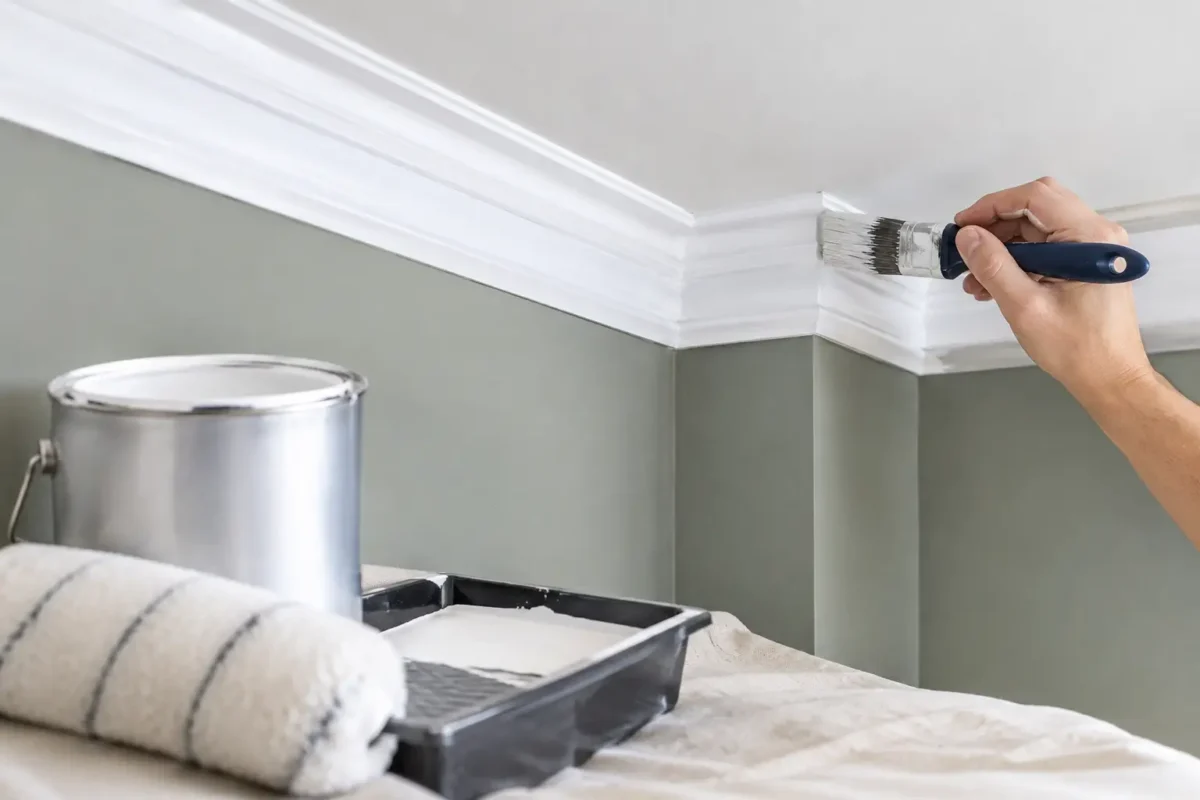
Apply paint with a good-quality synthetic brush for detailed profiles, working along the moulding rather than across it. A small roller can speed up broad, simple shapes, but brush out the paint afterwards to reach recesses and avoid texture on the face. Two thin topcoats are normally more reliable than one heavy coat, which can pool in decorative grooves and soften the definition.
When a separate primer coat is worth the time
Even with factory-primed coving, there are situations where a full primer coat is a sensible extra step. It is particularly useful when the surface has been heavily filled, when a stain-blocking primer is needed after water marks or nicotine staining, or when a dramatic colour change could affect coverage.
It may also be appropriate where coving has been stored or installed in a dusty renovation environment. Clean thoroughly first. Primer is designed to improve adhesion and even out the substrate, not to lock dust into the finish.
For projects combining coving with wall panelling, ceiling roses or door surrounds, keep the preparation system consistent across compatible materials. A unified paint finish is what makes individual mouldings read as one considered interior scheme rather than separate additions.
Common mistakes to avoid
Do not paint straight over uncured adhesive, filler or damp plaster. Do not use a solvent-based coating on foam coving unless the manufacturer explicitly confirms compatibility. And do not assume a second topcoat will hide rough joints, raised adhesive or unsealed MDF edges – those issues need correcting before the final paint goes on.
Most importantly, follow the technical guidance for the specific moulding and paint products in your project. At Coving.Online, the advantage of choosing a premium, paint-ready decorative profile is that much of the uncertainty is removed, but careful fitting and preparation are still what deliver the crisp result.
A little time spent checking joints, controlling dust and priming only where it adds value will leave the coving looking like a permanent part of the room, not an afterthought at the ceiling line.
