

blog
Coving Adhesive Review for Stronger, Cleaner Fits
Oct
A good coving adhesive review needs to look beyond whether a tube holds a length of coving to the ceiling. The real test is whether it gives you enough working time to set a clean line, fills minor imperfections, keeps joints tight as the room changes temperature, and leaves a finish worth painting. For lightweight polyurethane coving, the adhesive is not an optional extra. It is a major part of the installation system.
This matters particularly with premium mouldings. A crisp profile can transform an ordinary ceiling line, but poorly chosen adhesive can create open joints, visible gaps and unnecessary remedial work. The right product makes fitting more controlled for a first-time DIYer and more efficient for a trade installer working to a programme.
What a coving adhesive must do
Traditional plaster coving is heavy and generally fixed with mechanical support as well as a suitable adhesive. Lightweight polyurethane coving is different. It needs an adhesive formulated to bond securely to common interior substrates, including plaster, plasterboard, primed walls and sound painted surfaces.
A worthwhile coving adhesive should provide initial grab without setting so quickly that you cannot adjust the moulding. It should also have body. Walls and ceilings are rarely perfectly flat, especially in older properties, and a thin, runny adhesive will not compensate for small voids at the edge of the profile.
The second job is just as important: joining lengths. Mitred corners and straight joints need a dedicated joint adhesive where specified, rather than relying solely on the product used to stick the coving to the wall and ceiling. This distinction is easy to overlook, but it is often the difference between a joint that stays discreet and one that opens after decoration.
Coving adhesive review: the main product types
There is no single best adhesive for every room and every surface. The correct choice depends on the moulding material, the substrate, the size of the profile and whether you are bonding a length in place or joining two pieces together.
Installation adhesive for porous surfaces
For most interior coving installations, a water-based acrylic installation adhesive is the practical starting point. Products such as Orac Decor DecoFix Pro are designed for fitting lightweight mouldings to porous surfaces, including bare plaster, plasterboard and suitably prepared walls.
Its main advantage is control. It has enough grab to hold the moulding in position while allowing a short period for alignment. It can also help fill small irregularities along the ceiling or wall edge, which is useful in renovation work where surfaces are not perfectly true.
This type of adhesive is best suited to dry internal rooms with sound, absorbent substrates. It is not a cure for loose paint, dusty plaster or damp walls. If the surface is compromised, the adhesive can only bond to the weak layer beneath it. Preparation remains essential.
High-strength adhesive for difficult surfaces and joints
A solvent-free polymer adhesive, such as Orac Decor DecoFix Extra, is intended for more demanding applications. It is commonly used for non-porous surfaces, high-stress areas and moulding joints. It offers a stronger, more flexible bond than a standard acrylic fitting adhesive, which is particularly valuable at mitres and butt joints.
For trade users, this is often the product that prevents avoidable call-backs. A properly bonded joint is less likely to separate as building materials move slightly through seasonal temperature and humidity changes. It also works well where a profile meets a less absorbent surface, provided that surface is clean, dry and stable.
The trade-off is that high-strength adhesive can be less forgiving. It grips more decisively, so dry fitting, marking the line and checking the mitre before application become even more important. Use it neatly and remove excess immediately with the method recommended for the product, rather than leaving it to cure around the profile edge.
Why general grab adhesive is a compromise
A generic grab adhesive may appear to be a cheaper shortcut, particularly for a small room. Sometimes it will hold lightweight coving, but it is rarely the most dependable choice for a premium finish. Thickness, cure time, flexibility and paintability vary considerably between brands.
Some general-purpose products are difficult to smooth, may shrink, or do not perform as well at joints. Others are unsuitable for particular foam-based materials or can discolour if used carelessly. When fitting decorative mouldings that are designed to last for years, using the manufacturer-recommended adhesive system is the sensible approach.
What affects adhesive performance in real rooms
The condition of the substrate matters more than many people expect. New plaster must be fully dry, clean and properly prepared. Flaking paint should be removed, glossy painted areas should be lightly abraded where appropriate, and dust must be cleared away. Applying excellent adhesive onto a dusty ceiling is still a poor installation.
Room conditions also make a difference. Do not fit coving onto surfaces affected by active damp or condensation. Resolve the moisture issue first. In bathrooms, kitchens and utility spaces, choose products suitable for the room conditions and pay closer attention to the specification of both the moulding and adhesive.
Profile size is another consideration. A compact coving profile puts less demand on the bond than a deep cornice or a large-format LED lighting profile. Larger pieces have more surface area, but they also have greater leverage and may need more careful support while the adhesive takes hold. Long runs should be planned before opening the cartridge, with cuts checked and the fixing order decided in advance.
How to get the best result from your adhesive
Start by offering each length up dry. Mark the wall and ceiling position lightly, check corners, and make sure the profile sits consistently along the room. This is the point to identify a bowed wall or ceiling dip, not after adhesive has been applied.
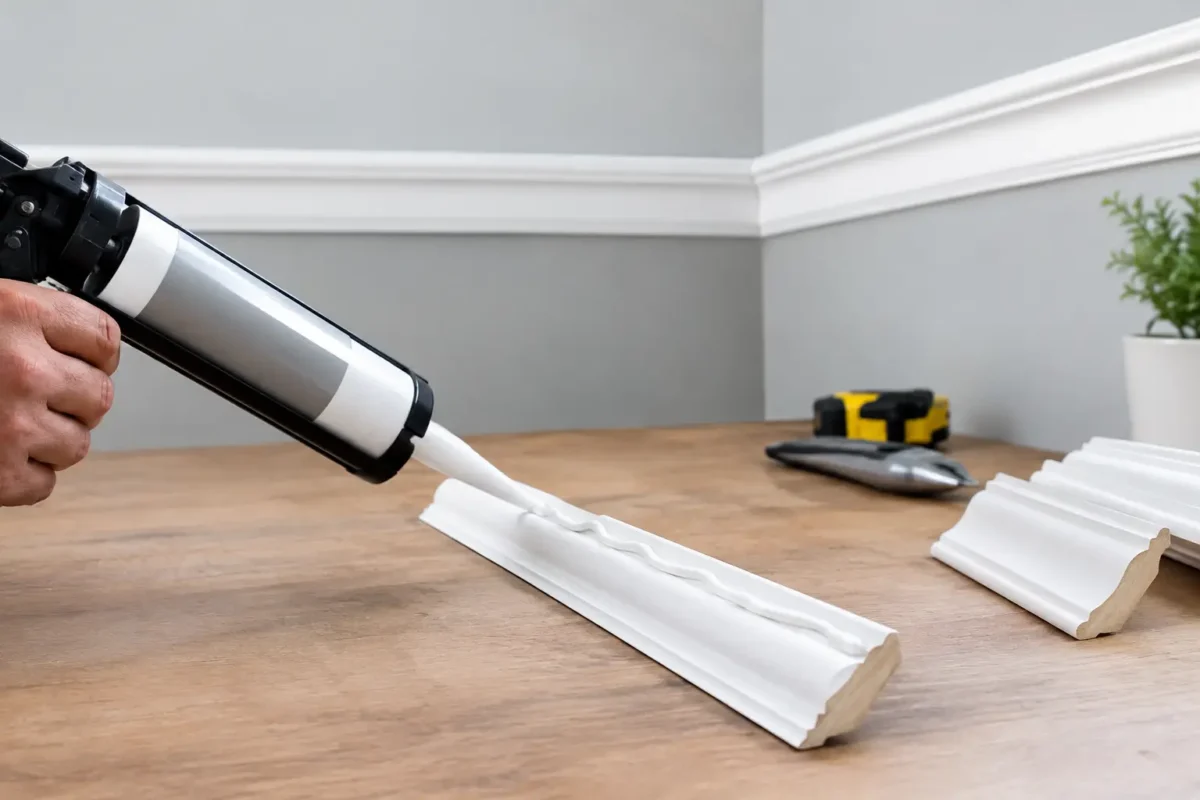
Apply installation adhesive in continuous beads along the contact surfaces of the coving. Avoid sparse dots, as these can leave unsupported sections and make it harder to achieve an even edge. Press the moulding firmly into place, then make small adjustments to follow your guide marks.
For a professional-looking finish, deal with squeeze-out straight away. Smooth it into minor perimeter gaps where appropriate, but do not simply spread large amounts across the face of the moulding. Keep a clean cloth and the appropriate cleaning materials to hand. Once adhesive has cured, removal is slower and risks damaging the finished surface.
At joints, use the specified joint adhesive on both mating faces. Bring the pieces together firmly, wipe away excess and ensure the profile detail is aligned before the bond develops. A neat joint at installation stage needs far less filling and sanding before painting.
If the coving does not sit tight because a wall is badly uneven, do not force it and hope for the best. Assess whether small gaps can be filled acceptably, whether the substrate needs local repair, or whether temporary support is needed while the adhesive cures. The right solution depends on the scale of the irregularity and the profile being fitted.
For a single small project, adhesive can feel like a minor purchasing decision. In practice, it protects the much more visible investment: the moulding, the labour and the final decorated room. Saving a small amount on the wrong cartridge makes little sense if a mitre opens after painting or a long length needs refitting.
Premium installation and joint adhesives are formulated around the behaviour of lightweight decorative mouldings. They offer predictable application, compatible bonding and a finish that is easier to prepare for paint. That consistency is valuable for homeowners fitting their first feature cornice and for professionals who need reliable results across multiple rooms.
Coving.Online recommends selecting adhesive according to the moulding, substrate and room rather than treating all cartridges as interchangeable. If you are combining coving with wall panelling, LED profiles or ceiling roses, planning the adhesive requirements for the whole scheme before installation helps avoid delays and mismatched products.
The best adhesive is the one that suits the surface in front of you, not simply the strongest product on the shelf. Prepare carefully, use a dedicated joint adhesive where required, and take time to clean every edge while it is still workable. Your coving will then look like a permanent part of the room, rather than an addition fitted in a hurry.
