
blog
Decorative Trim for Media Walls That Looks Built-In
Oct
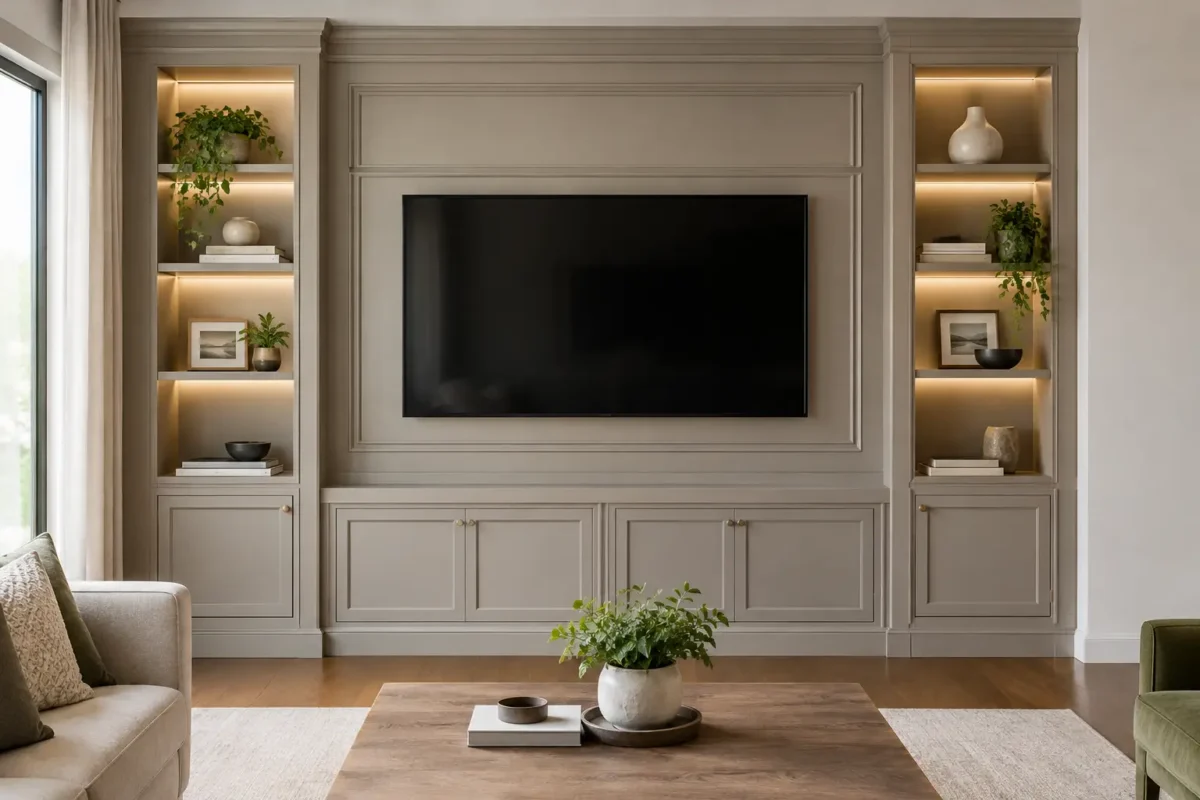
A media wall should look like part of the room, not like a television has been placed into a box. Decorative trim for media walls creates that considered, built-in appearance by framing screens, fireplaces, shelving and recessed details with clean architectural lines. It is a practical way to add character to a modern feature wall while bringing the proportions of the whole composition under control.
For homeowners, designers and installers, the right moulding can turn a straightforward stud-wall build into a premium focal point. The key is choosing profiles that suit the room, planning the layout before fixing anything, and using materials designed for reliable interior installation.
Why add decorative trim to a media wall?
Media walls combine several visual elements in one place: a large black screen, a fire opening, sockets, cables and often alcoves or shelving. Without a clear framework, these elements can feel disconnected. Trim introduces intentional borders, shadow lines and transitions that make the design feel finished.
A simple panel moulding around the television recess can provide definition without making the wall overly traditional. Wider stepped profiles can create a stronger frame around a fireplace and TV arrangement. Cornice or ceiling mouldings can then carry the detail upwards, helping a full-height media wall look properly integrated with the ceiling rather than abruptly stopping at it.
The benefit is not purely decorative. Lightweight mouldings can also disguise minor irregularities where plasterboard, joinery or wall finishes meet. They provide a neat edge around painted panels and can help conceal the small expansion gaps that are sensible in a timber-based media-wall construction.
Start with proportions, not a moulding profile
The most common mistake is selecting a trim because it looks good in isolation, then trying to make it fit the wall. A media wall is a composition, so the dimensions should come first.
Mark the television position, fire aperture, shelving and intended trim lines on the wall with low-tack tape. Stand back from the normal seating position and assess the spacing. The frame around a TV recess should feel generous enough to be intentional, but not so wide that it makes a modest screen appear undersized. Equally, shelves need sufficient breathing room between their edges and any surrounding trim.
Consider the room height too. In a lower-ceilinged lounge, slim wall mouldings and shallow profiles tend to be more convincing than deep, elaborate forms. Taller rooms can carry larger details, particularly where a media wall spans the full height. If the room already has ceiling coving, use it as a guide: matching or complementing its scale usually produces a more coherent result.
Keep the television practical
A well-detailed media wall still needs to work day to day. Leave suitable ventilation around the television and any AV equipment, following the manufacturer’s guidance. Plan access to sockets, cable routes and brackets before the face of the wall is closed.
Trim must never obstruct ventilation slots, access panels or the articulation of a wall mount. If the TV is set into a recess, check that there is enough space to remove or service it later. A fixed decorative frame is attractive, but it should not turn a simple cable change into a rebuilding job.
Choosing the right decorative trim for media walls
The best profile depends on whether the wall needs subtle definition or a more decorative, traditional finish. In contemporary interiors, clean-lined panel mouldings and square-edged profiles are often the strongest choice. They create depth through light and shadow while keeping attention on the screen and fire.
For period homes or more formal rooms, an ogee, stepped or classically detailed profile can tie the media wall into existing cornice, dado rails or wall panelling. The detail should be repeated elsewhere in the room where possible. One isolated ornate frame on an otherwise plain wall can look added on rather than designed in.
Lightweight polyurethane mouldings are particularly well suited to this application. Premium profiles such as Orac Decor mouldings are durable, stable, lightweight to handle and ready to paint. Compared with traditional plaster, they are far less prone to damage during transport and fitting, and they are practical for retrofit projects where access may be restricted.
Material choice still depends on the location. Standard decorative mouldings are suitable for most dry living spaces. If the media wall is close to a kitchen or in a room with variable humidity, choose a product specified for the conditions and ensure the wall substrate is dry, sound and properly prepared.
Plan the detail around lighting and texture
LED lighting is often what gives a media wall its evening impact, but it needs to be designed as part of the moulding layout. An LED profile can wash light across a textured finish, illuminate shelving or create a soft line at the ceiling. Positioning matters: a strip that is visible from the sofa can cause glare, while a concealed source directed onto the wall creates a much calmer effect.
If you are using slatted panels, stone-effect boards, microcement or wallpaper behind the television, decorative trim can act as a transition between materials. A narrow profile around the feature finish gives it a deliberate edge and avoids awkward cut lines. On a painted media wall, consider using one colour across both trim and background for a quieter, more architectural result. A contrasting colour will make the profiles more prominent, which can work well in rooms with strong existing joinery or panelling.
Do not add every possible feature. A fire, floating shelves, LED channels, fluted panels and heavy trim can compete for attention when combined. Usually, one dominant texture and one clear decorative framing detail are enough.
Fitting trim for a professional finish
Successful installation begins with a flat, clean surface. Fill and sand visible board joints, remove dust, and prime porous areas where required. Dry-fit every length before applying adhesive, especially around mitres and fire openings. This is where a layout marked carefully in advance saves time and avoids waste.
Use the correct adhesive for the moulding and substrate, rather than relying on generic grab adhesive. A dedicated product provides the working time and bond strength needed for lightweight architectural mouldings. Apply adhesive evenly, press the profile firmly into position, and remove excess before it cures. Internal and external joints should be aligned closely, filled where necessary and sanded once dry.
Mitres deserve particular care. Even walls that appear square can be slightly out, so measure the real angle rather than assuming every corner is 90 degrees. On long runs, stagger joints where practical and keep them away from highly visible focal points. A fine bead of paintable decorator’s caulk at the wall edge can complete the transition, but it should not be used to hide poor alignment.
Allow adhesives, fillers and caulk to cure fully before painting. A quality primer and finish coat will help create an even result, particularly where trim meets newly plastered or previously painted walls. For the sharpest look, paint the mouldings after fitting rather than attempting to finish individual lengths beforehand.
When to involve an installer
Many straightforward moulding layouts are suitable for competent DIY fitting. Lightweight products make cutting and handling much more manageable than plaster, particularly for a single feature wall. However, professional installation is worth considering where the design includes multiple LED channels, complex joinery, oversized profiles, a working fireplace or extensive mitred panelling.
An installer can coordinate the sequence of work with electricians, media-wall builders and decorators. This matters because trim is usually one of the final elements, yet its position may need to be allowed for at the framing stage. Coving.Online can provide specialist product guidance and installation support, helping ensure the moulding choice works with the wider build rather than being treated as an afterthought.
A detail that earns its place
Decorative trim works best when it solves a visual problem: it frames a recess, softens a transition, carries a room’s existing architectural language or gives the television wall the finish it deserves. Choose a profile with a clear purpose, set out the proportions carefully, and let the detail support the room rather than dominate it. The result is a media wall that still feels considered long after the screen is switched off.
