

Home Decor
Adhesive Drying Time for UK Coving: Why Some Bonds Need 24 Hours
Oct
Drying is the physical loss of water or solvent from an adhesive, while curing is the chemical process that builds its final strength. In practical terms, most PVA and acrylic adhesives allow careful handling within about an hour and reach full strength around 24 hours, while two-part epoxies and polyurethanes can take anywhere from several hours to a few days depending on temperature and joint thickness. Temperature, humidity and the surface you are bonding to are the three factors that move these windows the most.
TL;DR:
- Paint porous surfaces bonded with Orac DecoFix Pro after 24 hours, once they are dry and free of dust and frost; remove excess while soft.
- Two part epoxy performance depends on a correct mix ratio and temperature; thicker polyurethane joints take longer to cure through.
- Near 4 to 5°C, PVA and acrylic curing slows sharply; humidity slows adhesives that dry through evaporation but can help polyurethane sealants react.
- Bring adhesive and profiles into the room at working temperature 24 hours before fitting, and use light support rather than full clamping pressure initially.
Table of Contents
- Drying versus curing: the stages every installer should know
- Typical drying and curing times by adhesive family
- What changes those times on site
- How to speed up handling safely without cutting corners
- Installer guidance for coving, cornice and skirting
- Why accurate drying schedules improve finish quality
- How we can help you get the timing right
- FAQ
- Sources
Drying versus curing: the stages every installer should know
Confusing these two processes is the most common reason installations go wrong on site. Drying refers to solvent or water leaving the adhesive film, which is what happens with PVA, wood glues and water-based acrylics. Curing is a chemical reaction, typically crosslinking, that builds the adhesive’s rated strength over time, a distinction a guide to adhesive curing sets out clearly.
Within that broad split, every adhesive passes through recognisable stages:
- Open time: the window in which you can still position and adjust the piece.
- Tack or flash-off time: the surface begins to skin over and loses its wet slip.
- Set or handling time: the bond holds its own weight without clamps, though it is not yet at full strength.
- Full cure: the adhesive reaches its rated mechanical strength and resistance to moisture.
You might be able to handle a joint after an hour but still need to wait a full day before loading it, painting over it or exposing it to water. Evaporation-based adhesives slow down once the surface skins over, because moisture trapped underneath has further to travel, whereas chemically curing adhesives continue reacting regardless of how dry the surface looks.
Typical drying and curing times by adhesive family
Realistic scheduling depends on knowing which family you are working with, since the gap between “touch dry” and “fully cured” varies enormously across products.
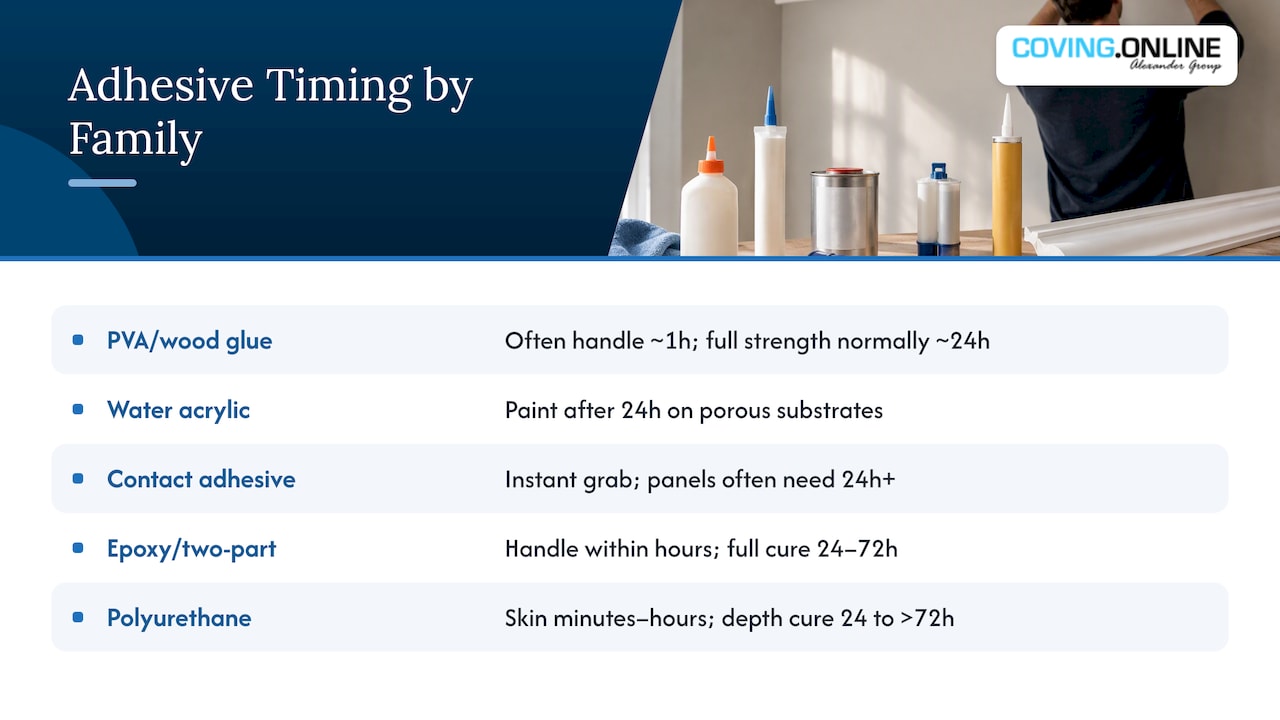
PVA and wood glues are the most forgiving. Careful handling is often possible after about an hour in good conditions, and full bond strength is normally reached around 24 hours, though cold or humid conditions stretch this considerably.
One in four installation delays traces back to misjudging adhesive readiness rather than the adhesive itself. Temperature and humidity swings on site, not the product, are usually what pushes a job off schedule, which is why checking conditions before you start is worth the extra five minutes.
Water-based acrylics, including Orac DecoFix Pro, behave similarly to PVA but are formulated for moulding profiles. Handling is usually possible sooner, and the manufacturer’s guidance allows painting after 24 hours on porous substrates, provided surfaces are dry, dust-free and frost-free.
Contact adhesives grab almost instantly, which is useful for positioning panels and laminates, but reaching maximum bond strength takes longer. Correct pressure across the full surface matters more than speed here, and panelling often needs 24 hours or more to settle fully before you load or trim it.
Epoxy and two-part adhesives can often be handled within a few hours of mixing, but the chemical cure depends heavily on temperature and getting the mix ratio right. Structural epoxies commonly state a full cure of 24 to 72 hours, so checking the pack instructions before committing to a schedule saves a wasted day.
Polyurethane adhesives and sealants form a skin within minutes to a few hours, but depth cure, the point at which the full joint thickness has reacted, can run from 24 to beyond 72 hours depending on how thick the joint is and how much humidity is available to drive the cure.
What changes those times on site
Several variables sit within your control, and adjusting them can shorten a wait or prevent a failed bond altogether.
- Temperature: most PVA and acrylic adhesives have a minimum application temperature around 4 to 5°C, and cure time lengthens sharply as you approach that floor rather than slowing in a straight line.
- Humidity: higher humidity slows water-based adhesives because there is less capacity for moisture to evaporate, though it can help some polyurethane sealants cure faster since they rely on airborne moisture to react.
- Substrate porosity: porous surfaces such as plaster or timber draw moisture out faster and shorten working time, while non-porous substrates like uPVC or gloss-painted surfaces slow drying and can extend your handling window.
- Layer thickness and overapplication: a thicker bead takes longer to dry or cure right through, and over-applying adhesive is one of the more common site habits that stretches a 24-hour job into 48. Following the manufacturer’s stated coverage rate rather than guessing avoids this.
- Storage and acclimatisation: adhesives and moulding profiles kept outside or in a cold van will cure unpredictably once fixed. Bringing both into the room at working temperature for 24 hours beforehand, in line with Orac’s installation guidance, gives far more consistent results, a point also worth checking alongside our guide to preparing uneven walls and ceilings before fixing begins.
Substrate choice matters even on secondary surfaces: a partner guide on preparing uPVC for paint is a useful reference when a job involves bonding to non-porous trims alongside plaster mouldings.
How to speed up handling safely without cutting corners
There is a difference between working efficiently and rushing a bond past its safe limits, and the techniques below sit firmly in the first category.
- Acclimatise adhesives and profiles at room temperature for 24 hours before you start, rather than opening a cold tube straight from the van.
- Ventilate the room well; moving air helps water-based adhesives dry evenly without forcing a skin to form before the body of the adhesive has released its moisture.
- Avoid pointing a heater or hairdryer directly at a fresh joint or profile, since uneven heating can warp polyurethane mouldings or cause the surface to skin before the adhesive underneath has dried.
- Offer light support, such as masking tape or a temporary prop, rather than full clamping pressure, until the product’s stated handling time has passed.
- Remove excess adhesive within the manufacturer’s window: DecoFix Pro with a damp sponge before it hardens, and DecoFix Extra within an hour, repeating the check two to three hours later as Orac’s manuals describe.
Specialist accelerators or heated curing ovens belong in industrial production lines, not household or trade installation work, where room-temperature patience and good ventilation do the job just as reliably.
Pro Tip: Keep a small offcut of the same profile on site and test your adhesive on it first when you are working in an unfamiliar room temperature, so you are not guessing at handling time on the actual installation.
Installer guidance for coving, cornice and skirting
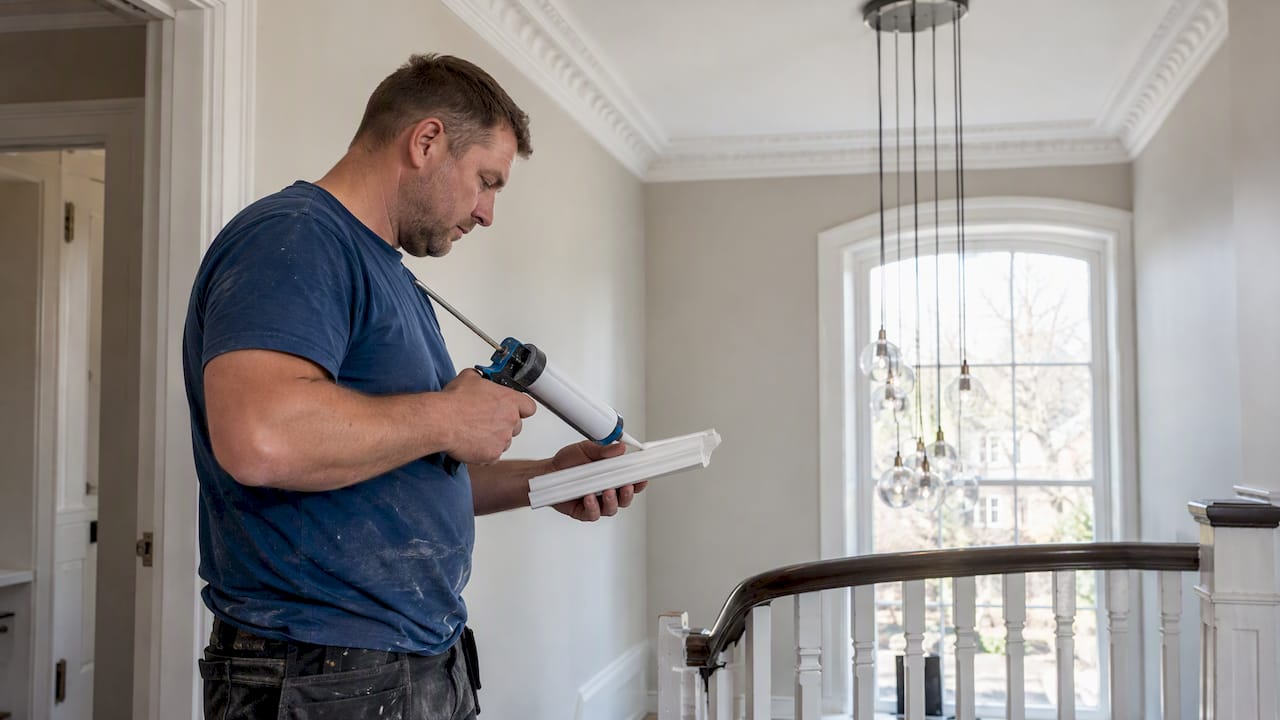
For indoor coving, cornice and skirting work on porous plaster or plasterboard, we recommend Orac DecoFix Pro, which the manufacturer’s data allows to be painted after 24 hours once surfaces are dry, dust-free and frost-free. Store both the adhesive and the profiles at room temperature for 24 hours before fitting, since a cold profile slows the adhesive’s contact with the wall and can cause patchy drying.
- Remove excess DecoFix Pro with a damp sponge while it is still soft, before it skins over.
- With DecoFix Extra, clear excess within the first hour and check again two to three hours later, using acetone or a synthetic thinner for anything that has begun to harden.
- Offer light support rather than full clamping pressure during the first hour, and keep the joint away from water or heavy cleaning until the stated cure time has passed.
Carl’s Installer Tip: In our experience, the single biggest cause of marked or lifted coving joints is painting too early. We’ve found that waiting the full 24 hours before the first coat, even when the adhesive looks dry to the touch, gives a far cleaner finish and avoids the faint shadow lines that show through emulsion applied too soon. Once you are ready to decorate, our guide on painting coving like a pro sets out the trade sequence in full.
Why accurate drying schedules improve finish quality
Rushing an adhesive rarely saves real time; it mostly moves the delay to a repair job later. A sensible rule of thumb is to plan for handling within an hour, light support for the first few hours, and a full day before painting or loading. When you are trying an unfamiliar adhesive or substrate, a small test bond costs nothing and tells you far more than the datasheet alone. For larger or more intricate rooms, arranging professional fitting removes the guesswork entirely.
— Carl
How we can help you get the timing right
Getting adhesive timing right matters most when you are fitting premium profiles, which is why we stock Orac Decor and NOËL & MARQUET ranges alongside the compatible adhesives that match their technical guidance. Choosing the right product from the outset means fewer surprises on site and a finish that holds up for years rather than months.

- Browse our adhesives and installation accessories to find the product matched to your profile and substrate.
- If you would rather hand the timing and fitting over to someone else, our Elite Decor UK installer network can arrange professional fitting for coving, cornice, skirting and panelling projects.
- Explore our panelling and ceiling rose ranges if you are planning a wider room refresh alongside your coving.
Visit our installation page today to request a quote or check availability in your area.
FAQ
How to speed up adhesive curing?
Keep the room at a stable, moderate temperature and acclimatise both the adhesive and the material for 24 hours before use, since cure speed drops sharply near an adhesive’s minimum application temperature. Good ventilation and correct coverage, rather than extra heat, give the most reliable improvement.
Do I have to wait 24 hours for wood glue to dry?
Careful handling is often possible after about an hour in good conditions, but full bond strength is normally reached around 24 hours. Cold or humid rooms can extend this well beyond a day, so it is worth checking conditions rather than assuming a fixed time.
Does heat make adhesive dry faster?
Moderate warmth and good airflow can help water-based adhesives dry more evenly, but direct high heat from a heater or hairdryer risks skinning the surface before the adhesive underneath has released its moisture. Manufacturer guidance for products like EVO-STIK Wood Glue Interior sets a minimum working temperature rather than a maximum push for speed.
How long does it take for PVA adhesive to dry?
Standard PVA adhesives typically allow careful handling after about an hour and reach full bond strength in roughly 24 hours under normal room conditions. Lower temperatures or higher humidity will extend both figures.
Sources
- Orac installation manual: DecoFix guidance
- Screwfix guide: how long wood glue takes to dry
- Bostik PVA technical data sheet (UK)
- EVO-STIK Wood Glue Interior technical data
Recommended
- Keep Your Warranty: Fix Polyurethane Coving Using Approved Adhesives
- Save Your Finish: UK Adhesive Cleanup Starts With Peel, Not Solvents
- Work 300–400mm Sections to Remove Coving Safely in UK Homes
- DIY Coving Installation – Step-by-Step Guide
