

blog
How to Install Flexible Cornice on Curved Walls
Oct
A curved bay, arched opening or rounded feature wall should not mean compromising on decorative detail. Flexible mouldings are made for these areas, allowing you to install flexible cornice where a standard rigid profile would resist the curve, crack or pull away from the wall. With accurate measuring, sound preparation and the right adhesive system, the finished line can look every bit as crisp as a conventional cornice installation.
Flexible cornice is particularly useful in period renovations, where bays and curved walls are common, but it also suits contemporary interiors with softened architectural shapes. The key is to treat it as a precision finish rather than simply bending a length of moulding into place.
Choosing the right flexible cornice profile
Start by selecting a flexible version of a profile that suits the room and its existing detailing. Many decorative moulding ranges offer matching rigid and flexible profiles, which is helpful when only part of the room has a curve. You can use rigid lengths on straight runs and flexible cornice around the bay or arch, maintaining one consistent design around the ceiling.
Check the product dimensions carefully. A deeper, more decorative profile makes a stronger visual statement in rooms with generous ceiling heights, while a smaller projection is usually more proportionate in a compact bedroom, hallway or modern extension. It is also worth confirming the minimum bending radius given for the individual profile. A moulding designed for a broad bay may not be suitable for a very tight column or small-radius curve.
Flexible polyurethane cornice offers a practical alternative to traditional plaster in these situations. It is lightweight, durable and supplied ready for painting, without the weight and brittleness associated with plasterwork. That does not remove the need for careful fitting, but it makes handling long curved lengths far more manageable for decorators, fit-out teams and confident DIY renovators.
Measure the curve before you order
Do not measure a curved run as though it were a straight line from one end to the other. Follow the actual wall-to-ceiling junction with a flexible tape measure, allowing for the full route the cornice will take. Add a sensible allowance for trimming, especially where the curved section joins straight lengths or meets an internal corner.
For large bays, make a simple template from paper, card or thin offcut material if the shape is irregular. This helps establish where joints will fall before adhesive is involved. Where possible, plan joints on straight sections rather than at the tightest point of a curve. A joint is easier to align, fill and finish when the moulding is not under bending pressure.
Before cutting, lay the cornice in position and check its orientation. Some profiles have a clear top and bottom, while others appear symmetrical until the detail is viewed closely. Mark the back of every length with its location and direction. This small step prevents an expensive mistake once the adhesive has been applied.
Prepare walls and ceilings properly
A flexible profile can follow a curve, but it cannot correct loose plaster, flaky paint or an unstable surface. The wall and ceiling need to be clean, dry, firm and free from dust, grease and wallpaper residue. Remove anything that could prevent the adhesive from bonding directly to a sound substrate.
Fresh plaster should be fully dry, and highly porous surfaces may need sealing in line with the adhesive manufacturer’s instructions. Very glossy painted surfaces should be lightly abraded where appropriate, then dusted down thoroughly. If the ceiling line is noticeably uneven, deal with the underlying problem first where practical. Adhesive can accommodate minor imperfections, but it should not be expected to bridge substantial gaps.
Use a pencil to mark the cornice position. Hold a short offcut of the profile in place and draw light guide lines along its lower edge on the wall and its upper edge on the ceiling. These lines keep the profile level and prevent it gradually wandering as you work around the curve. They are particularly valuable on bays, where the changing angle can make an installation look uneven even when the cornice is firmly fixed.
How to install flexible cornice accurately
Cut the lengths first and dry-fit each section. A fine-tooth saw and mitre box are suitable for many mouldings, although curved sections often need less traditional mitring than rigid cornice. Follow the profile-specific fitting guidance, particularly where flexible and rigid lengths meet. A clean, square, well-supported cut is usually more useful than forcing a complex mitre that does not match the curve.
Apply the specified installation adhesive in continuous beads to the contact areas on the rear of the cornice. Use the adhesive recommended for the product and substrate rather than substituting a general-purpose grab adhesive. Decorative moulding adhesives are designed to provide the required initial grip, working time and paintable finish, while compatible joint adhesive helps create strong, tidy joins between lengths.
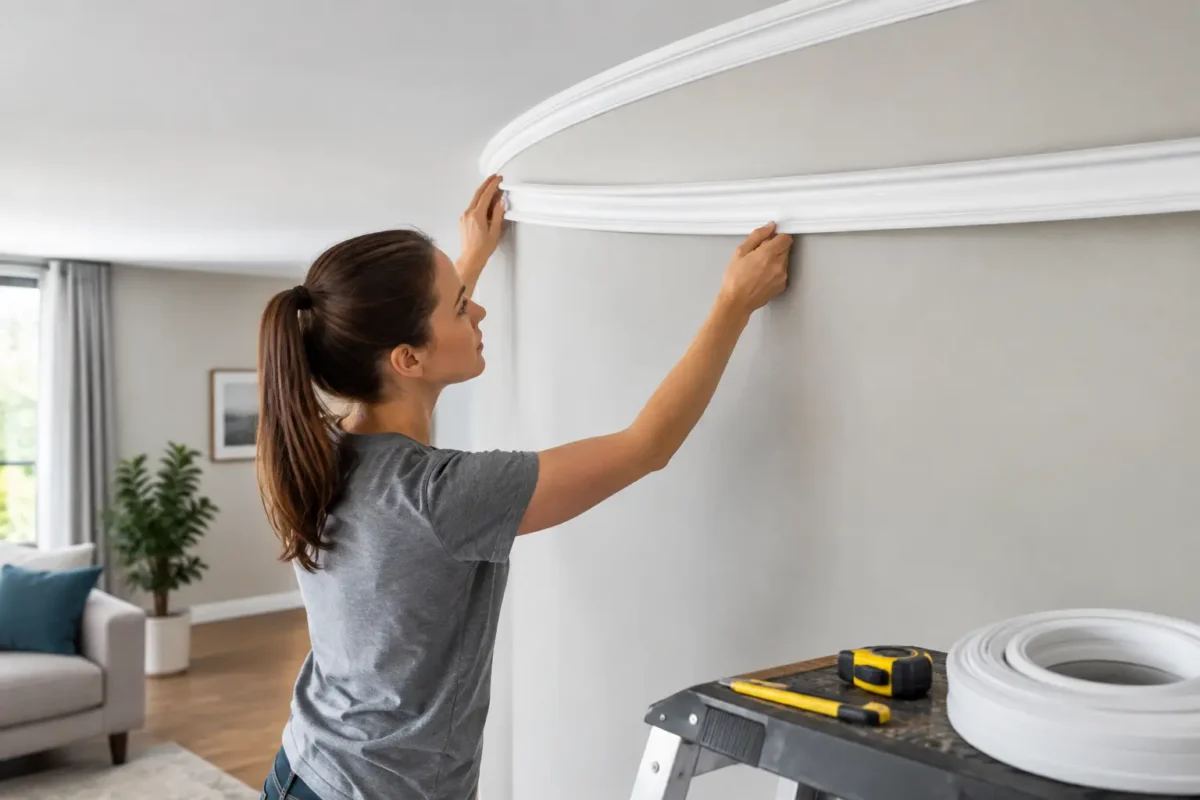
Offer the cornice up to the guide lines and press it into position progressively, starting at one end rather than trying to place the entire curved length at once. Work along the run with steady, even pressure so the profile follows the wall naturally. Do not force it into a radius tighter than its specification allows. If it is fighting the curve, stop and reassess the product choice or the shape of the substrate.
A second person is useful for long lengths, especially above a bay window. One installer can support and guide the profile while the other maintains the alignment marks and presses it home. Temporary pins, brad nails or masking tape can hold the moulding while the adhesive cures if the manufacturer permits this method. Avoid over-fixing or driving fasteners so deeply that they distort the face of the cornice.
Wipe away surplus adhesive immediately using a clean, damp sponge or cloth, following the adhesive instructions. Dried residue is much harder to remove and can show through the final paint finish. Check the line from several positions in the room before moving on. A profile that appears correct from directly below can reveal a slight dip when viewed from the doorway.
Joining flexible and rigid lengths
Where a flexible length meets rigid cornice, the join should sit on a stable, well-supported section of wall or ceiling. Apply the appropriate joint adhesive to both cut faces, press them together firmly and remove any squeeze-out. Keep the profile faces perfectly flush while the adhesive grabs.
For the least visible result, use a joint filler or adhesive that can be sanded and painted once cured. Fine finishing is what makes a decorative moulding installation look intentional rather than pieced together. Do not rush this stage: even a small lip at ceiling level can cast a noticeable shadow after painting.
Finishing for a professional painted result
Once the adhesive has fully cured, inspect every edge, joint and fixing point. Fill small gaps with a suitable paintable filler, then sand lightly where needed. Keep sanding controlled so you do not flatten the profile detail or damage the surrounding paintwork.
Flexible cornice is normally painted after installation, which allows the joins and filled areas to disappear into one continuous finish. Use a suitable primer if required by the product specification and your chosen paint system. Most homeowners paint cornice in the same colour as the ceiling for a classic, understated finish, while designers may choose a wall-colour treatment to emphasise the moulding as an architectural feature.
If you are fitting cornice in a kitchen, bathroom or another area with elevated moisture, choose products and adhesives appropriate for that environment. Good ventilation and properly prepared surfaces matter just as much as the profile itself.
Common installation mistakes to avoid
The most common problem is ordering a flexible product without checking its bending radius. The next is applying it to dusty, weak or uneven surfaces and expecting adhesive to compensate. Another frequent issue is cutting all lengths before confirming the room layout, which can leave joints in awkward places or create avoidable waste.
It is also tempting to use excessive adhesive in the hope of improving the bond. Too much can make the profile slide, create messy squeeze-out and leave an uneven line. Apply a consistent bead, press the moulding firmly into place and use temporary support where necessary.
For complex bays, tall stairwells or commercial projects with demanding detailing, professional installation support can save time and material. Coving.Online can help customers select suitable Orac Decor profiles and the correct fitting materials for the job.
A well-fitted flexible cornice does more than follow a curve. It gives the room a deliberate, finished transition between wall and ceiling, turning an awkward architectural feature into one of the details people notice for the right reasons.
