

Home Decor
Keep Your Warranty: Fix Polyurethane Coving Using Approved Adhesives
Oct
Most visible faults in polyurethane coving come down to the wrong adhesive, poor surface preparation or weak mitre joints, and nearly all of them are repairable. The first step is always to check the joints and the adhesive used before reaching for filler. If the damage is purely cosmetic, filler solves it; if a length has come loose, refixing with the correct joint adhesive and technique usually restores a permanent bond.
TL;DR:
- Proper surface preparation, correct adhesive use, and accurate mitre cutting are essential to prevent joints from cracking or pulling away over time.
- Moisture swings, especially in humid rooms or when fitting onto damp plaster, can cause joints to open gradually, making room humidity control crucial.
- UV exposure can lead to slow discoloration of untreated polyurethane coving, so painting with a UV-resistant coating helps preserve the finish.
- Small cosmetic issues like hairline cracks or minor gaps can be fixed with filler and repainting, but structural or repeated joint failures require professional replacement.
- Routine maintenance such as dusting and reapplying paint every few years extends coving durability and prevents the need for major repairs.
Table of Contents
- Common problems homeowners see with polyurethane coving
- How to diagnose the root cause before you repair anything
- Practical repairs: step by step fixes for the common faults
- Prevention and correct installation practices that stop problems recurring
- Carl’s installer tip: notes from the field
- Effects of moisture and humidity on polyurethane coving durability
- Impact of UV exposure and sunlight on polyurethane coving
- Long-term maintenance tips to prevent recurring problems
- When to attempt DIY repairs and when to book a professional
- How we can help with coving materials and fitting
- FAQ
- Sources
Common problems homeowners see with polyurethane coving
Most faults fall into a handful of recognisable patterns, and spotting which one you have narrows down the fix considerably.
- Open or cracking mitre joints, where a visible gap appears at an internal or external corner.
- Coving sections pulling away from the ceiling or wall, sometimes along the whole length.
- Visible adhesive blobs, hardened overspill, or a faint staining line along the edge of the profile.
- Dents, paint flaking or discoloured patches that appear some weeks after fitting.
Each of these points to a different root cause, from adhesive choice to movement in the building itself, so it is worth working through a short diagnosis before you start any repair.
How to diagnose the root cause before you repair anything
A five-minute inspection tells you whether you are dealing with an adhesive problem, a mitring problem or something structural in the wall itself.
- Run a finger along every joint and press gently; a joint that flexes or clicks has not bonded properly.
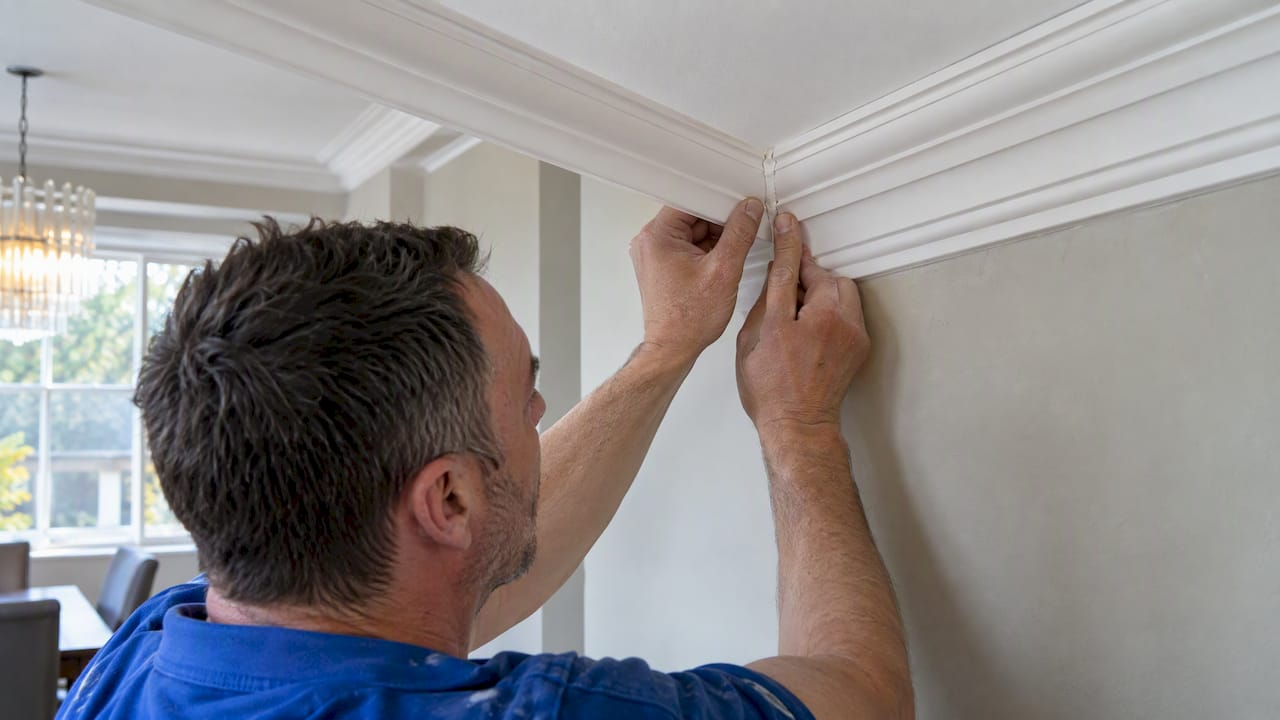
- Inspect the mitre faces for daylight gaps, especially at external corners, which show poor cutting or insufficient adhesive coverage.
- Check whether dust, flaky paint or old wallpaper is visible at the joint, which points to a substrate problem rather than an adhesive one.
- Look for shrink lines or brittle, crumbly adhesive residue, both signs of adhesive failure rather than movement.
Gaps that appear weeks after a tidy install, rather than on the day, usually mean thermal or humidity-related movement rather than a bad original fit. The Orac Decor installation manual is explicit that The specified joint adhesive should be used on every mitre and end joint, as failure to do so is a common cause of joints opening or cracking and may void your warranty. Plaster skim cracks, flaky paint and wallpaper undercuts at the joint line are substrate issues that need addressing before any repair will hold.
Practical repairs: step by step fixes for the common faults
Once you know the cause, most repairs follow a short, predictable sequence.
- Open mitres: remove any hardened adhesive, recut or true up the mitre faces if they have shrunk, then butter both ends generously with FX200/FX210 or an equivalent joint adhesive before pressing and holding. If the joint has not closed fully, reapply adhesive after 60 to 90 minutes and press again.
- Pulled sections: remove the length if needed, clean off old residue with acetone or a synthetic thinner, then apply a full V-fix bead of polymer adhesive across the groove and press firmly. Support the length temporarily, with props or tape, until the adhesive has set.
- Small gaps and hairline cracks: fill with FL300 DecoFiller or the manufacturer-recommended equivalent, then sand smooth and paint once cured.
- Adhesive overspill: wipe away excess within the manufacturer’s working window, usually within an hour, using acetone before the adhesive skins over.
- When to replace rather than repair: a length with structural detachment, severe distortion, or more than one failed joint along its run is generally quicker and safer to replace than to patch repeatedly.
Pro Tip: Keep a damp cloth and a small tub of acetone to hand while fitting; cleaning adhesive overspill before it skins saves far more time than scraping it off once hard.
Prevention and correct installation practices that stop problems recurring
Most of the faults above are avoidable with a handful of habits during installation.
- Use the manufacturer-specified joint adhesive, such as FX200/FX210, on every mitre and end joint; this is what the warranty is conditional on, not an optional extra.
- Acclimatise profiles in the room where they will be fitted for at least 24 hours, and avoid installing in extremes of temperature or humidity.
- Prepare substrates thoroughly: surfaces must be clean, dust-free and free of flaky paint, with glossy or sealed surfaces keyed where the manufacturer instructs, following a detailed step-by-step finishing checklist.
- Apply a continuous V-fix bead that slightly overspills the groove, so adhesive bonds both the ceiling and wall faces, not just one.
- Test-fit every mitre before committing adhesive, marking the ceiling side, and test cut mitre angles at least three times to check the fit.
The NOËL & MARQUET installation manual also notes that different materials expand at different rates, so joints can become visible later if the profile was not stored and fitted exactly as instructed.
Carl’s installer tip: notes from the field
In our experience, butter both mitre faces thoroughly. A single thin bead is often the real cause of a joint that fails months later. If adhesive does not overspill the V groove slightly, you will rarely get a permanent bond, so press firmly along the full length and give it time. We’ve found that acclimatising profiles and avoiding extremes of temperature or humidity solves more problems than any repair technique.
Effects of moisture and humidity on polyurethane coving durability
Polyurethane itself does not absorb water the way timber or plaster-based coving can, which is one of its advantages. The risk sits at the joints and at the bond line with the wall and ceiling, where humidity swings cause the surrounding plaster, paint and adhesive to expand and contract at slightly different rates. Over time, this movement can open hairline gaps at mitres or along the length, particularly in bathrooms, kitchens or newly plastered rooms that have not fully dried out.
Fitting coving onto damp or freshly skimmed plaster is one of the more common causes of later adhesion failure, because the adhesive is bonding to a surface that is still releasing moisture. Letting new plaster dry fully, and keeping the room at a steady temperature and humidity during and after fitting, reduces the chance of joints opening later. Where a room will always run humid, such as a shower room, paying close attention to full-length adhesive coverage at installation gives the joint the best chance of staying tight through seasonal changes.
Impact of UV exposure and sunlight on polyurethane coving
Direct sunlight falling consistently on coving, most often near large windows, skylights or conservatories, can cause slow discolouration or a slight yellowing of unpainted or poorly primed polyurethane profiles over time. This is a surface effect rather than a structural one, and it rarely affects the strength of the material or the adhesive bond.
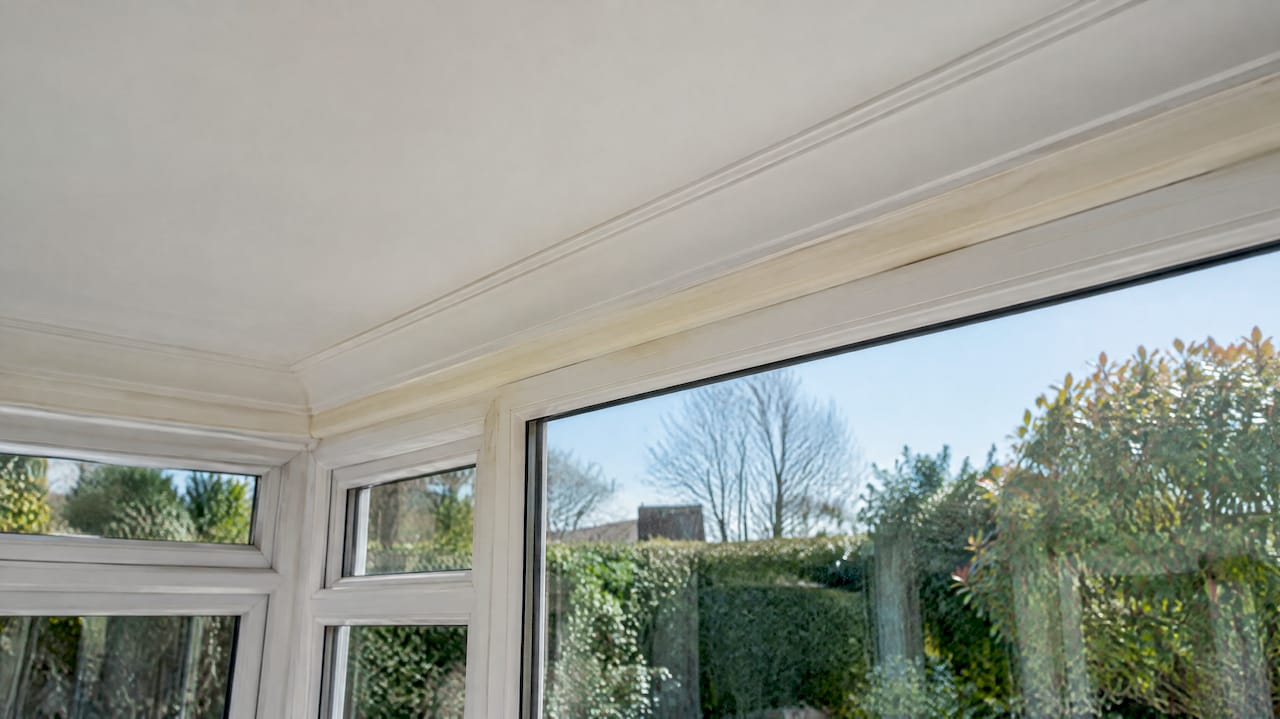
Painting coving with a quality emulsion, rather than leaving it unfinished, is the simplest way to protect against UV-related colour change, since the paint film takes the exposure rather than the moulding itself. Where a room gets strong, sustained sun, choosing a paint with good UV resistance and reapplying it every few years keeps the finish even. If you notice patchy discolouration rather than an even fade, check first whether it follows the line of a joint or adhesive residue underneath the paint, since that points to a finishing issue rather than sun damage.
Long-term maintenance tips to prevent recurring problems
A little routine attention keeps polyurethane coving looking right for years rather than needing repeat repairs.
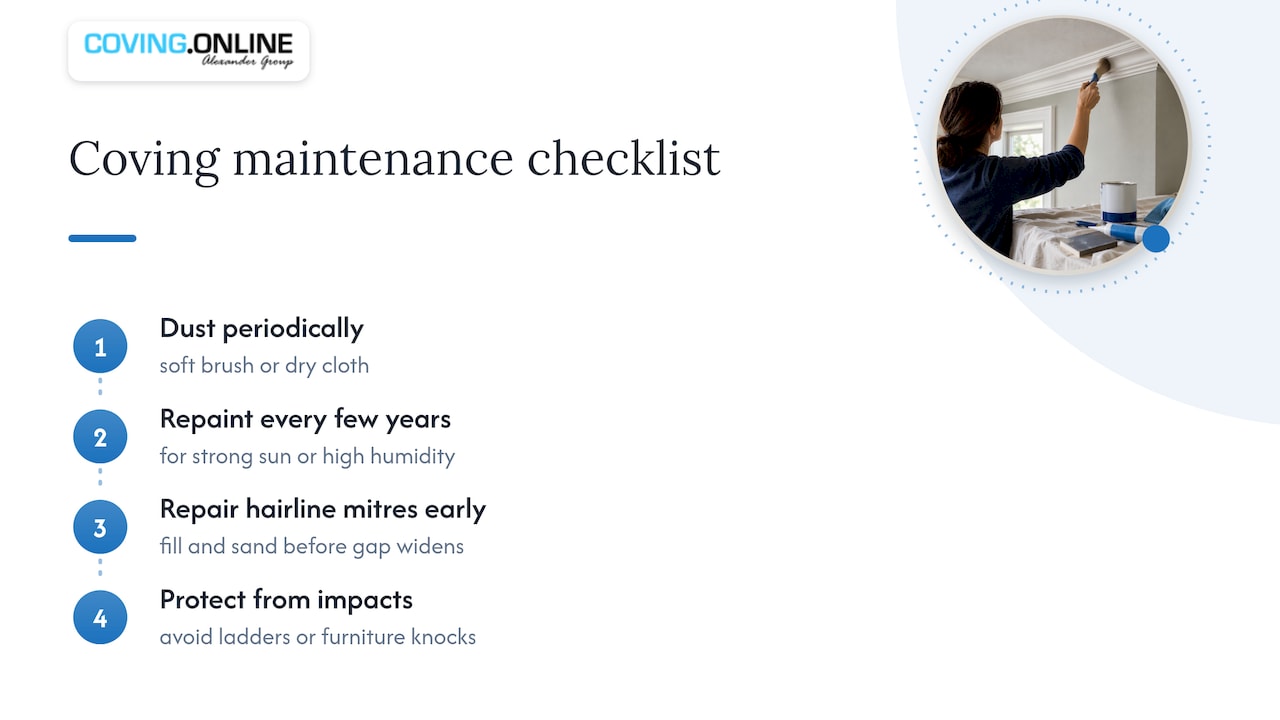
Dust coving periodically with a soft brush or a dry cloth, since a build-up of dust can trap moisture against the surface in damp rooms. Repaint every few years in rooms with strong sunlight or high humidity, checking joints for any movement while you do. If you spot a hairline gap starting to open at a mitre, filling and sanding it early, before it widens, is far quicker than a full repair later. Avoid knocking profiles with ladders or furniture during other decorating work, since impact damage is one of the more common causes of dents that then need filler and repainting.
When to attempt DIY repairs and when to book a professional
Small cosmetic fixes, filling a hairline crack or touching up a mitre, suit a confident DIYer. Structural detachment or repeated joint failures are worth a professional call-out, since an approved fitter using the correct adhesive keeps your warranty intact. From there, you can order adhesive and filler or request an installation quote.
— Carl
How we can help with coving materials and fitting
If you would rather hand the job to someone who fits coving for a living, We have an installation network that covers projects from a single room to a full refit, using manufacturer-specified adhesives to ensure durable joints. We also stock the full range of Orac Decor coving and decorative mouldings alongside NOËL & MARQUET profiles, so whichever style you are matching, we can usually supply the exact adhesive and filler the manufacturer recommends rather than a generic substitute.

Getting started is straightforward:
- Measure your room and choose a profile from our cornice and coving range.
- Add the matching adhesive and filler from our shop when you order your coving.
- Prefer a professional fit? Request an installation quote and we will take it from there.
FAQ
Is polyurethane coving any good?
Polyurethane coving is a durable, lightweight option that resists moisture better than plaster and is easier to cut and fit than timber. Most negative reports trace back to incorrect adhesives or rushed fitting rather than a weakness in the material itself.
What is the best adhesive for polyurethane coving?
Manufacturers specify their own joint adhesive, such as FX200 and FX210, for every mitre and end joint, and using it is required for a durable bond and for the warranty to remain valid. Generic water-based “no-nails” adhesives often fail on polyurethane and duropolymer profiles, so a polymer or manufacturer-recommended product gives far more reliable results.
Is it safe to have polystyrene coving?
Polystyrene coving is generally considered a lower-performance alternative to polyurethane, as it is more prone to denting and damage from solvents or heat. It is not inherently unsafe in a finished, painted installation, but polyurethane tends to hold up better over time when fitted correctly.
What is the best type of coving to use?
The right choice depends on the room and your budget, but polyurethane is a practical, moisture-resistant option across most homes when installed with the correct adhesive and proper surface preparation. Plaster coving suits period properties aiming for a traditional finish, while polyurethane profiles from ranges like Orac Decor cover both classic and contemporary styles.
Sources
Recommended
