

Home Decor
Hallway Coving Ideas: Small Profiles, Colour Drenching and Capping

Oct
For a hallway, three coving directions work best: a small shallow profile painted to match the walls, a colour-drenched envelope that carries one shade over walls, ceiling and mouldings, and a shallow modern profile that hides LED uplighting. Below you will find ten styling ideas, material and size guidance, painting techniques and installation pointers to help you choose.
TL;DR:
- Choose polyurethane for durable, moisture resistant coving; plaster suits ornate period restoration but is heavy and usually needs professional fitting, while polystyrene suits budget projects.
- Choose a shallow profile for low ceilings and narrow halls, since deep projections can make the corridor feel tighter.
- A full color drench unifies walls, ceiling, and trim, but changing the shade later means repainting every surface; color capping is gentler.
- Uneven walls can cause corner joints to open, so dry fit each length before applying adhesive and consider professional fitting for plaster profiles.
- Satin trim wipes clean more easily than matte paint, while plaster and MDF need minimal moisture; dust profiles regularly with a soft brush.
Table of Contents
- 1. Ten hallway coving ideas to borrow
- 2. Which coving material and profile size suits a hallway?
- 3. How paint choices make coving disappear, integrate or stand out
- 4. Choosing coving scale and placement for narrow or low corridors
- 5. What to expect when installing coving in a hallway
- 6. What can you put up instead of coving?
- 7. How do you clean and maintain hallway coving?
- 8. How do you coordinate coving with skirting boards and ceiling roses?
- 9. Can you customise hallway coving with motifs and patterns?
- 10. Our practical view on hallway coving choices
- 11. How Coving.Online can help with supply, samples and installation
- FAQ
- Sources
1. Ten hallway coving ideas to borrow
Each idea below works as a starting point. Adapt the colour, the profile and the lighting to your own run of corridor.
- Small ogee coving painted to match the walls. Suits low ceilings and narrow runs, because it keeps height while giving the wall a finish line.
- Colour-drenched envelope. The same shade across walls, ceiling and mouldings makes the corridor read as one unified space.
- Shallow stepped modern profile with concealed LED uplighting. Contemporary, and it adds a gentle glow without lowering the perceived height.
- Half-height panelling with a thin coving cap. Texture without bulk, which matters in a tight hallway.
- Continuous painted stair balustrade and matching coving. Ties the stair and hall together as one move.
- Ribbed vertical panelling with painted coving. The ribbing throws shadow lines that echo the coving above.
- Warm terracotta drench with a bench painted to match. The seating sits into the walls and gives an alcove feel.
- Inky navy short corridor drench with a pale wood console and round mirror. Dramatic but contained, and the pale wood stops it feeling heavy.
- Soft greige tone-on-tone with slim coving and a row of wall sconces. The sconces define the run of the hall.
- Narrow moulding pick-out plus satin-finish doors. A thin cornice picked out in a slightly deeper tone, with satin doors to catch the light.
A design round-up of calm colour-drenched hallways shows how far a single-colour approach stretches, from deep forest green and warm terracotta to dusty blue, oxblood and inky navy. If you want natural textures to sit alongside these palettes, this nature-inspired decor guide has useful pairings for floors and soft furnishings.
For more profile inspiration, see our guide to coving designs.
2. Which coving material and profile size suits a hallway?
The four common coving materials are polystyrene, polyurethane, plaster and MDF or wood, and each behaves differently in a busy corridor.
- Polystyrene: affordable, lightweight and easy to cut, so it suits simple runs and budget refreshes.
- Polyurethane: durable and moisture resistant, a dependable mid-range choice. We supply premium Orac Decor and NOËL & MARQUET polyurethane profiles.
- Plaster: traditional and ornate, best for full period restoration, but heavy and usually fitted by a professional.
- MDF or wood: suits very simple square profiles.
By “small coving” we mean profiles with a shallow projection and drop. For low ceilings, go shallower still.
3. How paint choices make coving disappear, integrate or stand out
Two techniques dominate hallway decorating right now. Colour drenching carries one shade across walls, ceiling and trim, which reduces visual fragmentation and makes a corridor read as a single considered volume. Using different sheens, such as matt walls and satin joinery, lets mouldings show by shadow rather than by contrast.
Colour capping is the gentler cousin. Tonal washes graduate up to the ceiling, which highlights period detail without a full drench and suits hallways where a drench would feel too heavy.
- Choose sheen by surface: matt for walls and ceiling, satin for doors and trim.
- Label every tin of mixed colour for touch-ups.
- Paint vents and switch plates to match.
- Remember that a full drench is a commitment: changing colour later means repainting every surface.
Hallways are prime candidates for these techniques, as they turn “leftover” space into a design feature.
4. Choosing coving scale and placement for narrow or low corridors
Proportion is where hallways are won or lost. Keep the profile width in step with ceiling height, and favour shallower projections in low-ceiling corridors.
- Where there are many doors or stair openings, a continuous thin coving avoids visual breaks.
- Alternatively, use a painted band or rail to organise the transitions.
- Check the profile against the corridor width before you buy, since a deep profile narrows the feel of the space.
Pro Tip: In a narrow run, coving painted to match reads as a finish rather than bulk. Pair a slim profile with a matt ceiling to preserve height.
5. What to expect when installing coving in a hallway
Hallways are long, with awkward corners, so a little preparation pays off.
- Remove old trim, flatten surfaces where possible and check walls for unevenness. Our guide to preparing for installation covers the steps.
- Gather your tools and materials and choose an adhesive suited to your material.
- Dry-fit every length before applying adhesive.
- Fix, then cut mitred or coped corners to suit the profile.
- Fill joints, sand lightly and paint.
Carl’s Installer Tip: In our experience, always label tins for touch-ups, dry-fit lengths before any adhesive goes on, and avoid over-tight mitres on uneven corners. We’ve found that uneven walls are the main reason corners open up, and when in doubt, book a professional for plaster profiles.
6. What can you put up instead of coving?
Coving is not the only way to finish a ceiling edge. Designers regularly choose alternatives when mouldings feel wrong for a space.
- Picture rails and wallpaper borders: add a trim line without the bulk of coving.
- Panelling and half-height panelling: a textural option that can be painted to merge with the ceiling.
- Shadow gaps and flush plaster: a minimal modern edge, in line with contemporary trim alternatives.
7. How do you clean and maintain hallway coving?
Hallways collect dust, scuffs and the odd knock from furniture or bags, so a simple routine keeps coving looking crisp.
Start with a dry approach. A soft brush or a microfibre cloth on an extending pole lifts dust from the top of the profile before it settles into the paint. Do this every few weeks, because dust that sits in a detailed profile becomes much harder to remove once it is damp.
For marks, use a barely damp cloth with a drop of mild washing-up liquid, then wipe dry. Polyurethane is moisture resistant, so it copes well with this treatment. Plaster and MDF are less forgiving, so keep water to a minimum and avoid soaking joints.
Matt paint hides imperfections but marks more easily and can burnish if rubbed hard, so blot rather than scrub. Satin finishes wipe clean more readily, which is one reason we favour them on trim in a busy hall.
Keep the leftover tin of your exact mix, labelled, for touch-ups. Small chips at corners are the most common damage, and a dab of filler followed by matching paint helps disguise them. If joints open over time, flexible decorator’s caulk closes the gap before it shows. Check the corners nearest the front door first, where slamming and temperature swings do the most work.
8. How do you coordinate coving with skirting boards and ceiling roses?
A hallway works best when its mouldings agree with one another. Treat coving, skirting, door surrounds and any ceiling rose as a single family rather than separate purchases.
Start by matching style and weight. A slim, plain coving looks odd above tall ornate skirting, and a heavy cornice overwhelms a modest skirting. Our guide to skirting board styles walks through the key decisions, and the proportions you choose for one should guide the other.
Keep the visual hierarchy simple. In a narrow hall, the eye travels along both edges, so a strong skirting paired with an equally restrained coving frames the space evenly. If you add a ceiling rose, which suits longer halls with a central light, choose one in the same design language as the coving, such as classic with ogee, or clean-lined with modern stepped profiles. Our ceiling roses range includes options to pair with most profiles.
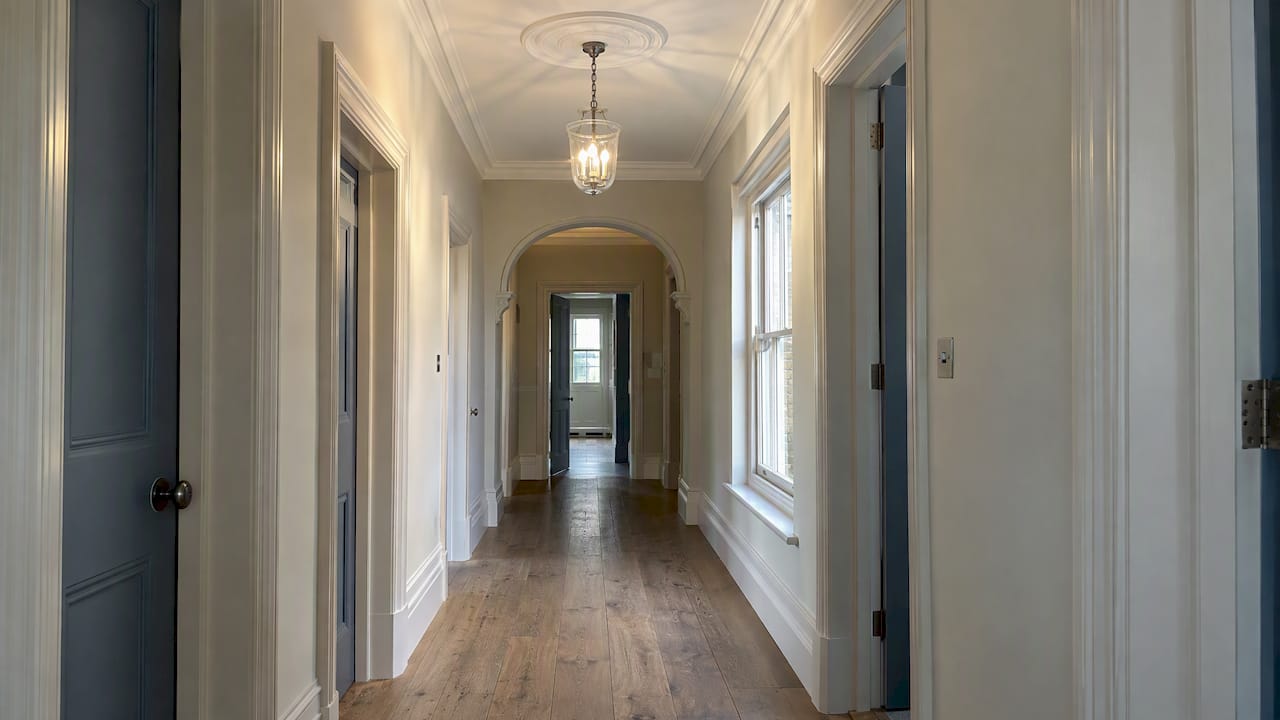
Finish consistently. Painting all mouldings in the same colour, with sheen differences between ceiling and trim, ties everything together and echoes the drenched look. Where doors punctuate the run, door surrounds in the same profile family keep the rhythm unbroken. If you are weighing panelling too, see our overview of what wall panelling is.
9. Can you customise hallway coving with motifs and patterns?
Yes, and a hallway is one of the best places to do it, because it is a short, focused space you pass through rather than sit in.
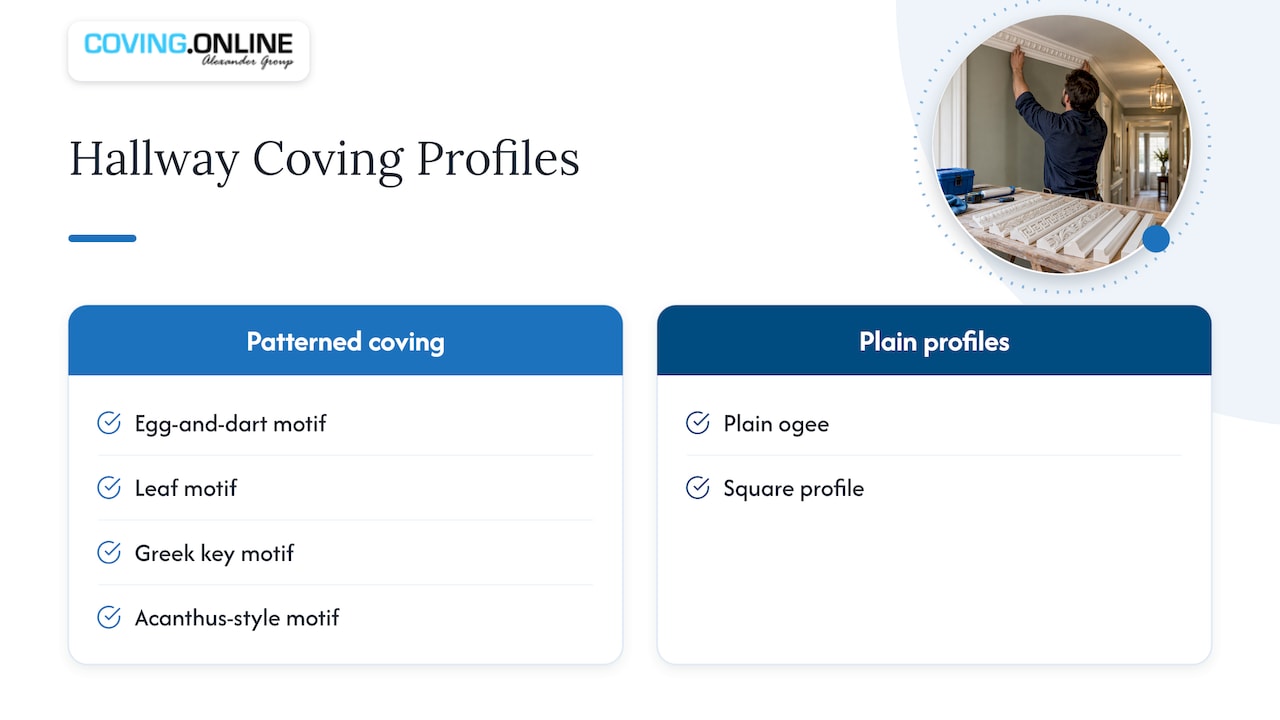
The simplest customisation is profile choice: egg-and-dart, leaf, Greek key and acanthus-style designs carry decorative motifs along the full run, while plain ogee and square profiles let paint do the talking. In a small hallway, choose one patterned element and keep everything else calm. Detail on the coving, a plain skirting and a quiet wall colour usually looks more refined than detail on every surface.
Colour is the second route. Picking out a motif in a slightly deeper or lighter tone than the ceiling makes the pattern read clearly, while painting it in the room colour leaves just the shadow, which suits small spaces. Our cornice styles for traditional homes guide helps you match motif to period.
Lighting adds a final layer. A shallow profile with LED lighting built in washes light across the ceiling, so a subtle pattern gains depth after dark. Our guide to LED lighting in coving explains what to plan before you fit. Check the fit of any decorative profile against corners and door heads before ordering, since repeating patterns need clean, matched joins.
10. Our practical view on hallway coving choices
We recommend matching profile depth to ceiling height and taking a colour-first approach in narrow runs, where paint does more than profile size to make a hallway feel calm. We supply Orac Decor and NOËL & MARQUET polyurethane profiles and arrange professional fitting through the Elite Decor UK network.
— Carl
11. How Coving.Online can help with supply, samples and installation
We supply and arrange fitting, so you can go from idea to finished hallway with one team.
- Browse our full cornice and coving range, including Orac Decor and NOËL & MARQUET polyurethane profiles.
- Explore LED-ready coving for uplit effects.
- Compare profiles before you commit to one.
- Find out more about professional installation through our national installer network.

FAQ
What can I put up instead of coving?
Picture rails, wallpaper borders, panelling and painted trims all work as alternatives. For a cleaner modern edge, a shadow gap or flush plaster finish removes the moulding altogether.
What are the trends for decorating hallways in 2026?
Colour drenching and colour capping lead the way, with one shade carried across walls, ceiling and mouldings. Hallways suit both because they turn leftover space into a deliberate feature.
Do rooms look better with or without coving?
Coving softens the join between wall and ceiling and adds a finished look, particularly in period or traditional homes. In a very low hallway, choose a slim profile painted to match, or leave it out for a minimal style.
How do I make my hallway look luxurious?
Use one rich colour across walls, ceiling and mouldings, then add depth with different sheens. A slim coving, panelling and wall sconces make the space feel considered without crowding it.
Sources
- Benjaminmoorepaint
- Color Drenching: How to Use One Colour in Interiors
- 10 Calm Color Drenched Hallway Ideas That Feel Intentional
- Designers Predict This Will Be The Biggest Paint Trend Of 2026
- How to install coving to add a touch of period charm | Homebuilding
Recommended
- Transform Your Space with These Coving Design Ideas
- Paint Coving Like a Pro: Trade Sequence and Pre Primed Profiles UK
- 12 LED Ceiling Coving Ideas for Better Rooms
- Is Coving Still in Style? UK Design Advice
