

Home Decor
Priming Polyurethane Mouldings: UK Trade Advice on the UV Risk
Oct
Many polyurethane mouldings arrive factory-primed and ready to paint, so you rarely need a full coat of primer. Spot-prime any filled seams or repairs with an interior/exterior latex primer, then finish with the water-based topcoat the manufacturer recommends. That topcoat is what makes the product UV-stable, so don’t leave the profiles unpainted for long.
TL;DR:
- The factory primer is not UV stable; a water based topcoat provides protection, so paint the profiles within a few weeks of fitting.
- Apply interior and exterior latex primer to filled seams and holes; test damaged surfaces or solvent based paint systems before adding a full coat.
- Acclimate profiles at room temperature for 24 hours before fitting and painting; clean gently, sand glossy spots, and let repairs and coats dry fully.
- Choose eggshell, satin, or matte water based paint because high gloss can reveal flaws on detailed profiles; apply thin coats and allow proper drying.
Table of Contents
- What does factory-primed actually mean for polyurethane mouldings?
- Do you need to prime again, or just spot-prime?
- How do you prepare primed mouldings before painting?
- Which primers and paint finishes work best on primed polyurethane?
- Which tools and techniques give a neat finish on detailed profiles?
- Carl’s Installer Tip: what we’ve learned from fitting mouldings
- Why most advice on priming gets the emphasis wrong
- Where can you buy primed polyurethane mouldings and get installation help?
- FAQ
- Sources
What does factory-primed actually mean for polyurethane mouldings?
Factory priming is a coat applied at the point of manufacture to give you a smooth, matt surface that paint grips well. Orac’s product data describes primed profiles as having a matt surface for smooth painting and excellent adhesion, and notes that sanding is possible.
It is a head start, though, not a finished surface. Keep these limits in mind:
- The factory primer is not UV-stable. Orac’s technical teams say the product only becomes UV-stable once the final painting is complete.
- It exists to speed up your work, not to replace a topcoat, so plan to paint within a few weeks of fitting.
- Compatibility still matters. Follow your paint supplier’s instructions, and check them against the manufacturer’s guidance before you open the tin.
Think of the primer as a sound foundation. It frames the job, but the topcoat does the protecting.
Do you need to prime again, or just spot-prime?
Additional priming over the factory coat is generally optional and left to the decorator. The exception is anywhere you have made repairs: filled seams and holes must be spot-primed before the full topcoat goes on. Spot-prime filled repairs before applying the topcoat.
Here is how we would decide:
- Spot-prime only: the factory primer is intact and you have filled a few joints or nail holes.
- Test or re-prime: the factory primer is scuffed, stained or damaged, or you plan to use a solvent-based or unusual topcoat.
- Check the paperwork: when in doubt, read the product’s technical data sheet or ask your paint supplier.
For wider reading on sequencing, our guide to pre-primed profiles and paint order covers how trade decorators plan the job.
How do you prepare primed mouldings before painting?
Good preparation takes less time than fixing a poor finish. Work through it in this order:
- Acclimatise the profiles. Leave them in the room for 24 hours before fitting and painting, stored at room temperature.
- Clean gently. Wipe away dust and residue with a dry or barely damp cloth. Avoid aggressive solvents unless the manufacturer recommends them.
- Key glossy or scuffed areas. Sand lightly where the surface is shiny or marked.
- Fill seams and gaps. Use a flexible, paintable filler, then sand it smooth once it has cured.
- Spot-prime the repairs. Dab on an interior/exterior latex primer, as Orac advises, and let it dry fully.
- Leave joints ready. After fitting, prepare the joints for a finishing skim coat, then paint within a few weeks so the primer doesn’t yellow or degrade.
Orac’s own notes on storage and installation support the room-temperature acclimatisation, and our installation tips for polyurethane coving and cornice go into fixing in more detail.
If fresh plaster is part of the job, let it dry before you fit or paint anything. A practical guide to plaster drying times explains why damp walls and new finishes don’t mix.
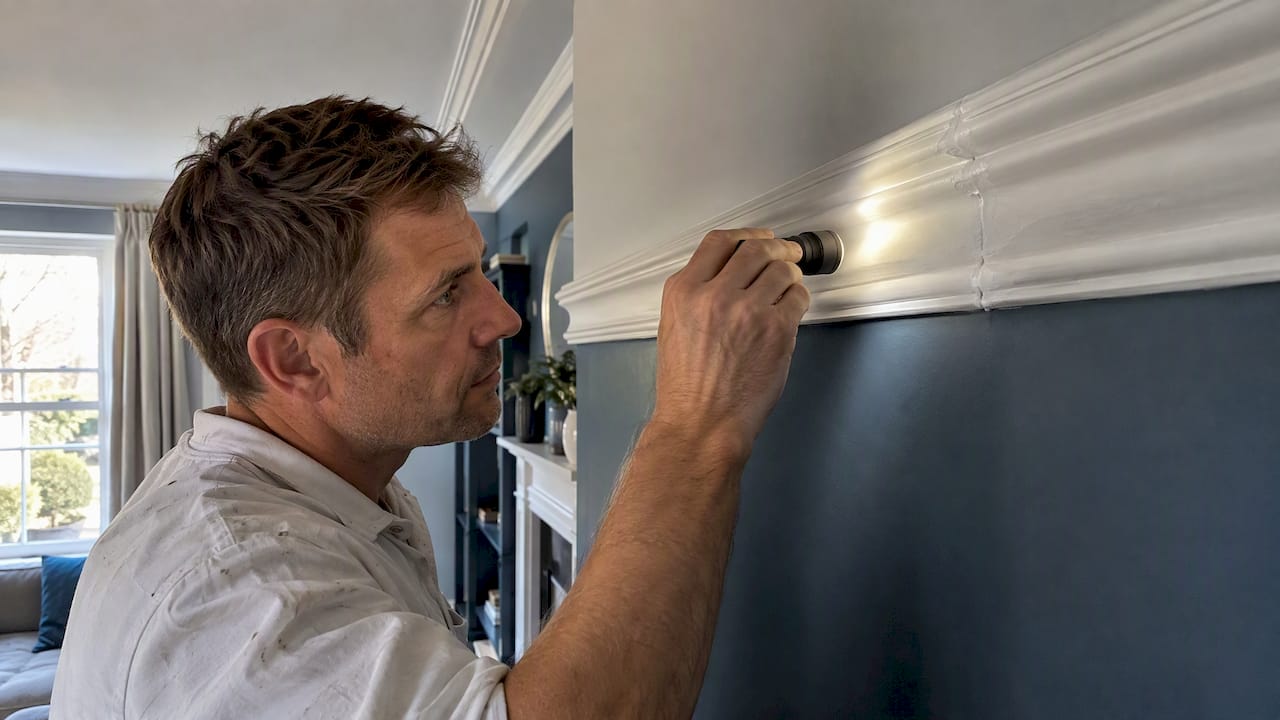
Pro Tip: Run a torch along the profile at a shallow angle before you paint. It shows up filler ridges and dust that daylight hides.
Which primers and paint finishes work best on primed polyurethane?
Choose water-based products wherever you can. Orac’s primed surface guidance advises water-based paint and a quality topcoat for UV stability, so it is the safest starting point.
- Primer for repairs: an interior/exterior latex primer, applied only to filled or damaged areas.
- Topcoat: a quality water-based paint in eggshell, satin or matt. These finishes soften minor imperfections and suit ornate profiles.
- Consider the finish carefully: a high-gloss finish may make surface imperfections more noticeable on detailed mouldings.
- Solvent-based systems: test a small, hidden area first, or check the technical data sheet before committing.
Painted mouldings are also easy to refresh later, since polyurethane can be repainted again and again. Our article on whether coving and cornice can be painted explains how to keep that finish looking crisp over the years.
Which tools and techniques give a neat finish on detailed profiles?
The right tool for each part of the profile does most of the work.
- Brush: a thin-bristled sash brush gets into crevices and carved detail without leaving ridges.
- Roller: a high-density foam roller suits flat faces and long, plain runs.
- Spray: an HVLP or airless sprayer is worth considering for long runs or heavily ornate profiles.
- Coats: apply thin, even coats and respect the paint’s drying time between them.
- Smoothing: back-roll or tip off to remove roller texture while the paint is still workable.
- Between coats: sand lightly if needed to remove nibs, so the detail stays crisp.
Work from the least visible end towards the focal point of the room, and keep a wet edge so laps don’t show.
Pro Tip: Paint the profile’s recesses first, then the raised faces. Any paint that creeps into the crevices gets tidied by the final pass.
Carl’s Installer Tip: what we’ve learned from fitting mouldings
Carl’s Installer Tip: In our experience, skipping the spot-prime on filled joints can affect the finish. We’ve found it worthwhile to prime repairs before applying the topcoat. Keep mouldings at room temperature and paint in stable, moderate humidity. Where possible, consider painting profiles before final fixing, which may make the finish neater and reduce the need for touch-ups.
Why most advice on priming gets the emphasis wrong
Some advice recommends priming everything, but with factory-primed profiles a full extra coat of primer is generally optional. With a factory-primed profile, a full extra coat of primer is rarely where the finish is won or lost. The weak points are the filled joints, a rushed topcoat, and leaving the primer exposed for weeks while the rest of the room is finished.
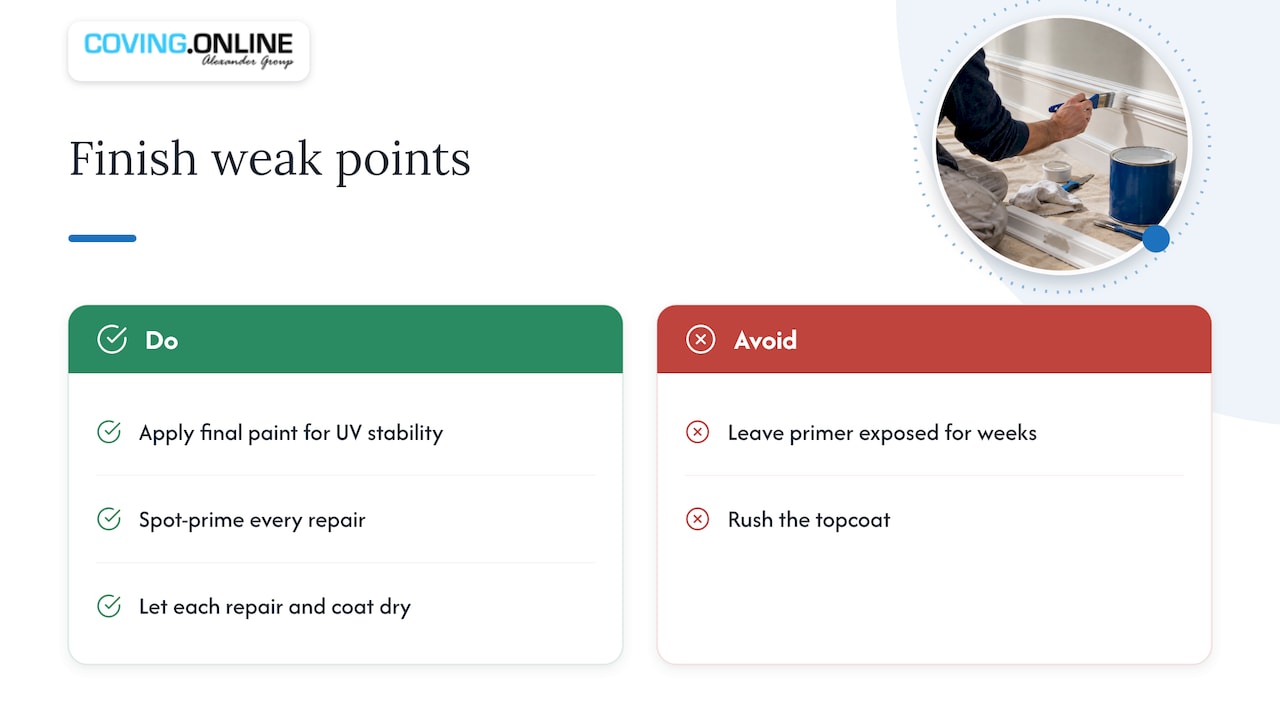
What matters first is the topcoat. Orac is clear that UV stability arrives with the final paint, so a primed moulding left unpainted is still unfinished. Second comes disciplined spot-priming of every repair. Tool choice and thin coats can also help preserve detail on ornate profiles.
If you take one habit from this guide, make it patience: let each repair dry, then each coat, and the profile will look sharper than any extra layer of primer could make it.
— Carl
Where can you buy primed polyurethane mouldings and get installation help?
We stock Orac Decor and NOËL & MARQUET mouldings, along with adhesives. Browse our cornice and coving range, or pick up adhesives and fillers from our shop page.
If you would rather leave the fitting to someone else, we can arrange professional installation through our Elite Decor UK national installer network. Send us an enquiry through our installation page and we will take it from there.

FAQ
Can you prime over polyurethane mouldings?
Yes, you can, and it is useful on repaired or damaged areas. On a factory-primed profile, extra priming is generally optional, but filled seams should be spot-primed with an interior/exterior latex primer before the topcoat.
What is the best primer for polyurethane mouldings?
An interior/exterior latex primer is the type Orac recommends for spot-priming repairs. Water-based products are the safest choice for the topcoat too, and you should check your paint supplier’s instructions for compatibility.
Will Kilz primer stick to plastic?
We can’t vouch for any one branded primer on polyurethane, so check its label and the moulding’s technical data sheet first. Test a small hidden area before you commit, and prefer the water-based primer the manufacturer advises.
Can you paint polyurethane moulding?
Yes. Factory-primed polyurethane is designed to be painted, and the surface is built for smooth, well-adhered coats. Use a quality water-based topcoat, which Orac says is needed for UV stability.
Recommended
- Don’t Skip Primer: Panelling Paint Tips from UK Mouldings Specialist
- Keep Your Warranty: Fix Polyurethane Coving Using Approved Adhesives
- Polyurethane Coving in the UK | Transform Your Home
- 24 Hour Acclimatisation: Exterior Mouldings Installation for Installers
