

blog
Choosing a Ceiling Rose for a Chandelier
Oct
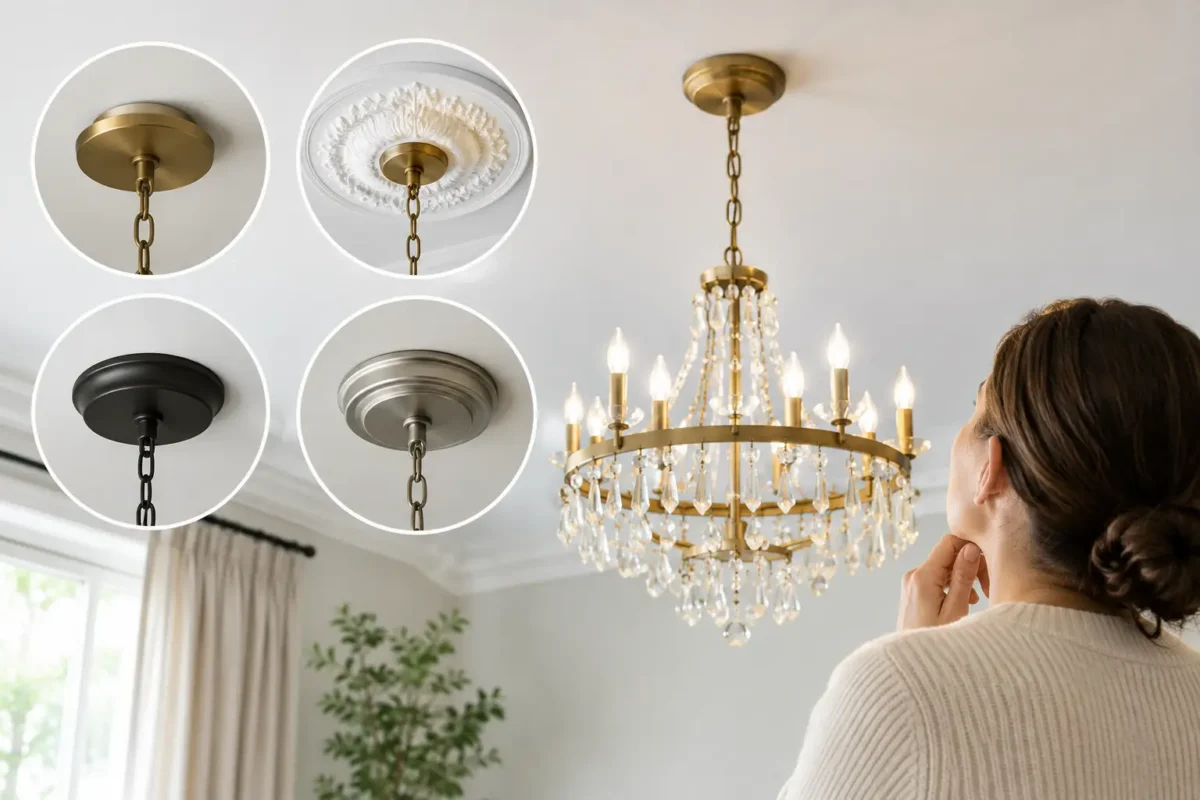
A ceiling rose for chandelier installation does more than cover the wiring point. It creates a deliberate transition between ceiling and fitting, giving a pendant or statement light the architectural presence it needs. In a period property, it can reinstate lost detail; in a newer home, it can stop a chandelier from looking as though it has simply been hung in the middle of an empty ceiling.
The key is to treat the ceiling rose and the chandelier as two related, but separate, decisions. The rose must suit the room and light fitting visually, while the chandelier must be safely fixed to a suitable structural point. Getting both right produces a finish that looks considered and performs properly for years.
What a ceiling rose for a chandelier needs to do
Traditionally, a ceiling rose was often a plaster feature placed around the lighting point. It drew attention to the centre of the room and provided a decorative frame for a pendant, chain or chandelier. That purpose has not changed, but modern materials make the result far more practical for renovation work.
A quality lightweight polyurethane ceiling rose delivers crisp relief and convincing depth without the weight, fragility or difficult handling associated with traditional plaster. It is also paintable, moisture-resistant and easier to cut or adjust where necessary. This is particularly useful when working overhead, where a heavy plaster rose can turn a relatively simple finishing job into a two-person installation.
A rose may also conceal minor imperfections around an existing cable entry, ceiling hook or previous light fitting. It is not, however, a substitute for a proper electrical enclosure or a structural fixing. Decorative moulding should never be expected to carry the load of a chandelier.
Start with chandelier weight and fixing requirements
The most important rule is straightforward: fix the chandelier through the ceiling rose and into suitable structure, not into the rose itself.
Lightweight pendants may be supported from an appropriate ceiling fixing, subject to the manufacturer’s guidance. Larger chandeliers, especially metal, glass or multi-arm designs, can be considerably heavier and may require a fixing point into a joist, timber noggin, solid masonry or another load-bearing support. Plasterboard alone is rarely suitable for a heavy fitting unless a correctly specified support has been installed behind it.
If there is any uncertainty about the existing electrical point, ceiling construction or chandelier weight, involve a qualified electrician before decorating or bonding the rose in place. They can assess the support, fit a suitable bracket or hook where required, and ensure the connection complies with current electrical requirements. This is particularly worthwhile in older properties, where ceiling voids and previous alterations can be unpredictable.
The sequence matters. Confirm the fixing position first, then choose and fit the rose around it. A beautiful moulding will not solve a poorly positioned or inadequate chandelier support.
Choose the right diameter for the room
The diameter of a ceiling rose should relate to the size of the room, the ceiling height and the visual weight of the light fitting. A rose that is too small can disappear behind an elaborate chandelier canopy. One that is too large can make a compact room feel crowded overhead.
For a modest bedroom, hall or dining area, a restrained rose often gives the best result. In larger reception rooms with generous ceiling heights, a wider design with deeper ornament can hold its own beneath a substantial chandelier. The fitting should appear centred within the rose, with enough decorative border visible around the canopy to make the feature read clearly.
As a useful visual check, mark the proposed diameter on the ceiling with low-tack tape or cut a paper template. Stand back at the doorway, then view it from the seating or dining position. This quickly reveals whether the scale works with the room rather than just with the light fitting.
Ceiling height changes the decision too. Detailed, deep-profile roses are at their best where there is enough height to appreciate the modelling. In lower rooms, a flatter or simpler profile can add character without making the ceiling feel lower.
Match the style, not just the size
A ceiling rose does not need to match every detail in the room, but it should belong to the same design language. Victorian-inspired interiors often suit floral, acanthus or layered classical patterns. Edwardian and Arts and Crafts schemes may call for cleaner geometric relief. For contemporary homes, a plain stepped or subtly profiled rose can provide a crisp frame without creating an overly traditional effect.
If the room already has coving or cornice, consider the relationship between the two. A highly ornate rose paired with very plain coving can work when the chandelier is intended as the focal point. Equally, a simple rose can balance a more decorative cornice. The aim is not to make every surface equally detailed, but to establish a clear hierarchy.
Material matters in real renovation projects
Traditional plaster has an authentic heritage appeal, but it comes with practical compromises. It is heavy, vulnerable to chips and cracks, and requires careful handling during transport and fitting. Repairing damaged plaster details can also be time-consuming.
Lightweight polyurethane roses offer a more convenient route to a high-end result. They are durable, stable and suitable for many domestic and commercial interiors. Their low weight makes overhead installation more manageable, while the sharp cast detail gives a refined finish once painted. For projects where time, access or ceiling condition is a concern, this can make a substantial difference.
A pre-primed, paintable surface also gives flexibility. Most homeowners choose to paint the rose in the ceiling colour for a cohesive look, allowing the profile to create shadow and depth rather than contrast. In a formal dining room or entrance hall, picking out details with a slightly different tone can be effective, but it needs a confident decorative scheme to avoid looking fussy.
Preparing the ceiling before fitting
Good preparation is what makes a ceiling rose sit flat and look built-in. The ceiling needs to be clean, dry, sound and free from loose paint, dust or wallpaper residue. Flaking coatings should be removed and uneven areas filled and sanded before installation.
Check the central opening and cable position before applying adhesive. If the rose requires trimming or a new cable aperture, measure carefully and cut gradually. It is easier to enlarge an opening than correct one that has been cut too wide. Dry-fitting first is always worthwhile, particularly with patterned designs where orientation may affect the final appearance.
Use an adhesive specified for the moulding material and apply it according to the product guidance. Press the rose firmly into position, checking that it is centred around the fixing point. Clean away surplus adhesive promptly. Fine gaps at the edge can be filled with a suitable decorator’s caulk once the adhesive has cured, then smoothed for a clean transition to the ceiling.
Do not attempt to hide active ceiling movement or water damage with a rose. Resolve the underlying issue first. Decorative mouldings will only perform as well as the surface beneath them.
Plan the installation order carefully
For most projects, the neatest order is to prepare the ceiling, fit and finish the ceiling rose, paint it, then have the chandelier connected and hung by an electrician. This protects the light fitting from adhesive, dust and paint while allowing the rose to be decorated properly around the central opening.
There are exceptions. If an existing electrical connection must remain accessible during the work, or the ceiling needs structural reinforcement, arrange the electrical work earlier. For large chandeliers, the support bracket or hook may need to be installed before the rose, with the final fitting added only after the adhesive and paint are fully cured.
Trade installers should also allow for the canopy diameter, chain drop and bracket position. A chandelier canopy that sits proud because of an awkward bracket can undermine an otherwise excellent finish. Checking these details before the rose is bonded saves avoidable rework.
Common mistakes to avoid
The most frequent mistake is selecting a rose purely from a product photograph. Always consider its diameter, projection and pattern depth in the context of the actual room. Another is treating the rose as a load-bearing component. It is decorative, not structural.
It is also easy to overlook the existing ceiling line. If the lighting point is noticeably off-centre in a room, placing a large circular rose around it can make the issue more obvious. Depending on the layout, repositioning the fitting, using a different focal point or choosing a more restrained design may be the better option.
Finally, avoid rushing the paint finish. Prime any cut edges where required, allow adhesive and filler to cure, then apply smooth coats that preserve the moulded detail. Heavy paint build-up can soften the crisp edges that make a quality ceiling rose look convincing.
A well-chosen ceiling rose gives a chandelier a proper setting rather than leaving it to float alone on the ceiling. Measure the room, verify the support, and choose a profile that complements the wider scheme. With the practical work handled correctly, this small architectural detail can make the whole room feel more finished.
