

Home Decor
Fitting Coving on Plasterboard: A Practical Guide
Nov
Yes, you can fit coving directly to plasterboard, and it is one of the easier surfaces to work on. The board gives you a flat, stable background. Success depends on four things: choosing a profile that suits the weight and size of the job, preparing the surface so the adhesive can grip, fixing the coving to both ceiling and wall, and finishing the joints neatly. This guide walks through each, with the mistakes we see most often on site.
TL;DR
- Plasterboard is a good background for coving, provided it is clean, dust-free and sealed if it is bare paper.
- Lightweight polyurethane coving is the simplest choice for DIY fitting on board, because it is easy to handle and cut.
- Use a coving adhesive suited to your material, apply it to both contact faces, and hold the length until it grabs.
- Mark guide lines first. Plasterboard walls and ceilings are rarely perfectly level, so measure rather than trusting the corner.
- Fill joints and gaps with flexible filler, then paint once it has fully dried.
Table of Contents
- Why plasterboard suits coving
- Choosing the right coving for a plasterboard ceiling
- What you need
- Step by step: fitting coving to plasterboard
- Common problems on plasterboard, and how to avoid them
- Do you need to fix into joists?
- Coving and the wider room
- Our perspective
- Ready to fit coving to your ceiling?
- FAQ
- Sources
Why plasterboard suits coving
Most UK homes built or refurbished in recent decades have plasterboard ceilings, either skimmed or taped and jointed. Both give you a smooth face and a predictable structure behind it: boards fixed to timber joists, usually at either 400mm or 600mm spacing, depending on the board width and the build. That structure matters, because it tells you what you are fixing into.
The board itself is not strong in the way brick or masonry is, so heavy, solid coving relies entirely on adhesive and sometimes on additional mechanical fixing. A lighter moulding asks much less of the surface. This is why we point most plasterboard projects towards polyurethane profiles such as those in the Orac Decor and NOËL & MARQUET ranges. They are light enough that a good bond to the board is all they need, and they cut cleanly with a fine-toothed saw.
If you want to understand what coving does for a room before you pick a profile, our guide to what coving is used for covers the basics.
Choosing the right coving for a plasterboard ceiling
The right profile depends on the room, the ceiling height and how much work you want to do afterwards.
Material
- Polyurethane: light, easy to cut, and supplied in a wide range of traditional and contemporary profiles. It is the sensible option for DIYers and for large rooms where long lengths are hard to hold up. Browse the range in our cornice and coving collection.
- Plaster: heavier and more traditional, it needs a stronger adhesive bond, a helper for long lengths and more careful support while it sets. It is a good fit if you are matching an existing period feature.
- Lighting profiles: if you want a concealed glow along the ceiling line, our LED coving is designed for exactly this.
Size and style
As a rough guide, the profile should suit the scale of the room. A small, low-ceilinged hallway looks cramped with a deep, ornate cornice, while a tall living room can carry a bolder section without trouble. Simple, shallow profiles read as modern. Stepped or detailed profiles suit traditional rooms. Our guide to coving designs shows how different profiles change the feel of a room, and our article on coving prices helps you set a budget before you commit.
If the room is part of a commercial project and you are planning other finishing details, such as living features, these moss wall ideas for commercial spaces are worth reading alongside your ceiling specification so the whole scheme works together.
What you need
Gather everything before you start, because adhesive does not wait for you to hunt for a tool.
- Coving lengths, plus about 10 per cent extra for offcuts and mistakes
- Coving adhesive suited to your material (see our adhesives range)
- Mitre box and fine-toothed saw
- Tape measure, pencil and a spirit level or laser line
- Flexible decorator’s filler and a filling knife
- Damp sponge or cloth for wiping squeezed-out adhesive
- Dust sheets, a stepladder or stable platform, and a dust mask when sanding
If your walls are not straight, our guide to tools and materials for uneven walls adds a few extras worth having.
Step by step: fitting coving to plasterboard
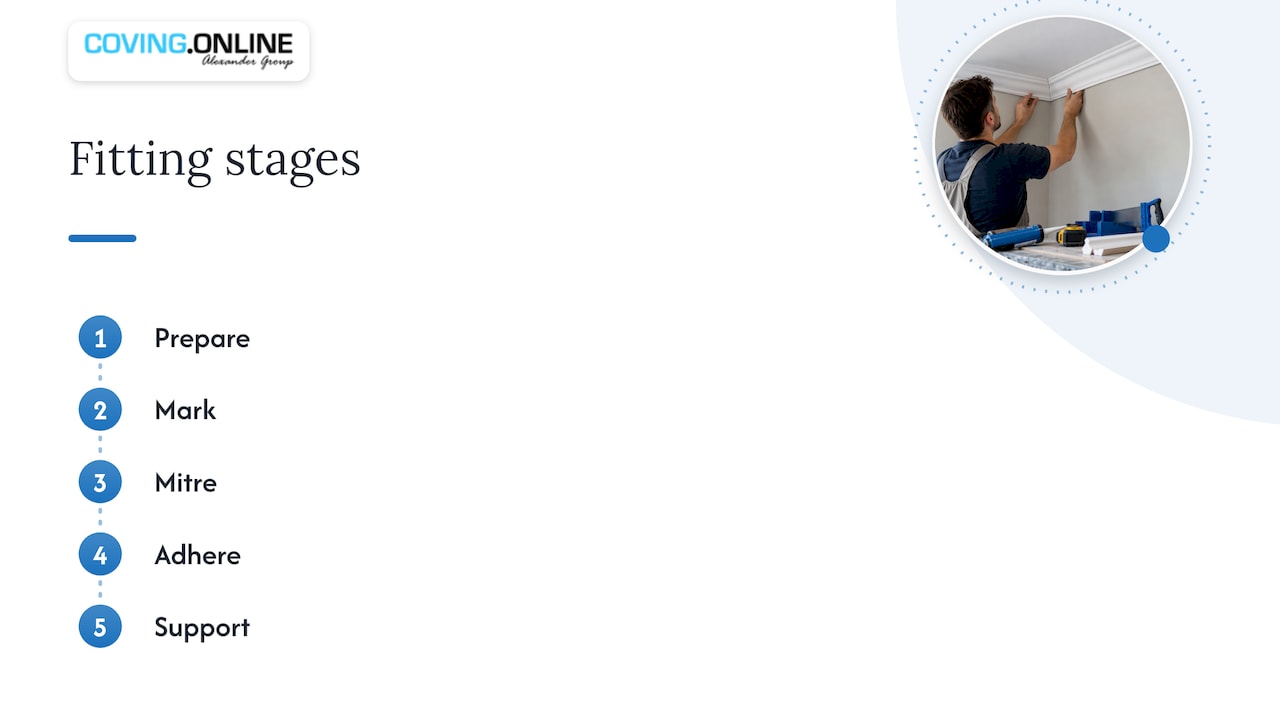
1. Check and prepare the surface
Run your hand along the ceiling and wall where the coving will sit. Remove loose paint, flaking distemper, dust and any grease. If the board is bare and absorbent, or a skim coat is chalky, seal it first with a diluted PVA or the primer your adhesive manufacturer recommends. Sealed surfaces let the adhesive grab instead of being drawn into the paper.
Also look for joints between boards that have been poorly taped. A ridge or a hollow along the line of the coving will leave gaps later. Our surface preparation guide covers this in more detail.
2. Measure and mark guide lines
Check the profile’s projection on the ceiling and its drop on the wall by holding a short offcut in the corner. Mark both points on the ceiling and wall around the room. Join the marks with a pencil line, using a level or laser. These lines are your fixing guide, and they let you see how far the room deviates from straight.
3. Cut the corners
Internal and external corners need mitres. Place the coving upside down in the mitre box, the way it will sit against the ceiling and wall, and cut at 45 degrees. Cut internal corners so that the length fits snugly into the corner, then test each piece dry. Remember that in real rooms corners are rarely exactly 90 degrees, so expect to trim a little.
If you would rather skip the mitring, pre-formed corner blocks are available for many profiles.
4. Apply the adhesive
Follow the instructions for your product. In general, apply a continuous bead or dabs of adhesive to the two contact faces of the coving, the surfaces that will touch the ceiling and the wall. Press it into position on your guide lines, and hold it for a moment so it grabs. Wipe off the excess that squeezes out with a damp sponge straight away, before it hardens.
Work around the room one length at a time, test-fitting every piece before gluing it.
5. Add mechanical support where needed
For lightweight polyurethane, adhesive alone usually does the job. For heavier plaster coving, or for very long lengths, we recommend supporting the length while it sets, using temporary props or masking tape. Pins or screws should only go where they find solid timber or a secure fixing, never just into the board paper. If you are unsure what is behind the board, test with a stud detector first.
6. Fill, smooth and paint
Once the adhesive has set, fill the mitred joints and any hairline gaps along the top and bottom edges. Use a flexible filler, and smooth it with a damp sponge or finger. Leave it to dry, lightly sand, then paint. Paint after the filler is completely dry, otherwise it can shrink and crack.
Carl’s Installer Tip
In our experience, most visible gaps on plasterboard walls come from skipping the dry run, not from the adhesive. We’ve found that cutting every mitre, test-fitting all of them around the room and numbering the lengths on the back saves a lot of frustration. Then glue them in order. Where the wall bows slightly, push the coving to the ceiling line first and let the filler take up the small gap at the wall, rather than forcing the length into a curve.
Common problems on plasterboard, and how to avoid them
Gaps along the wall or ceiling
Walls and ceilings are almost never perfectly flat. A small gap is normal and is what flexible filler is for. If the gap is bigger than a few millimetres, check whether the plasterboard has a joint ridge or a hollow, and deal with that first. Our guide to installing coving on uneven walls and ceilings explains the techniques in detail, including how to assess the walls and ceilings before you begin.
Coving that will not stay up
This is nearly always a surface problem: dust, loose paint, or unsealed board that has soaked up the moisture from the adhesive. Clean, seal and let the primer dry before you start. Another cause is too little adhesive on the contact faces. A thin smear is not enough.
Open mitres
If the corner opens up at the bottom or the top, the angle of the room is not 90 degrees. Re-cut the pieces, adjusting each mitre slightly until they meet. Small remaining gaps are best filled, not forced.
Cracks later on
Plasterboard ceilings move slightly with temperature, humidity and settlement. Using a flexible filler at the joints, and avoiding rigid fills on long runs, helps the finish stay crisp. Rooms that are heated and cooled heavily, such as kitchens and bathrooms, benefit most.
Do you need to fix into joists?
Not usually. For most coving, the load is small and adhesive across the full contact face is enough. The joists matter when you are adding something heavier, such as a deep cornice combined with a ceiling rose or a lighting feature. If you are hanging anything from the ceiling, use fixings designed for the load and locate the joists first. Our ceiling rose guide explains how to pair a rose with your coving profile.
Coving and the wider room
Coving works best as part of a set. Matching the ceiling line with the right skirting creates balance between top and bottom of the walls, and our guide to skirting board styles helps you decide on height and profile. If you are adding character to the walls themselves, wall panelling pairs well with a simple cornice, and our explainer on what wall panelling is is a good starting point.
Our perspective
We have fitted a great deal of coving on plasterboard, and the lesson is consistent: the board is rarely the problem. Preparation, a dry run and the choice of profile decide how the finished room looks.
That is why we put so much weight on polyurethane for most homes. Orac Decor and NOËL & MARQUET profiles are designed to be light, crisp and straightforward to cut, which is what you want on a plasterboard ceiling. You get a sharp shadow line without the weight or the mess of wet plaster.
We also believe you should not have to guess. We supply the profiles, the adhesives and the advice, and through our Elite Decor UK installer network we can arrange professional fitting when you would rather leave it to someone who does it every week. Whether you are a homeowner tackling one room or a contractor specifying a whole property, we want the job to look right when the dust sheets come off.
Carl
Ready to fit coving to your ceiling?
Browse our full range of Orac Decor and NOËL & MARQUET mouldings, from simple modern profiles to detailed traditional cornices, together with the adhesives and accessories you need to fix them.

Start with our cornice and coving collection, or talk to us about installation if you would like a professional to fit it for you across the UK.
FAQ
What do you stick coving to plasterboard with?
Use a coving adhesive made for your material. Polyurethane coving usually calls for a flexible, high-grab adhesive supplied for that purpose, while plaster coving traditionally uses a powder cove adhesive mixed with water. Always follow the manufacturer’s instructions, and seal bare or dusty board first.
Do I need to screw coving into the plasterboard?
For lightweight polyurethane, adhesive on both contact faces is normally enough. For heavier plaster coving, temporary support while it sets is a good idea, and any pins or screws should go into timber, not just into the board paper. If you are unsure what is behind the surface, check before you fix.
Can I fit coving to a plasterboard wall that is not straight?
Yes. Mark your guide lines carefully, fit the coving tight to the ceiling line and use flexible filler to close small gaps at the wall. Larger dips or ridges should be levelled first. Our guide to fitting coving on uneven surfaces shows how.
Does coving add value to a house?
It improves how a room looks and feels, and that matters to buyers and renters, but we would not promise a specific increase in value. Well-chosen, neatly fitted coving gives a finished, considered look that helps a room stand out.
Sources
Recommended
- Polyurethane Coving vs Plaster: Which Fits?
- 2 Installer Ways to Fit Coving Over Wallpaper UK
- Work 300–400mm Sections to Remove Coving Safely in UK Homes
- Fit Coving That Keeps Low Ceilings Taller: 5–8% Rule and Test Mitres
