

Home Decor
Coving for Uneven Walls: UK Installers Follow a Level Line

Oct
Yes, we can fit coving to uneven walls and ceilings in the vast majority of UK homes, and the finished line will still look straight. The rule that makes this work is simple: fix to a level guideline, never to the wonky ceiling itself. Severe bowing or crumbling plaster calls for flexible profiles or substrate repair first, but minor and moderate unevenness responds well to the right material, adhesive and a little patient filling.
TL;DR:
- Check plaster at several points and tap for hollow or crumbling areas; stabilize dusty surfaces, while movement or broad gaps need repair before fitting.
- Rigid polyurethane holds its profile and accepts filling at the back edge; reserve flexible coving for pronounced curves or visibly bowed walls.
- Mark a level guideline on both surfaces and dry fit each length against it, since following the ceiling reproduces its dips and rises.
- Measure every corner rather than assuming 90 degrees, test cuts on scrap, and cope internal joints that will not close cleanly with standard mitres.
- Hairline gaps take caulk, while larger voids need thin layers of filler; gaps beyond a few millimeters call for wall repair, not more sealant.
Table of Contents
- Assess the room before you decide on a fix
- Choosing the right coving material for a bumpy wall
- Tools, adhesives and fillers: your checklist for uneven surfaces
- Marking a level guideline so the run reads straight
- Cutting, coping and mitres for wonky corners
- Fixing coving so it stays put while adhesive cures
- Filling, sanding and painting to hide the gaps
- When to repair the substrate instead of filling
- Common mistakes we see on site, and the pro shortcuts that fix them
- How we can help with your uneven wall or ceiling
- FAQ
- Sources
Assess the room before you decide on a fix
Before buying a single length of coving, it is worth spending twenty minutes with a spirit level working out what you are dealing with. Hold the level against the wall and ceiling junction at several points around the room, noting where gaps open up and by how much. Tap the plaster gently as you go. A dull, hollow sound often signals old lath and plaster that has lost its key, which changes how you fix coving far more than a few millimetres of waviness ever will.
- Minor unevenness (small dips and rises along the run) is cosmetic and can be managed with a level guideline, adhesive and filler.
- Severe unevenness (large continuous gaps, soft or crumbling plaster, visible movement) usually means the substrate needs attention before coving goes anywhere near it.
Where plaster is dusty or friable, stabilise it with diluted PVA or a proprietary bonding agent before fixing; this is standard trade practice in older homes with lath and plaster, and it stops the coving pulling the surface away as the adhesive cures. For a closer look at surface preparation specifically for uneven runs, our guide to preparing for installation covers the stabilising step in more detail.
Choosing the right coving material for a bumpy wall
Not every coving profile behaves the same way once it meets an imperfect surface, so the material you choose matters almost as much as the technique.
- Polystyrene coving is light, inexpensive and easy to cut, which makes it forgiving for a first attempt, though it dents easily and is less convincing once painted in a strong light.
- Rigid polyurethane coving, such as the ranges we stock from Orac Decor and NOËL & MARQUET, is dense, paintable and holds a crisp profile edge even when the wall behind it is slightly out of true.
- Flexible rubber or latex coving bends around genuinely curved or badly bowed sections where a rigid profile simply will not sit flush.
For most uneven-wall projects, we recommend choosing a quality polyurethane profile. It sands and fills cleanly at the back edge, which is exactly where gaps tend to open on an irregular wall, and it holds its shape far better than polystyrene once painted. Flexible coving earns its place only on the genuinely extreme cases, bay window curves or walls with a visible camber, where rigid lengths would need constant packing to sit properly.
Tools, adhesives and fillers: your checklist for uneven surfaces
Working on an uneven wall rewards preparation. Gather everything below before you start cutting, because stopping halfway through a run to find a missing tool almost always shows in the final joint.
- A spirit level or laser level, for marking a true guideline rather than following the ceiling.
- A mitre saw or mitre box, plus a coping saw for internal corners that are not quite square.
- Clamps, panel pins or masking tape to hold lengths in place while adhesive grabs.
- A small finishing trowel for pressing adhesive and filler into gaps.
- A sanding block, decorators’ caulk and filler for the finishing stage.
For plaster-based coving on older walls, many fitters prefer a mixed powder adhesive over a ready-mixed tube, since it gives longer working time and a stronger initial bond on irregular plaster. Pick up adhesives, caulk and small tools together from our shop so you are not making a second trip mid-job. Gloves and a dust mask are worth having to hand too, particularly when sanding polyurethane or mixing powder adhesive.
Pro Tip: Buy slightly more adhesive than the pack calculator suggests. On uneven walls you will use noticeably more filling the gap behind the coving than you would on a flat run.
Marking a level guideline so the run reads straight
The single habit that separates a neat coving job from a wavy one is working to a consistent datum line rather than to the ceiling. Run a chalk line or laser level around the room at a height that allows for the full depth of your chosen profile, then measure down (or across, on the wall side) from that line as you position each length.
- Mark the guideline on both the wall and ceiling before fixing anything, so you have a visual check as you go.
- Carry the same measurement around internal and external corners, adjusting only where the profile itself needs trimming.
- Dry-fit every length against the guideline and check it with the level before any adhesive goes near it.
Dry-fitting lengths before fixing is especially useful in older properties, where walls and ceilings are rarely perfectly square, because it shows up problem corners while you can still adjust rather than after the glue has set.
Cutting, coping and mitres for wonky corners
Standard 45-degree mitres assume a square room, and plenty of rooms simply are not square once you measure them properly.
- Check every corner angle with a bevel gauge or an offcut before cutting, rather than assuming 90 degrees.
- Cut a test mitre in scrap material first, since this reveals whether the actual angle needs adjusting before you commit full-length coving to the saw.
- Where an internal corner refuses to close neatly, cope the profile instead of mitring it: cut one piece square into the corner, then shape the second to follow the contour of the first with a coping saw.
- On a visibly bowed wall, break the run into shorter lengths rather than forcing one long piece to follow the curve, joining them with a simple butt joint that filler can disguise.
Coping is the standard professional fallback in non-square rooms, and it is worth practising on an offcut before attempting it on a length you have already cut to size.
Fixing coving so it stays put while adhesive cures
Apply adhesive in a continuous bead along both fixing edges, then press the length firmly against your guideline, working any excess into small gaps as you go rather than scraping it straight off.
- Use clamps or temporary battens on sections sitting over hollow or uneven plaster, since these stop the coving slipping before the adhesive has grabbed.
- Panel pins or small screws give extra security to heavier polyurethane profiles, particularly over fragile lath and plaster, and the holes are easily filled afterwards.
- Leave temporary supports in place for the cure time stated on the adhesive packaging rather than judging by touch, since polyurethane coving is heavier than polystyrene and benefits from the full period.
Pro Tip: On a long run over an uneven section, fix a small block of wood temporarily below the coving as a prop. It takes the weight off the adhesive bond while it cures and comes away cleanly once everything has set.
Filling, sanding and painting to hide the gaps
This is where an uneven wall stops looking uneven. Hairline gaps along the back edge of the coving take a paintable acrylic sealant, worked in with a wet finger for a smooth line, while larger voids need a proper decorators’ filler applied in thin layers rather than one thick pass.
- Use decorators’ caulk for hairline movement and filler for anything wider than a couple of millimetres.
- Feather the edges of each application out onto the surrounding wall and ceiling so there is no visible ridge once painted.
- Sand lightly between coats, then prime before the final paint, since polyurethane and polystyrene both take paint cleanly once primed.
Cosmetic filling works well for gaps up to a few millimetres; beyond that, filler alone will crack and reopen, which is the point at which the wall needs attention rather than more caulk. Our guide on painting coving and cornice goes through priming and topcoat choices in more depth.
When to repair the substrate instead of filling
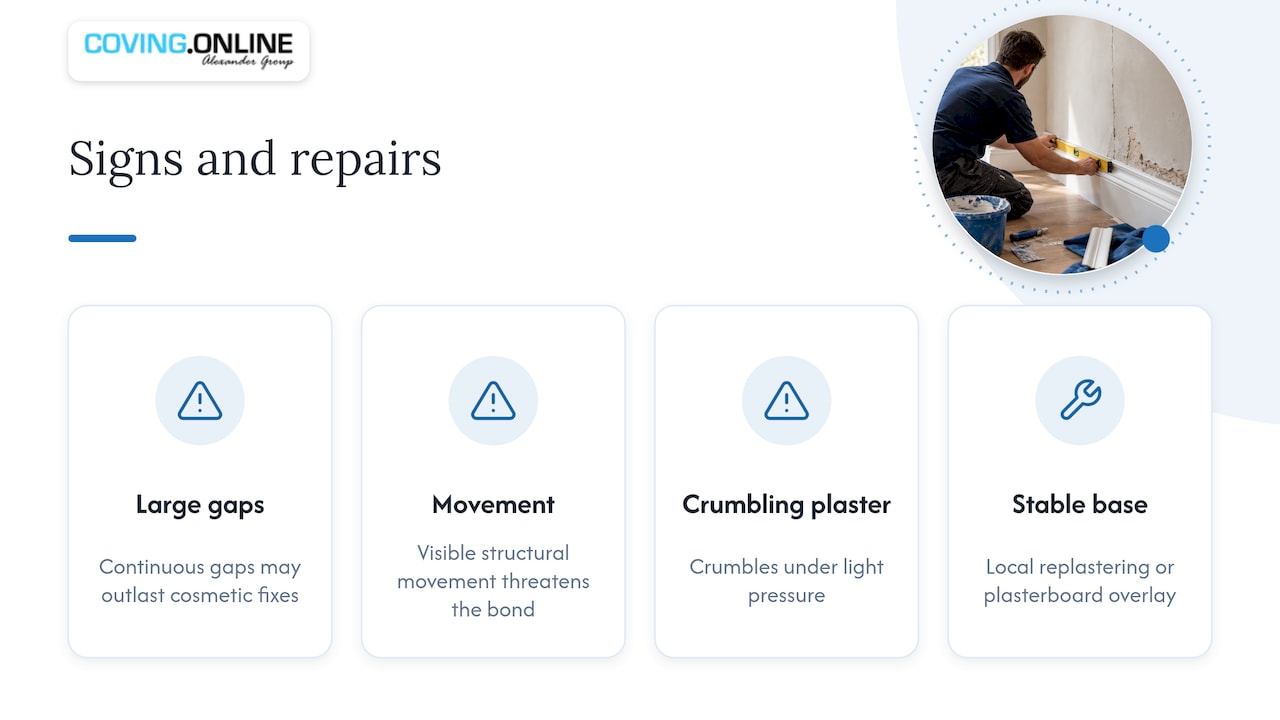
Some walls need more than filler. Large continuous gaps, visible structural movement, or plaster that crumbles under light pressure are all signs that cosmetic fixes will not hold for long. In these cases, local replastering or a plasterboard overlay gives coving a stable base to bond to, rather than fighting a failing surface indefinitely.
For anyone weighing up the cost of substrate repair against simply having it done properly, we can arrange professional fitting through our installation service, so the assessment and the fix happen in one visit rather than several.
Common mistakes we see on site, and the pro shortcuts that fix them
Carl’s Installer Tip: in our experience, the three mistakes that ruin a coving job on uneven walls are rushing the mitres, fixing to the ceiling instead of a level line, and skipping support while adhesive cures. Working in short sections, test-cutting every mitre and using a small dab of adhesive as a temporary hinge before pinning solves most of it. Quality polyurethane profiles are durable on tricky walls, and expert advice is valuable if you are unsure which to choose.
— Carl
How we can help with your uneven wall or ceiling
Choosing the right profile makes an uneven wall far less of a headache, and a range of polyurethane mouldings offers options built specifically for a crisp, paintable finish rather than the thin, dent-prone look of budget polystyrene. If your walls lean towards the severe end of uneven, a flexible or deeper profile from the same range can often absorb more irregularity than a shallow design.

If the thought of coping internal corners on a bowed wall does not appeal, professional installer networks can take the job on from measuring through to final paint-ready finish, so you get the look without the test mitres. Browse our full cornice and coving range to find a profile suited to your room, or head to our installation page to request a quote for professional fitting.
FAQ
How do I fit coving on uneven walls?
Work to a level guideline marked with a spirit level or laser rather than following the ceiling line, choose a durable polyurethane profile, and fill any gaps behind the coving with caulk or decorators’ filler once fixed.
Is there an alternative to coving?
Panel moulding, picture rails or a painted border can create a similar visual break between wall and ceiling without the fixing demands of coving. Each has its own installation considerations, so the right choice depends on the room and the finish you want.
How can I cover up uneven walls?
Stabilising loose or dusty plaster with a bonding agent, then fitting coving to a level guideline and filling any residual gaps with caulk or filler, disguises most minor wall irregularities. More significant unevenness usually needs local replastering before any moulding goes up.
How do I disguise an uneven ceiling?
Coving fixed to a consistent datum line draws the eye away from a ceiling’s natural dips, since it reads as a straight feature rather than following every rise and fall. Painting the coving and ceiling the same colour strengthens this effect further.
Sources
- Bookabuilderuk
- How to Put up Coving | DIY Doctor
- How to apply coving | Best adhesive for coving installation
Recommended
- Install Coving on Uneven Walls
- 2 Installer Ways to Fit Coving Over Wallpaper UK
- Scribe First Skirting for Uneven Floors in UK: Carl’s Installer Tip
