

blog
Orac Decor Coving: A Practical Buying Guide
Sep
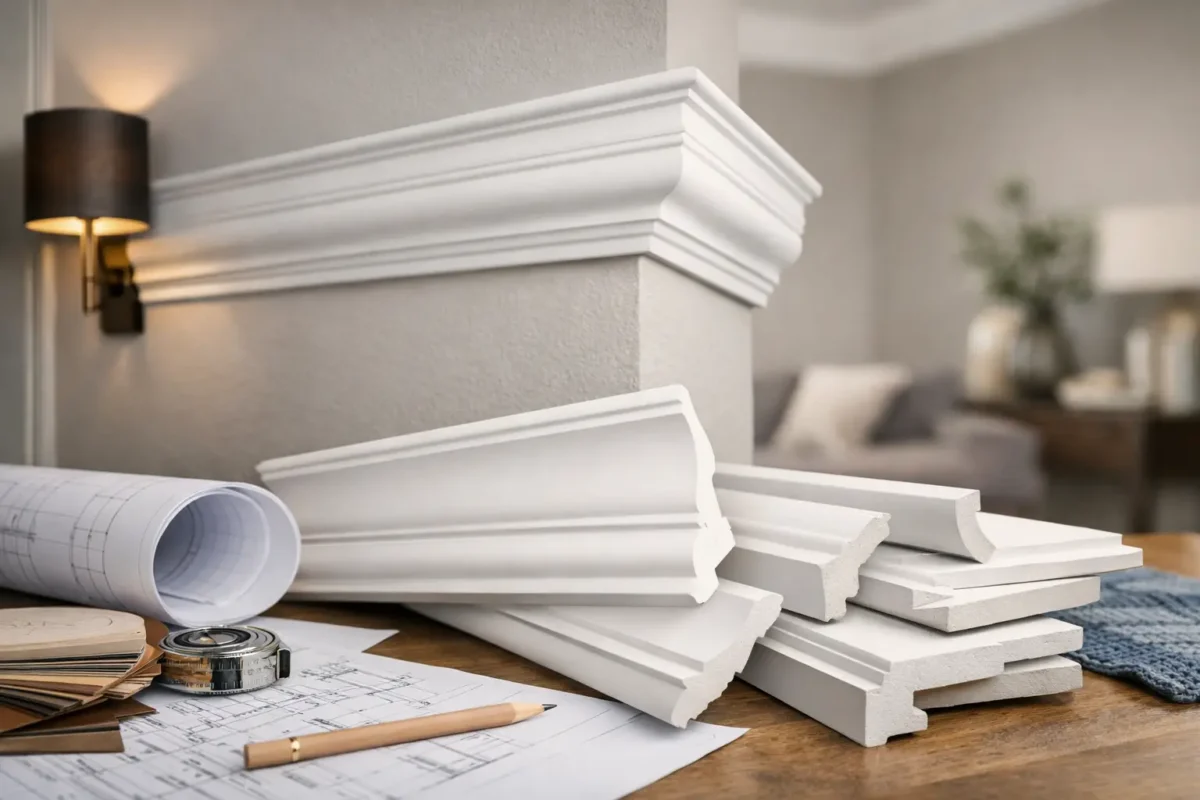
A room can be freshly decorated, beautifully furnished and still feel unfinished when the wall-to-ceiling junction is rough, uneven or completely plain. Orac Decor coving gives that transition a deliberate, architectural finish without the weight, mess and fragility commonly associated with traditional plaster cornice. For homeowners, decorators and fit-out teams, it is a practical way to add detail that looks considered rather than cosmetic.
The right profile does more than decorate a ceiling line. It can correct visual proportions, conceal minor irregularities and create a stronger framework for colour, panelling or lighting. The key is choosing a moulding that suits the room, the existing architecture and the level of detail you want to achieve.
Why choose Orac Decor coving?
Orac Decor is known for lightweight, high-density mouldings designed for interior use. Depending on the profile, products are made from advanced materials including Purotouch polyurethane and Duropolymer. Both offer clear advantages over plaster for most renovation projects: they are easier to handle, resistant to many of the knocks and chips that can damage brittle mouldings, and supplied ready for painting.
This lower weight changes the fitting process. Long lengths are more manageable for installers and capable DIYers, while the need for heavy mechanical support is reduced when the correct adhesive is used on a properly prepared surface. That said, lightweight does not mean fitting is casual. Straight setting-out, clean mitres and good adhesive coverage remain essential if the finished line is to look professional.
Orac coving is also useful where traditional plaster is impractical. It suits occupied homes where controlling dust and disruption matters, upper-floor rooms where carrying heavy materials is inconvenient, and commercial projects where programme time is tight. It can be fitted to plastered walls, plasterboard, painted surfaces and many sound, stable backgrounds once they have been cleaned and prepared.
Choosing the right Orac Decor coving profile
The most successful coving is proportionate. A narrow room with a standard ceiling height will usually benefit from a restrained profile, while a generous reception room, hallway or period property can carry a deeper cornice with more projection. Selecting a profile simply because it looks impressive in a large showroom image can lead to an over-scaled result at home.
Start with ceiling height and room proportions
For lower ceilings, a simple concave or linear profile can make the wall-to-ceiling junction feel sharper without bringing the ceiling visually down. In rooms with higher ceilings, stepped, curved or more decorative designs can add presence and help the space feel balanced.
Also consider how much wall and ceiling each profile covers. A larger profile may be helpful where the junction is uneven or previous finishes have left an untidy edge. However, if you are trying to retain a crisp contemporary look, a slim design with clean geometry will usually work better than an ornate cornice.
In period homes, it is worth looking at nearby original details before choosing a replacement. Coving does not need to be an exact historical replica to look right, but its scale and form should not compete with existing picture rails, ceiling roses, fireplaces or panelled doors.
Decide whether the room needs lighting coving
LED coving is one of the strongest reasons to specify Orac mouldings in a contemporary interior. Purpose-designed profiles create a concealed channel for LED tape, allowing light to wash across the ceiling, down a wall or both. The fitting is hidden, but the effect can transform an ordinary room into a more layered and atmospheric space.
Planning matters here. Confirm the direction of the light output, the location of drivers and cable routes, and whether access will be needed after installation. LED tape should be mounted in an appropriate aluminium profile where required for heat management and a cleaner result. A competent electrician should handle mains connections and advise on switching, dimming and controls.
Indirect lighting is not only decorative. It can soften a low ceiling, reduce reliance on harsh central lighting and make a dining room, bedroom, reception area or hotel corridor feel more refined. It does, however, require more co-ordination than standard coving, so plan it before final decorating begins.
Match the profile to the wider scheme
Coving works best as part of a complete interior approach. A simple modern coving profile can sit neatly above wall panels and tall skirting, while a traditional cornice may be complemented by a ceiling rose and door surrounds. Repeating a similar curve, step or level of formality across the room creates a more intentional finish.
Paint colour also makes a difference. Painting coving the same colour as the ceiling gives a discreet, continuous effect. Carrying the wall colour over the coving can make the room feel taller, particularly with a slimmer profile. A contrasting shade will highlight the moulding, but it demands accurate fitting and careful paint lines.
Measuring and ordering with fewer surprises
Measure every wall run, not just the room dimensions on a plan. Bay windows, chimney breasts, alcoves and small returns all affect the total. Add a sensible allowance for mitre cuts, offcuts and damage, especially when working with a decorative profile where matching the pattern at joins takes care.
Before ordering, check the profile dimensions, length per piece and projection from the wall. Marking the approximate depth on the ceiling and wall with masking tape is a simple way to judge scale in the actual room. It is far more reliable than estimating from a product image.
For trade work, allow for site conditions as well as calculated quantities. Walls may be out of square, corners may not be true 90-degree angles, and ceilings in older properties can vary noticeably across a single room. Ordering enough material to deal with those realities is preferable to delaying a job for one extra length.
Fitting Orac Decor coving for a professional result
A successful installation begins with the substrate. Surfaces must be dry, firm, clean and free from loose paint, wallpaper, dust, grease or powdery plaster. Gloss paint should be lightly abraded to provide a key. If there are major hollows or damaged sections at the wall-ceiling junction, repair them first rather than trying to bridge them with adhesive alone.
Mark level guide lines on both surfaces before applying adhesive. This is particularly important in older homes, where following a visibly uneven ceiling can make coving appear crooked. In some cases, setting the moulding to a level line is the best visual choice; in others, following the existing ceiling is less noticeable. The right approach depends on the room and the severity of the variation.
Use the adhesive specified for the moulding and application. Orac installation adhesives are formulated for bonding and finishing, with suitable options for porous backgrounds, non-porous surfaces and joint work. Applying the correct product generously along the contact edges helps prevent gaps and movement. Press the profile firmly into position, remove excess adhesive promptly and check alignment as you proceed.
Mitres deserve patience. Internal and external corners should be cut accurately with the appropriate mitre box or saw, then dry-fitted before adhesive is applied. Do not assume every corner is square. Measuring the actual angle, or making a small test cut from offcut material, can save an expensive mistake on a long decorative section.
Joins between lengths need adhesive as well as a close physical fit. Staggering joins away from prominent sightlines can help on longer walls, but a properly prepared joint should be discreet wherever it falls. Once the adhesive has cured, fill any minor imperfections, sand lightly where necessary and apply a suitable primer or finish coat according to the paint manufacturer’s guidance.
Common choices that affect the final finish
The biggest mistake is treating coving as the last item on a decorating list. It should be selected before painting, lighting and fitted joinery are finalised, particularly if it will meet wardrobes, curtain pelmets, wall panelling or an LED detail.
Another common issue is underestimating surface preparation. Premium mouldings will not disguise unstable plaster, damp patches or a ceiling that is moving. Addressing the background first produces a cleaner installation and reduces the risk of cracks reappearing at the edges.
Finally, choose the level of installation support that matches the job. A straightforward square room may be well within reach of an experienced DIYer with the right tools. High ceilings, extensive LED work, ornate profiles, irregular corners and commercial deadlines often justify professional fitting. Coving.Online can support both routes with genuine Orac Decor products, compatible adhesives and practical advice.
Well-chosen coving is not a finishing flourish to add on a whim. It is a detail that sets the standard for everything beneath it, so take time to assess the profile in the room, prepare the surfaces properly and fit it with the same care as the rest of the interior.
