

blog
Ceiling Rose Installation for a Cleaner Finish
Jul
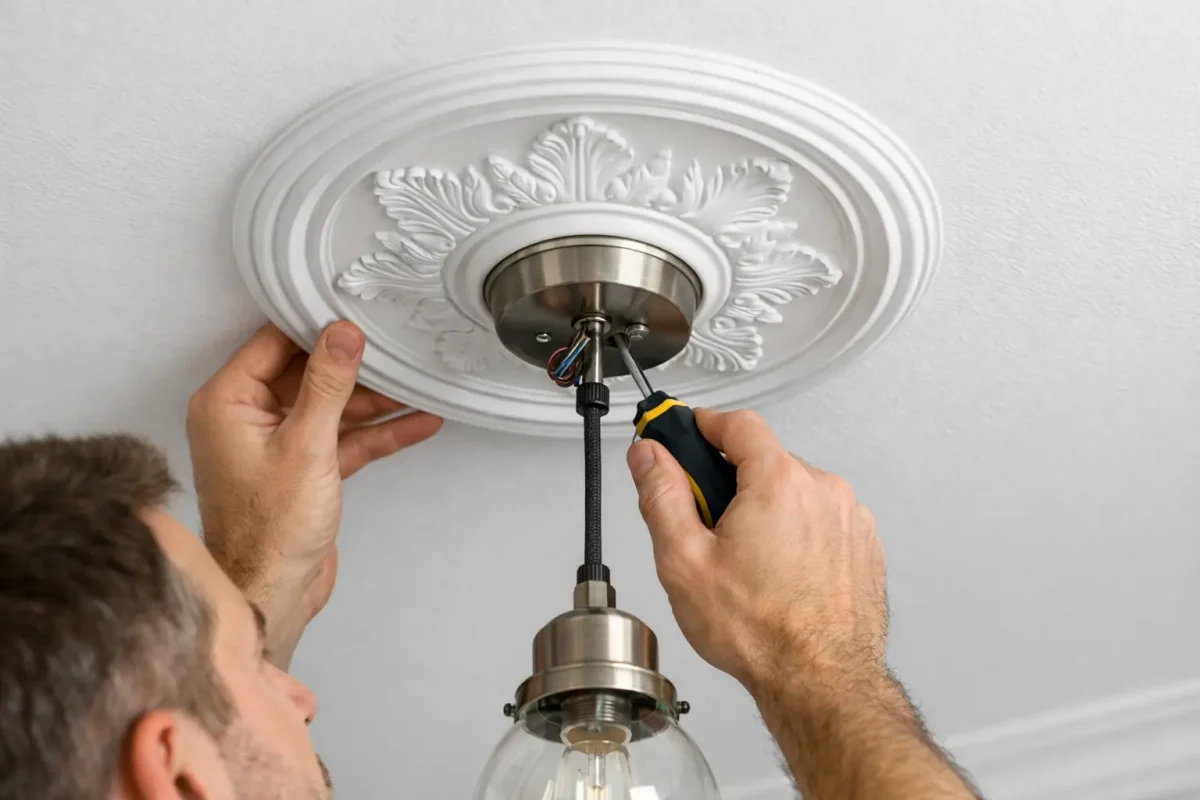
A ceiling rose should look as though it has always belonged in the room – centred on the light, crisp at the edge and free from visible gaps. That result starts before the adhesive is opened. A successful ceiling rose installation depends on choosing the right size and material, preparing a sound fixing surface, and treating the electrical fitting as a separate safety consideration.
Lightweight polyurethane roses are particularly well suited to renovation work. They give the depth and detail associated with traditional plasterwork, but are easier to handle overhead, resistant to knocks and ready to paint. For homeowners, decorators and fit-out teams, that can make a decorative upgrade far more practical without compromising the finish.
Choose the right ceiling rose before fitting
The rose needs to suit both the room proportions and the ceiling light position. A large, detailed design can create a strong focal point in a tall Victorian reception room, while a smaller, cleaner profile is often the better choice for bedrooms, hallways and contemporary spaces. The aim is not simply to fill the ceiling around the pendant – it is to frame it without making the room feel top-heavy.
As a broad guide, a rose around 300mm to 400mm in diameter works well in many standard rooms. Larger rooms with high ceilings can carry a more substantial design, particularly where there is existing coving or cornice to match. If the ceiling is low, choose a shallower profile with less projection to keep the detail elegant rather than imposing.
Material matters as much as scale. Traditional plaster roses have a convincing heritage feel, but they are heavy, fragile and less forgiving to fit. A high-quality polyurethane ceiling rose provides a crisp decorative surface at a fraction of the weight. This reduces strain during installation and makes it a sensible option where access is limited or the ceiling construction is uncertain. It also accepts paint well, so the rose can disappear into a white ceiling or become a deliberate feature in a contrasting colour.
Check the centre opening before ordering. It must be suitable for the cable and the chosen light fitting, but the rose itself is not a fixing point for a heavy chandelier or pendant. The electrical fitting must always be supported by an appropriate ceiling joist, bracket or rated electrical box, not by decorative moulding.
Prepare the ceiling and electrical point
Good preparation is what prevents an otherwise neat installation from developing gaps later. The ceiling should be dry, clean and stable. Remove loose paint, flaky filler, wallpaper, dust and any residue that could stop the adhesive bonding properly. Glossy painted surfaces may need to be lightly abraded so the adhesive has a reliable key.
Hold the rose in position before applying anything. This dry fit confirms that the design sits flat and that the opening aligns with the cable position. Mark the outline lightly in pencil, then mark the centre if required. This is also the moment to check whether an uneven ceiling will leave a visible gap around one edge.
Minor unevenness is common in older properties and can often be managed with the correct adhesive and a little careful finishing. Significant dips, loose plaster or moisture damage should be repaired first. Decorative mouldings can improve the appearance of a ceiling, but they should not be used to disguise an unsound substrate.
Before working around a pendant cable or ceiling connection, isolate the circuit at the consumer unit and confirm that it is dead using suitable test equipment. If you are changing wiring, moving the light point, fitting a heavy light, or are unsure how the existing connection is supported, use a qualified electrician. A ceiling rose installation is a decorative task, but electrical work remains subject to the right safety standards.
Ceiling rose installation step by step
Cut and test the centre opening
Some roses are supplied with a pre-formed opening, while others allow the centre to be opened to suit the fitting. Measure carefully and cut gradually. A hole saw or sharp craft knife may be appropriate depending on the product, but avoid forcing the material or cutting beyond the canopy that will cover the opening. The light fitting’s ceiling cup should conceal the cable entry neatly.
Test the rose again with the cable passing through. It should sit naturally against the ceiling without being pushed out of position by wiring or an oversized connector block.
Apply the correct adhesive
Use the manufacturer-recommended moulding adhesive, applied in a continuous bead to the rear contact edge of the rose. Keep the bead far enough from the outside edge that excess does not spread across the decorative face when pressed into place. For larger or heavier designs, follow the product instructions on adhesive coverage and any temporary mechanical support required while it cures.
Avoid ordinary grab adhesive unless it has been specifically approved for the moulding material and ceiling surface. The right adhesive is designed to create a dependable bond while allowing a clean finish at the joint.
Position, press and clean the joint
Feed the cable through the centre opening and align the rose with your pencil marks. Press it firmly and evenly into place, starting at the centre and working out towards the edge. Do not twist the rose once it contacts the ceiling, as this can disturb the adhesive bead and create an uneven joint.
Remove surplus adhesive promptly with a clean damp sponge or cloth, following the adhesive guidance. A small amount of excess at the perimeter is useful because it can be worked into the joint, but it should not be left smeared across fine detailing. Check from several angles to make sure the rose is level and centred on the visual line of the room, not just the cable.
If the ceiling is uneven, apply a little additional finishing adhesive where necessary and smooth it into the perimeter. Once cured, lightly sand any rough areas before painting. Do not overfill delicate relief patterns, as sharp definition is part of what makes a ceiling rose look convincing.
Painting and fitting the light
Allow the adhesive and any filler to cure fully before decorating. Most lightweight decorative roses can be painted with a suitable water-based interior paint. A ceiling white is the traditional choice and helps create a continuous, architectural finish. For a more deliberate look, use the same colour as the walls or cornice, or pick out the rose in a darker tone in rooms with generous ceiling height.
Apply paint in thin coats, working it into recessed detail without flooding it. A brush is generally better than a roller for ornate designs, although a small roller can help on smooth outer areas. Painting before the pendant canopy is fitted usually gives the cleanest result.
Once the decorative work is complete, the light fitting can be connected and secured by a competent person. Again, the fitting’s weight must be carried by the structural or electrical fixing behind it. The ceiling rose is there to provide the finished visual frame, not to carry a load.
Common problems and how to avoid them
The most frequent issue is a gap around the perimeter. Usually, this is caused by a ceiling that has not been checked during the dry fit, too little adhesive, or pressure being released before the rose is fully seated. A compatible finishing adhesive can deal with small gaps, but preparation is the better solution.
Another common mistake is selecting a rose that is too small for the ceiling mark left by an earlier fitting. Measure any stained, painted or damaged area around the existing pendant before choosing a diameter. It is much easier to cover the old footprint than to repaint a patch afterwards.
Finally, do not rush the electrical side to finish the room quickly. A beautifully fitted rose cannot compensate for an unsupported pendant, cramped wiring or an unsuitable connection. If there is any doubt, pause and arrange professional help.
For projects combining roses with coving, cornice or wall panelling, choosing mouldings from a coordinated range helps keep proportions and style consistent. Coving.Online can support both product selection and practical fitting decisions, whether you are completing one room or specifying detail across a larger renovation. Take time over the setting-out and finishing, and the ceiling rose will deliver the polished focal point the room deserves.
