

Home Decor
Make Doors Read Taller: 8 Practical Door Surround Ideas for UK Homes

Sep
The strongest door surround ideas fall into a handful of families: painted contrast trim, trimless flush reveals, wide statement casings, classical pilaster surrounds, stone or marble frames, and layered stepped headers. The right pick depends on three things: your wall material, whether the door faces weather, and how much height or drama the room can carry. Profiles and adhesive kits for most of these routes are available.
TL;DR:
- Painted contrasting trim is the most affordable and straightforward update, with the option to match or contrast the wall color for different effects.
- Trimless or flush reveals require precise plastering and hardware to achieve a sleek, modern look, best suited for contemporary designs.
- Layered, built-up casings or classical surrounds with pilasters and pediments create a sense of grandeur, particularly fitting for period homes or formal entrances.
- Natural stone or marble surrounds offer high-end durability and visual impact but involve significant cost and structural planning.
- Proper sizing and professional installation techniques are crucial to avoid gaps, uneven profiles, or out-of-plumb issues, especially when working with complex profiles or older wall surfaces.
Table of Contents
- Door surround ideas that actually change how a room reads
- Choosing materials and finishes that suit the location
- Getting the proportions right
- How to plan a straightforward installation
- Carl’s take: what’s actually worth spending on
- Ready to reframe your own entrance?
- Sources
Door surround ideas that actually change how a room reads
A door surround is the architrave, casing and any decorative moulding that frames the opening. Change it and you change how tall, how formal, or how deliberate the whole wall looks. These eight approaches cover the range, from a five-minute paint job to a full stone entrance.
1. Painted contrasting trim. The simplest of all the door surround ideas here: pick a trim colour that reads clearly against the wall. Designers advise that trim doesn’t need to match the door itself; a dark navy architrave against a pale wall draws the eye and adds definition without any carpentry. The opposite move, colour drenching the trim to match the wall exactly, hides the door for a deliberately minimal look. Both work. Neither costs more than a tin of paint and a weekend.
2. Trimless or flush reveal. Strip the casing away entirely and plaster to a clean reveal instead. This is one of the modern trends gaining ground because trimless doorways create a sleek, uninterrupted sightline, particularly in contemporary new builds. It demands precise plastering and careful hardware choices so the door still closes cleanly against the frame, so this is one to brief a plasterer on rather than attempt cold.
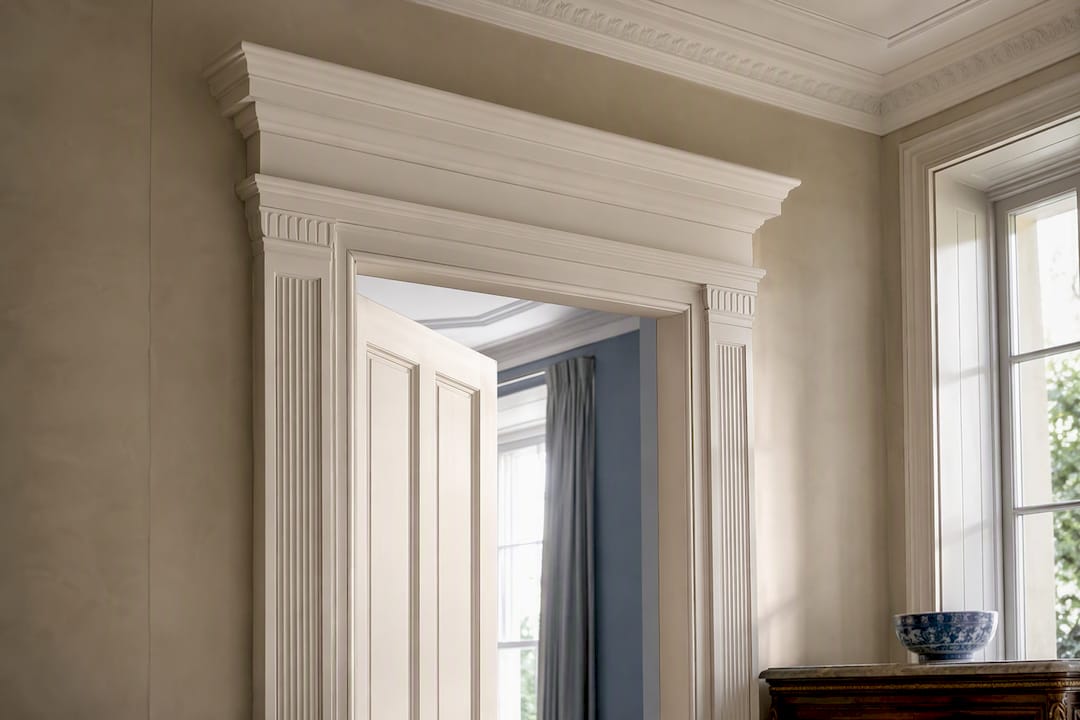
3. Wide statement casing with a built-up header. Stack two or three moulding profiles above a door to fake grandeur that would otherwise need bespoke joinery. Wider, layered casings remain firmly in fashion because they add perceived value and a sense of luxury for relatively little extra material.
4. Classical surround with pilasters or a pediment. For period homes or a formal front entrance, a Gibbs surround is hard to beat. It’s a recognised classical style featuring alternating rusticated blocks, often paired with a keystone and pediment, and it still anchors heritage and formal doorways today. Orac Decor’s classical ranges replicate this detailing in polyurethane, so you get the visual weight without carving stone.
5. Stone or marble surrounds. Natural stone brings a different register entirely. Marble and other stones are typically chosen for interior refinement or for durable exterior surrounds where budget and structure allow it. It’s the highest-commitment option on this list, both in cost and in the structural planning it needs.
6. Layered or stepped surrounds with a plinth block. Stepping the profile back in stages, rather than using one flat board, creates shadow lines that read as depth even in flat daylight. Plinth blocks at the base give the casing somewhere to land instead of running straight into the skirting.
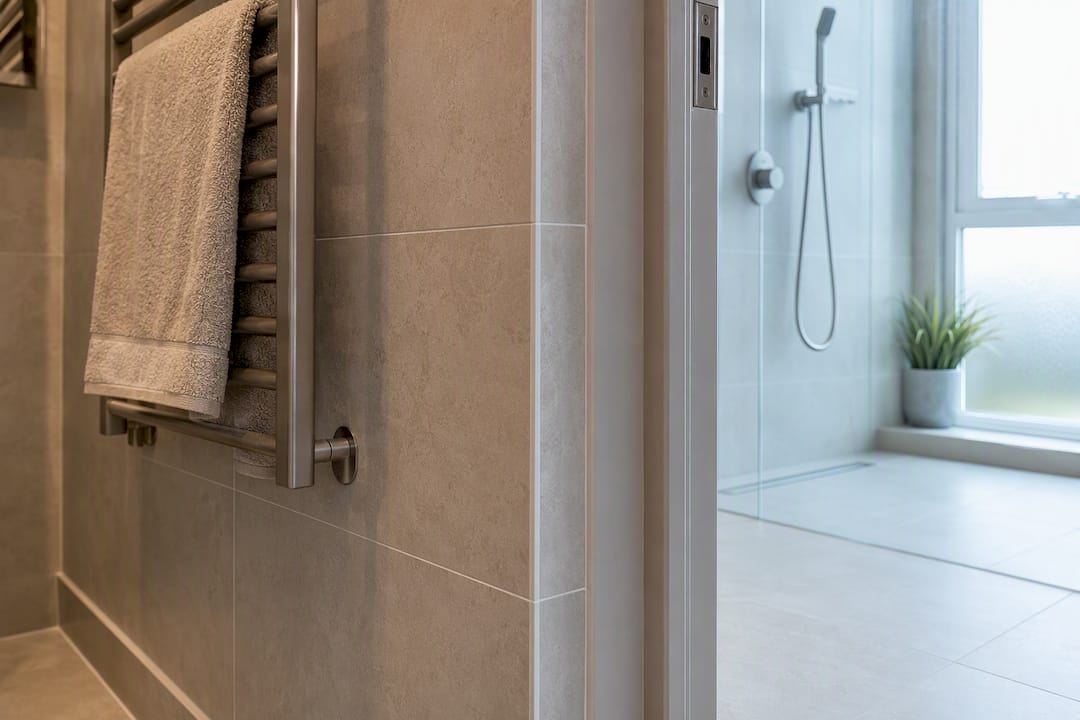
7. Tiled or waterproof surrounds for bathrooms. Around a shower room or wet room door, timber trim will eventually swell or blister. A tiled reveal, or a polyurethane profile rated for damp areas, holds its finish far longer.
8. Butted casing with rosettes for a cottage look. Square corner blocks (rosettes) at the top corners, with plain butted casing running down to the floor, give a craftsman or cottage feel without a single mitre cut.
Choosing materials and finishes that suit the location
Interior surrounds usually come down to three choices: painted MDF, stained solid timber, or polyurethane moulding profiles. Painted MDF is the most forgiving and least expensive, though it needs a primer that seals the cut edges properly. Stained timber shows grain and warmth that paint can’t replicate, but it costs more and marks more easily. Polyurethane profiles from ranges such as Orac Decor sit between the two: pre-primed, dimensionally stable, and often quicker to fit than solid wood because they arrive with the decorative detail already moulded in.
Exterior surrounds face a harder test. UK weather cycles between driving rain and hard frost, and high-density EPS and polyurea kits visually replicate stone at a fraction of the cost while shedding water and standing up to that cycle far better than cast stone does at the same price point.
On finish:
- Semi-gloss enamel suits high-traffic trim because it highlights the profile’s detail and wears well.
- Satin reduces visible brush marks on wide boards.
- Flat paint hides small imperfections but scuffs faster near door handles.
- Always sample the paint on an offcut of trim, standing it upright, before committing. The same colour reads noticeably differently on a vertical profile than it does on a flat swatch.
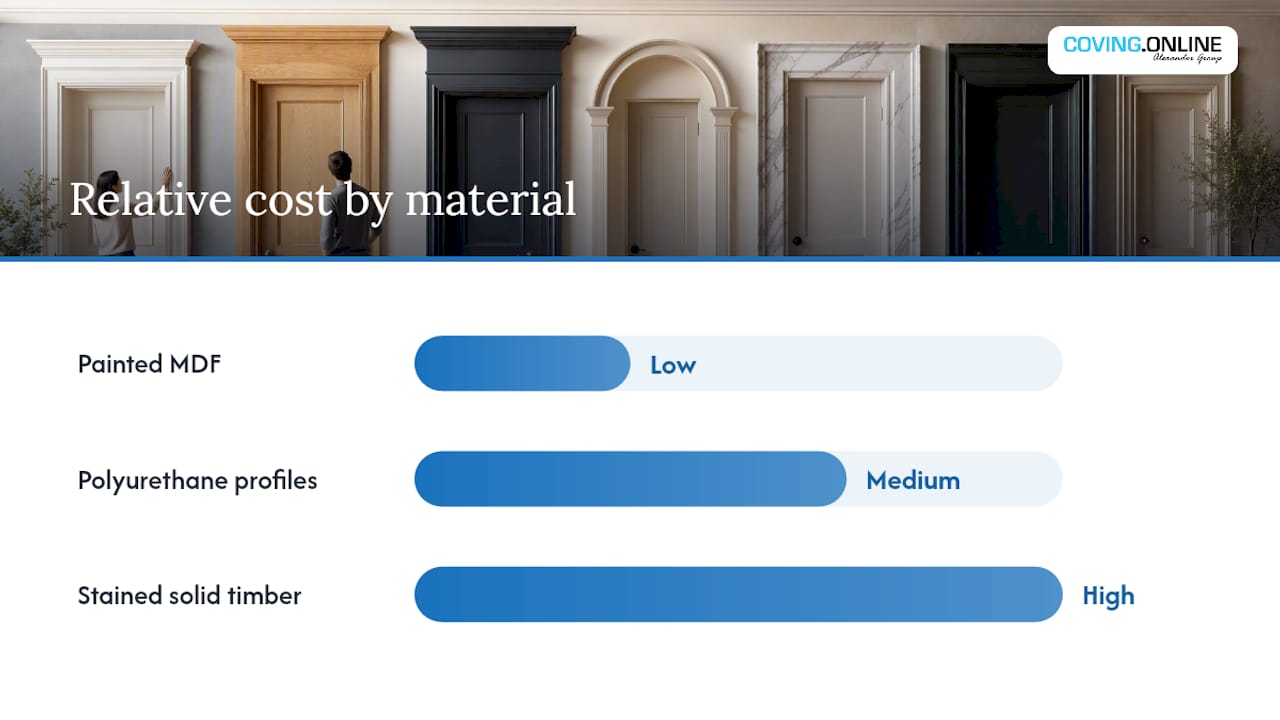
Pro Tip: Budget signals roughly split into low (painted MDF architrave), medium (polyurethane classical profiles), and high (natural stone or bespoke timber). Check individual product pages for current UK pricing before settling on a design.
Getting the proportions right
Scale is where most door surround ideas quietly go wrong. Too narrow a trim on a tall room looks mean; too wide on a low ceiling looks clumsy.
- 2¼ to 3½ inch boards suit standard ceiling heights of around 2.4 metres.
- 4¼ to 5¼ inch profiles balance taller rooms and period properties better.
- Built-up headers, made by layering two or three standard casings, add apparent height without any custom millwork or structural change.
- Butted corners are the forgiving DIY option; mitred or coped joints give a sharper, more polished finish but demand accurate cutting.
- Keep skirting height and trim width consistent across a room. Mismatched widths on adjoining walls are one of the fastest ways to make a good moulding choice look accidental.
Pro Tip: If your walls aren’t perfectly plumb, and most older houses aren’t, scribe wide casing to the wall rather than forcing a straight edge. A coped joint at the corner will forgive far more than a tight mitre.
How to plan a straightforward installation
Most polyurethane and EPS surround kits go up using an adhesive-first method rather than nails, which suits modern wall finishes and avoids visible fixings. The general workflow:
- Measure the opening and dry-fit the pieces before any adhesive touches the wall.
- Mark a centreline so the head casing sits square.
- Apply a foam-compatible construction adhesive in a bead along the back of the profile.
- Press the piece into place and prop it temporarily while the adhesive cures.
- Check plumb and level before the adhesive sets fully.
- Caulk the joints and touch up with paint.
Replacing stock casing this way is one of the more economical ways to change a room’s look, using modest material and often finishable in a single day for a standard interior door.
The most common mistakes: inaccurate mitre cuts that leave gaps at the corners, ordering a profile that’s out of scale with the room, and ignoring an out-of-plumb wall until the casing is already stuck down.
Carl’s Installer Tip: We’ve found that oil-based adhesives and fillers can actually degrade EPS surrounds over time, so always confirm the adhesive is foam-compatible before you start. In our experience, propping the header in place with a temporary support while the adhesive cures stops it slumping and keeps the joints tight overnight.
Carl’s take: what’s actually worth spending on
In our experience, the best value move for most homes is new painted casing over old, tired trim, not a jump straight to stone. It transforms a doorway in a day and costs a fraction of a full stone surround.
Before choosing a route, weigh up: the look you’re chasing, your real budget, whether the door faces weather, your timescale, and how much upkeep you’re willing to do. A polyurethane classical profile gets you most of the visual weight of carved stone with none of the structural planning.
For anything beyond a straightforward paint and casing swap, consider consulting a specialist supplier for kit advice or an installer referral.
— Carl
Ready to reframe your own entrance?
Coving.Online stocks Orac Decor and NOËL & MARQUET profiles for every idea covered here, from classical pilaster kits to weather-resistant exterior surrounds, alongside the adhesives and fixings to fit them properly.

If you’ve settled on a look but aren’t sure which profile suits your door width or wall type, the full Orac Decor moulding range is worth browsing before you order, and the featured surround kits and finished examples give a clearer sense of scale than a product photo alone. For anything beyond your own DIY confidence, the Elite Decor UK installer network can quote for supply and fit as one job. Before buying, it’s also worth reading up on how interior door styles pair with their surrounding trim so the casing you choose actually suits the door behind it. Request a quote, check measurements against the product pages, and order your kit direct from Coving.Online.
Sources
- Gibbs surround — Wikipedia
- 16 Door Trim Ideas to Dress Up Any Room — The Spruce
- Door trim ideas – 8 ways to upgrade your home’s door frames — Livingetc
- Door trim ideas — Better Homes & Gardens
