

blog
How to Fit LED Wall Moulding for a Clean Finish
Sep
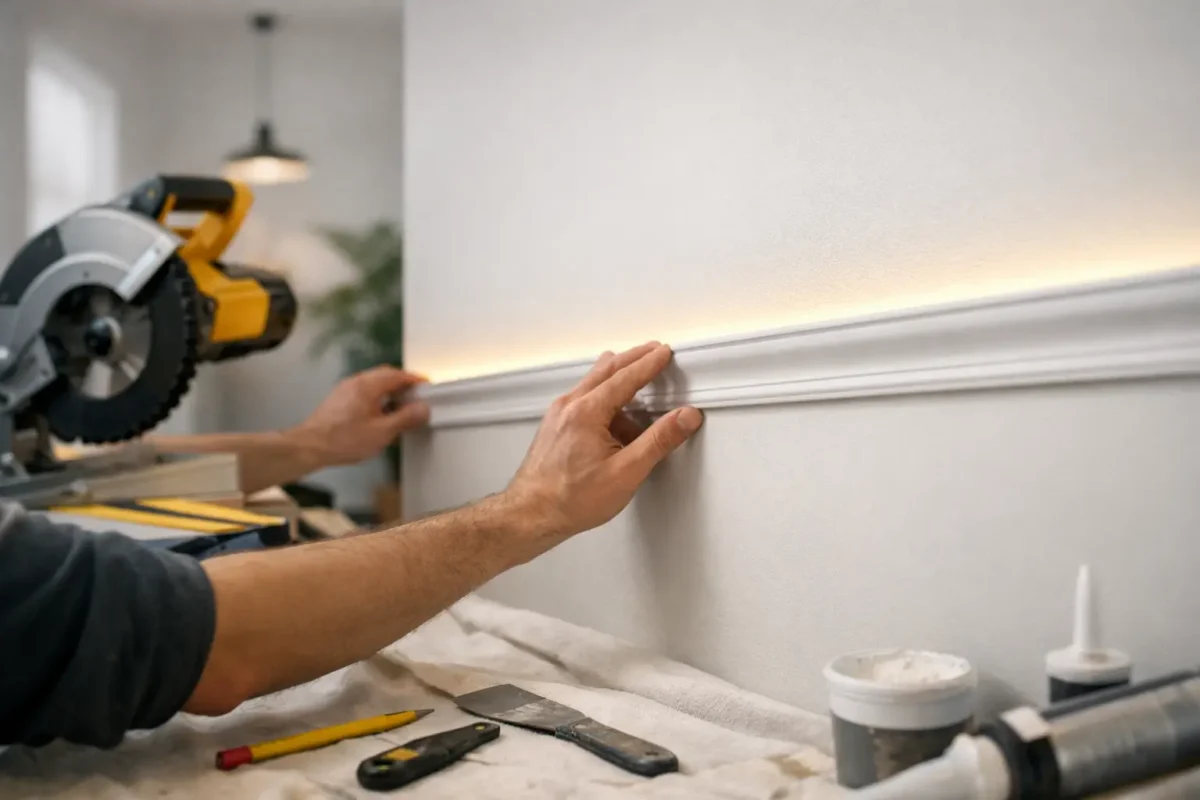
A well-planned LED feature wall can change the mood of a room before a single piece of furniture is moved. To fit LED wall moulding successfully, treat the lighting channel, profile layout and electrical route as one detail rather than three separate jobs. The result should look intentional in daylight, provide a soft wash of light at night and leave no visible cable, uneven joint or distracting LED hotspots.
Unlike a simple decorative panel moulding, an LED profile needs enough space for the chosen tape, driver and diffuser. It also needs a sound, flat background so that the moulding remains straight and the light line is consistent. Careful preparation is what separates a crisp professional finish from a feature wall that looks good only from one angle.
Plan the LED wall moulding before ordering
Start by deciding what the light needs to do. A perimeter design can make a wall feel wider or taller, while vertical sections either side of a chimney breast, television or artwork create a more architectural focal point. Recessed-looking horizontal lines tend to suit contemporary schemes, whereas framed wall panels with integrated illumination can sit comfortably in period renovations when the proportions are right.
Measure the full wall and draw the layout to scale. Mark the centre line first, then work outwards so that panels, gaps and end sections are balanced. A narrow cut at one edge is usually more noticeable than a slightly adjusted central panel. If the design will sit behind a television, allow for the bracket, ventilation, sockets and any access needed for future equipment changes.
The position of the driver matters as much as the profile. LED tape is low voltage, but its driver must be suitable for the load and remain accessible for maintenance. Do not bury it permanently behind moulding or plasterboard. Decide where mains power will enter the system and use a qualified electrician for any fixed electrical work. This is particularly relevant in kitchens, bathrooms and commercial interiors, where zoning and specification requirements may apply.
Choose a profile and lighting components that work together
LED wall mouldings are not all designed for the same effect. Some project light upwards or downwards across the wall, while others conceal an LED channel within a panel arrangement. Check the internal dimensions of the profile against the LED tape and any diffuser before fitting. A diffuser helps protect the tape, softens the visible points of light and gives the finished channel a cleaner appearance.
For general ambient lighting, a warm white LED usually gives the most comfortable result in living rooms and bedrooms. Neutral white can work well in hallways, dressing areas and contemporary commercial spaces. The brighter the tape, the more important it becomes to use a profile that hides the LEDs from normal viewing angles. A highly reflective paint finish or glossy wall surface can also reveal individual diodes, so test a short length where possible.
Use quality LED tape with a suitable wattage, driver and connectors. Cheap tape can produce uneven colour, reduced output and premature failure, none of which can be fixed without reopening the moulding. For longer runs, voltage drop may affect brightness towards the far end. Your electrician or lighting supplier can advise on feed points and driver capacity for the total run.
For the moulding itself, lightweight polyurethane profiles offer practical advantages over plaster. They are easier to handle, simple to cut with the right saw, durable in everyday interiors and ready to paint once joints are finished. This makes them particularly useful for renovation work, upper-floor rooms and projects where installation time matters.
Prepare the wall and set out accurately
A decorative lighting detail will only look as straight as the lines beneath it. Check the wall with a long spirit level or laser level before applying adhesive. Older properties often have slight bows, uneven plaster and corners that are not truly square. These are manageable, but they should influence how you set out the profile and where you place joins.
Remove loose paint, wallpaper and dust. The surface must be dry, stable and free from grease. If the wall has recently been skimmed, allow it to dry fully before fitting. Very porous surfaces may need priming so that the adhesive bonds reliably rather than soaking into the plaster.
Mark the profile position with a pencil and level, using light lines that can be covered or removed before painting. For a multi-panel design, make a story stick – a marked batten showing repeated panel sizes and gaps. This is faster than measuring every section separately and helps prevent small discrepancies building across the wall.
Dry-fit the main lengths before opening adhesive. Confirm the direction of the LED channel, check the mitres at corners and make sure cable exit points land where planned. It is far easier to alter a cut or adjust the route at this stage than once a profile is bonded to the wall.
How to fit LED wall moulding cleanly
Cut the moulding with a fine-tooth saw and a mitre box or powered mitre saw appropriate for the profile. Take care to support longer lengths during cutting. A clean 45-degree mitre is essential at external corners, but do not assume every room corner is exactly 90 degrees. Measure awkward corners and cut test pieces from offcuts where needed.
Apply the manufacturer-recommended installation adhesive in continuous beads on the contact surfaces of the profile. Press the moulding firmly into position along the marked line, then check it again with a level. For large or long sections, work with a second person. Temporary panel pins or low-tack tape can hold a length while the adhesive cures, but avoid fixing methods that could damage the finished face.
Squeeze-out adhesive is useful, not waste. Remove excess promptly with a clean filling knife, then use the correct joint adhesive or filler to close mitres and butt joints. A good joint should be filled, aligned and sanded flush after curing, not simply covered with paint. This is especially important around an illuminated channel, where light can highlight even a fine shadow line.
Keep the LED tape off until painting and finishing are complete. Fit it into a clean, dry channel once the profile has been painted and fully cured. Cut tape only at the marked cut points and test every section before removing backing paper. Press it evenly into place without stretching it, then fit the diffuser if your system includes one.
Finish the profile so the light remains the focus
Most quality polyurethane mouldings are supplied ready for a final coat, but check the product guidance before painting. Use a compatible primer if required, then apply a good-quality water-based paint in the chosen sheen. A matt or eggshell finish usually keeps attention on the shape and lighting, while a higher sheen makes the moulding more of a decorative statement.
Paint before installing the diffuser and LED tape wherever possible. Mask the open channel carefully if it cannot be left empty. Paint inside an LED channel can affect fit, reflectivity and heat management, so keep the area clean unless the product instructions specifically allow it.
Once the system is connected, test it in both daylight and evening conditions. Stand where the room will normally be viewed from and look along the profile for visible breaks, light bleed or uneven brightness. Small adjustments to a diffuser, tape position or dimmer setting can make a significant difference.
Common fitting mistakes to avoid
The most frequent issue is installing the moulding before the electrical plan is finalised. This can leave the driver inaccessible or force cables into unsuitable positions. Another is relying on a visual line rather than a laser or long level, which often produces a design that drifts across the wall.
Avoid using general-purpose grab adhesive where the moulding manufacturer specifies a dedicated product. Adhesive choice affects bond strength, joint performance and the amount of adjustment available during fitting. It is also worth buying extra profile where the layout includes several mitres or complex returns, particularly if all pieces need to match in one continuous design.
Finally, do not judge the effect from a single switched-on test at midday. LED wall moulding is an architectural lighting detail. It needs to be assessed when the room is darker, the main lights are off and the feature is doing the job it was designed for.
For homeowners and trade installers alike, the best results come from taking time over the set-out and using components designed to work together. Coving.Online can help make the decorative side of the specification clearer, while a qualified electrician should always confirm the electrical installation. When the line is level, the joins are invisible and the light is properly controlled, the wall becomes a finish worth noticing rather than a fitting detail anyone needs to inspect.
