

blog
Which Adhesive for Cornice? A Practical UK Guide
Oct
A cornice can look perfectly aligned on fitting day and still open at a joint weeks later if the wrong adhesive has been used. If you are asking which adhesive for cornice is right for your project, start with the surface you are fixing to, then consider the cornice material and whether you need to bond joints as well as secure the moulding to the wall and ceiling.
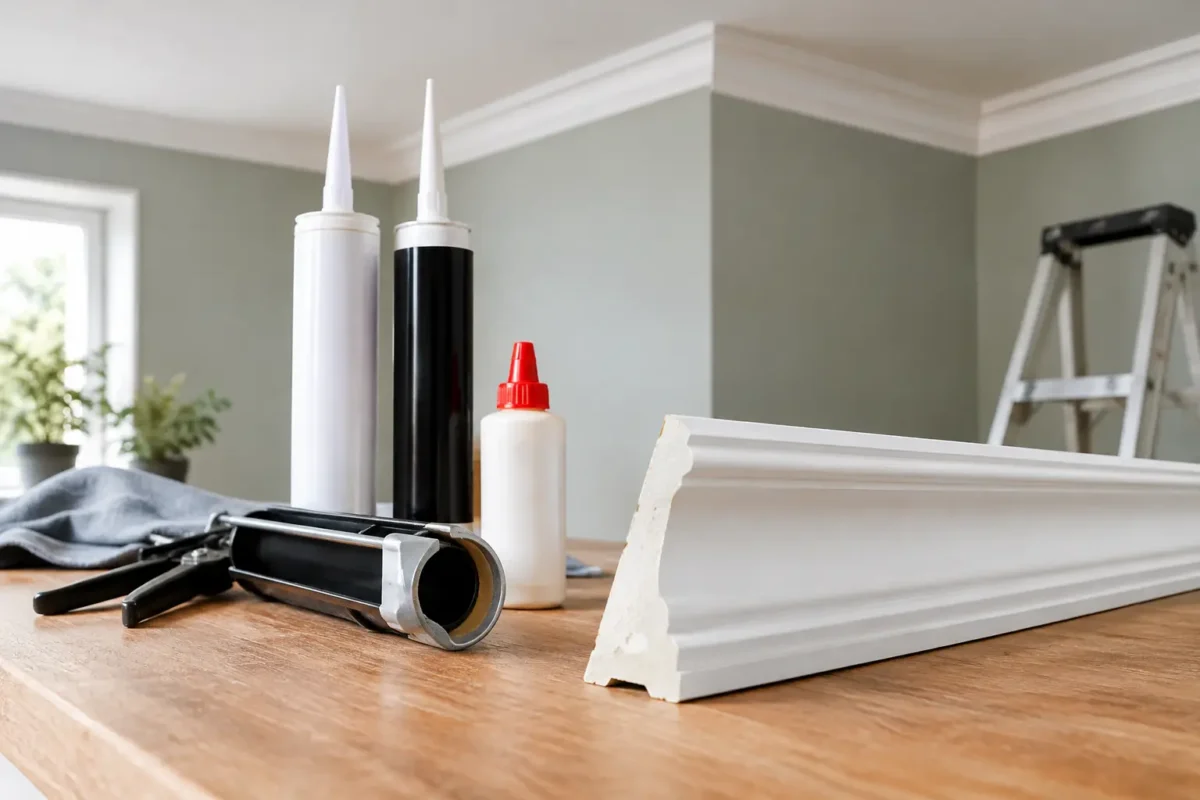
For lightweight polyurethane cornice such as Orac Decor, a purpose-made moulding adhesive delivers far better results than relying on general grab adhesive alone. The correct product provides strong initial grab, stays workable long enough for accurate positioning and is formulated to work with decorative mouldings rather than fighting against them.
Which adhesive for cornice should you use?
Most internal cornice installations need two different jobs to be covered: fixing the cornice to the wall and ceiling, and bonding the mitred or straight joints between lengths. These are not always best handled by the same adhesive.
For standard fitting onto porous surfaces, use a high-quality polyurethane moulding installation adhesive such as Orac Decor DecoFix Pro. It is designed for fitting lightweight cornice, coving, dado rail and other decorative profiles to absorbent backgrounds including sound plaster, plasterboard, primed timber and properly prepared masonry.
For non-porous or difficult backgrounds, choose an adhesive formulated for those conditions, such as DecoFix Hydro where appropriate. This is particularly useful in bathrooms, kitchens and other humid areas, and for surfaces that do not absorb adhesive in the same way as bare plaster. The surface still needs to be clean, stable and properly prepared – an adhesive cannot compensate for loose paint or a dusty wall.
For joints, use a dedicated joint adhesive such as DecoFix Extra. A joint product is formulated to create a strong bond between cornice lengths and help minimise visible movement at mitres. It is not simply a cosmetic filler. Applying it correctly is one of the key differences between a crisp, professional finish and a cornice line that later develops fine cracks at every join.
In practical terms, use installation adhesive on the rear fixing edges of the cornice, then apply joint adhesive to the contact faces where two lengths meet. Wipe away excess immediately with a clean damp sponge or cloth, following the adhesive instructions.
Why general grab adhesive is not always enough
A general-purpose grab adhesive can appear to work, especially on a short and light piece of coving. However, it is rarely the best choice for a premium decorative moulding installation. Some products are too thick to spread evenly, cure too quickly for careful adjustment or remain too flexible for a clean joint line. Others do not bond reliably to painted or sealed surfaces.
Cornice installation creates a particular loading pattern. The profile is bonded across both the wall and ceiling, often with its weight projecting into the room. A good moulding adhesive spreads that load across the fixing surfaces. It also gives the installer time to press, slide and align the piece accurately before it grabs.
Do not use standard decorator’s caulk as the primary adhesive. Caulk is useful for finishing very small perimeter gaps after fitting, but it is not designed to carry the moulding. Likewise, filler should never be used to close a poorly cut mitre or a gap caused by an uneven wall. Correct preparation, a sound adhesive bond and accurate cuts come first.
Match the adhesive to the surface
The same cornice can require a different adhesive depending on the room and substrate. This is where many fitting problems begin.
Porous walls and ceilings
Fresh, sound plaster; unsealed plasterboard; and suitably primed timber are generally porous surfaces. A professional installation adhesive for porous backgrounds is normally the right starting point. Make sure the area is dry and free from sanding dust, wallpaper paste, grease and friable paint.
If the wall has recently been plastered, allow it to dry fully before fitting. Adhesive applied over damp plaster can lose strength as the background continues to dry and move. New plaster should also be sealed or primed as required by the adhesive manufacturer’s instructions.
Painted, tiled or sealed surfaces
Gloss paint, ceramic tiles, sealed timber, metal and some existing coatings are non-porous. They often need a specialist adhesive and more thorough surface preparation. Degrease the area, lightly abrade where suitable, and remove all dust before applying adhesive.
A painted wall is only as secure as the paint beneath it. If masking tape removes flakes of paint, the coating is not a reliable bonding surface. Scrape back unstable areas and make good the substrate before fitting the cornice.
Bathrooms and humid rooms
Moisture-resistant polyurethane cornice is an excellent choice for bathrooms and kitchens, but the adhesive must suit the conditions too. Use a product approved for non-porous or humid environments when needed, and avoid fitting onto condensation-prone or damp surfaces.
Ventilation matters. Even the best adhesive will not resolve an ongoing moisture issue behind tiles, paint or plasterboard. Deal with leaks, poor extraction and surface damp before decorative finishing begins.
How much adhesive should be applied?
Apply a continuous bead along both rear fixing edges of the cornice – the surfaces that meet the wall and ceiling. Do not leave long gaps in the bead. A continuous line reduces the risk of hollow sections, weak spots and gaps opening along uneven backgrounds.
The bead should be substantial enough to make full contact when the profile is pressed into place, without creating excessive squeeze-out. Larger cornice profiles and less even walls may require a more generous application. It is better to plan for a small amount of tidy clean-up than to under-apply adhesive and compromise the bond.
Dry-fit each length before opening the adhesive. Check the direction of the profile, confirm internal and external mitres, and mark the wall and ceiling with light guide lines. For longer pieces, having a second person available makes alignment much easier and helps prevent the moulding from twisting while you position it.
Apply joint adhesive to both cut faces before bringing the lengths together. Press the joint firmly, align the profile detail, then remove excess adhesive straight away. A little adhesive should squeeze from a correctly closed joint; it indicates full contact rather than a dry, starved bond.
Preparation has more impact than most people expect
Cornice adhesives perform best on surfaces that are flat, clean and structurally sound. Before fitting, remove loose wallpaper, flaking paint, old adhesive residue and dust. Fill major holes or deep hollows and allow repairs to cure. A lightweight polyurethane profile can follow minor irregularities, but it should not be forced to bridge large voids.
Check the ceiling line too. In older properties, the ceiling and wall may be neither level nor straight. Rather than chasing a perfectly level line around a visibly uneven ceiling, follow the existing ceiling line where this gives the neatest visual result. The goal is a consistent, intentional-looking finish.
Temperature can also affect workability. Do not fit in very cold conditions or onto a freezing substrate. Store cornice lengths flat in the room where they will be installed so that they can acclimatise before cutting and bonding.
Do you need pins, screws or temporary support?
With the correct adhesive and a sound substrate, lightweight Orac Decor cornice is normally installed with adhesive as the main fixing method. In awkward areas, on particularly uneven backgrounds or with larger profiles, temporary pins or support can help hold the profile in position while the adhesive cures.
These should support the installation rather than replace proper bonding. Avoid driving fixings so tightly that they distort the cornice or pull it out of alignment. Once the adhesive has cured, remove temporary supports where practical, fill the small holes and sand carefully before painting.
For very large, heavy or unusual installations, particularly on compromised substrates, assess the fixing method before starting. Trade installers will often correct the background first rather than trying to overcome a poor surface with more adhesive.
Common adhesive mistakes to avoid
The most frequent mistake is using one product for every task. Installation adhesive and joint adhesive have different roles, so use each where it performs best. Another is fitting over dust, loose paint or wallpaper. The bond may look secure initially but can fail with the coating rather than the wall.
Rushing clean-up is also a false economy. Remove excess while wet, especially from decorative detail and joint edges. Once cured, adhesive can be difficult to remove without marking the profile. Finally, allow the specified curing time before painting or putting the area under stress.
If you are choosing cornice, adhesive and finishing materials for the same project, buying a matched system removes much of the uncertainty. Coving.Online can help you select the appropriate Orac Decor adhesive for the profile, substrate and room conditions you are working with.
A well-chosen adhesive is largely invisible once the room is finished, but it is what keeps every mitre tight and every run of cornice looking deliberate. Take a few extra minutes to assess the surface before fitting, and the finished detail will have the durability to match its visual impact.
