
blog
Choosing Cornice Adhesive for a Lasting Fit
Oct
A well-chosen cornice adhesive does more than hold a length of moulding against the wall. It helps you achieve tight joints, clean ceiling lines and a finish that remains secure as the room settles through normal changes in temperature and humidity. For lightweight polyurethane cornice, using the correct adhesive is one of the biggest differences between a straightforward installation and a repair job waiting to happen.
Whether you are fitting one decorative cornice in a lounge or specifying mouldings across a commercial refurbishment, adhesive choice should be made before the first length is cut. The material, surface condition, room use and style of moulding all affect the product and fitting method required.
Why the right cornice adhesive matters
Modern polyurethane cornices are light, durable and far easier to handle than traditional plaster. That does not mean any general-purpose grab adhesive is suitable. Cornice adhesives are designed to provide dependable initial grab while also allowing sufficient working time to position the moulding accurately.
The adhesive must bond the rear of the cornice to both the wall and ceiling, even where those surfaces are not perfectly flat. A suitable product also needs to remain stable after curing, rather than becoming brittle or shrinking away from the edge. This is particularly important with longer profiles, large-scale cornices and designs with a deep wall or ceiling projection.
Using an incompatible adhesive can create several familiar problems: mouldings may slip during fitting, joints can open, and small gaps can appear along the ceiling line after decoration. The issue is not always visible immediately. It often becomes apparent once the room is painted and natural light starts to pick out every shadow.
Match the adhesive to the job
For polyurethane decorative mouldings, it is sensible to use the adhesive recommended for that specific material and profile. Specialist products are formulated for the density and surface characteristics of lightweight mouldings, helping them bond cleanly without damaging the product or creating an unnecessarily messy installation.
There are generally two adhesive jobs to consider. The first is installation adhesive, used on the back edges of the cornice to fix it to the wall and ceiling. The second is a joint adhesive or filler, used on mitres, butt joints and any small gaps that need refining before painting. Some systems use separate products because the demands are different: a fixing adhesive needs grip, while a jointing product needs a fine finish that can be sanded and painted.
For standard interior rooms with sound, prepared walls, a specialist cartridge adhesive is usually the practical choice. It can be applied accurately with a sealant gun and gives consistent coverage along the fixing edges. In areas exposed to higher moisture, such as bathrooms, kitchens or poolside commercial spaces, check that both the cornice and adhesive are suitable for the environment.
Large and ornate profiles deserve extra care. Their increased surface area and visual weight can make accurate support during installation more important, even when the moulding itself is lightweight. In these cases, fit one manageable length at a time, use the correct adhesive coverage and follow the curing guidance before removing any temporary support.
Prepare the wall and ceiling properly
Adhesive performance is only as good as the surface beneath it. Cornice should be fixed to clean, dry, stable surfaces that are free from dust, grease, loose paint and wallpaper. If the wall has a powdery finish, flaking emulsion or old distemper, deal with that first. Adhesive cannot compensate for a weak layer of paint separating from the wall.
Fresh plaster requires particular judgement. It needs to be fully dry and sound before mouldings are installed. Very absorbent surfaces may also need sealing or priming in line with the adhesive manufacturer’s instructions, otherwise they can draw moisture from the adhesive too quickly and reduce working time.
Before applying adhesive, hold each length in place and mark its position lightly. This gives you a reliable guide when fitting and makes it easier to spot uneven areas in the room. Older properties often have ceilings and walls that wander slightly, so do not assume every corner is square or every run is straight.
Where there are local hollows, use enough adhesive to create contact without forcing the cornice out of line. Do not try to correct major wall defects with thick, unsupported beads of adhesive. It is usually better to prepare the substrate or select a profile that sits comfortably against the existing surfaces.
Apply adhesive with control, not excess
Cut and dry-fit the cornice before opening the adhesive wherever possible. Check the direction of the profile, the position of any mitres and the alignment of the decorative detail. This is especially worthwhile with patterned or stepped cornices, where a small mismatch can be very noticeable.
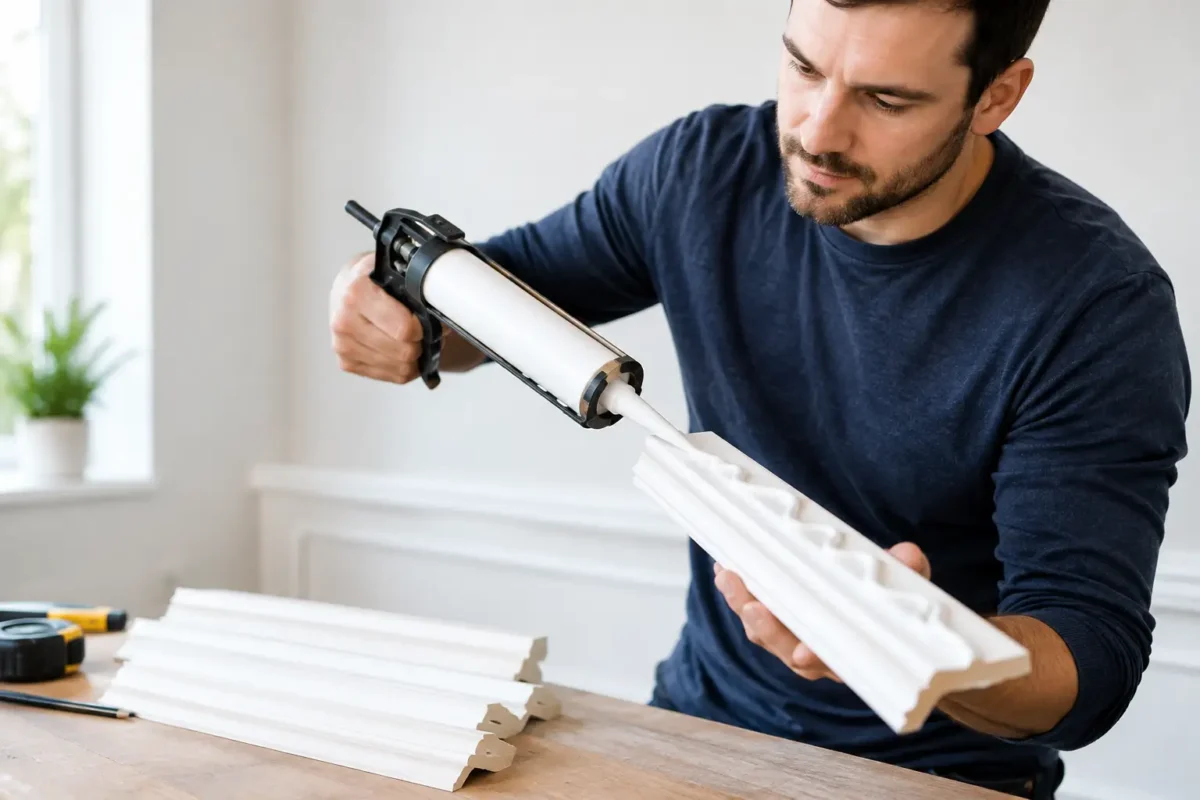
Apply a continuous bead along the rear fixing edges that will meet the wall and ceiling. Keep the bead close enough to the edges to create a secure bond and reduce visible gaps, but not so close that large amounts squeeze out across the face of the moulding. A consistent application is more reliable than intermittent blobs.
Press the cornice into position firmly and make small adjustments while the adhesive remains workable. A slight sliding movement can help spread the adhesive and improve contact. Check the run from a few steps back before moving on, because a line that looks acceptable from directly below can appear uneven across the room.
Remove excess adhesive promptly using the method recommended for the product. Leaving it to cure on the profile makes finishing slower and increases the risk of damaging a crisp moulded edge. Keep a clean cloth, filling knife and suitable cleaning materials close by so the installation remains controlled rather than rushed.
Pay close attention to joints and mitres
The best cornice installation is judged at the joins. Even a quality moulding can look poorly fitted if mitres are open or butt joints are visible after painting. Use a fine-tooth saw and a mitre box or appropriate cutting tool to produce accurate cuts. Measure each corner rather than relying on it being a perfect 90 degrees.
Apply joint adhesive to both cut faces before bringing them together. Press the pieces into place, align the profile detail and remove surplus material from the joint. On longer runs, stagger butt joints where the design and room layout allow, rather than placing several joints close together.
Once cured, inspect every joint in good light. Small imperfections can be filled, allowed to dry, then carefully sanded. The aim is not to bury the profile in filler, but to make the transition disappear when painted. A quality paint finish will enhance the crisp detail of polyurethane moulding, but it will also reveal unfinished joints.
Common mistakes that shorten the life of a cornice
The most common mistake is fitting over wallpaper or unstable paint. Cornice may initially appear secure, but it is bonded to the decorative surface rather than the structure beneath. Removing wallpaper and dealing with weak coatings takes time, yet it is much quicker than refitting a failed run later.
Another issue is using too little adhesive, particularly at corners and on uneven walls. Sparse application leaves unsupported sections that can move when the building experiences normal seasonal movement. At the other extreme, excessive adhesive creates unnecessary clean-up and can prevent the moulding from sitting neatly in its intended position.
Rushing the painting stage also causes avoidable problems. Allow the adhesive and joint filler to cure fully before sanding, priming or applying top coats. If you paint too early, movement or shrinkage can show through the finish and spoil an otherwise careful installation.
When professional installation is worth considering
Many homeowners can fit lightweight cornice successfully with careful preparation and the right tools. Straightforward rooms with accessible walls and modest profiles are well suited to confident DIY work. However, there are occasions when professional support is the sensible route.
High ceilings, complex stairwells, large cornices, curved walls, integrated LED mouldings and detailed period rooms all demand more planning. A professional installer can assess the substrate, manage awkward cuts and maintain consistent lines around features such as chimney breasts, alcoves and built-in joinery. For trade projects, this can also help protect programme timings and ensure a finish that meets the client’s expectations.
Coving.Online supplies specialist decorative mouldings and the fitting materials needed to support a professional result, with practical guidance for both DIY customers and trade installers.
A better finish starts before the cornice goes up
Cornice adhesive is a small part of the visible scheme, yet it has a major influence on how the finished room performs and looks. Choose a product intended for your moulding material, prepare the surfaces carefully and take time over joints rather than relying on paint to hide mistakes. That attention at the fitting stage gives your cornice the clean, enduring finish that decorative architectural detail deserves.
