

blog
Best LED Profiles for Kitchens for Every Layout
Sep
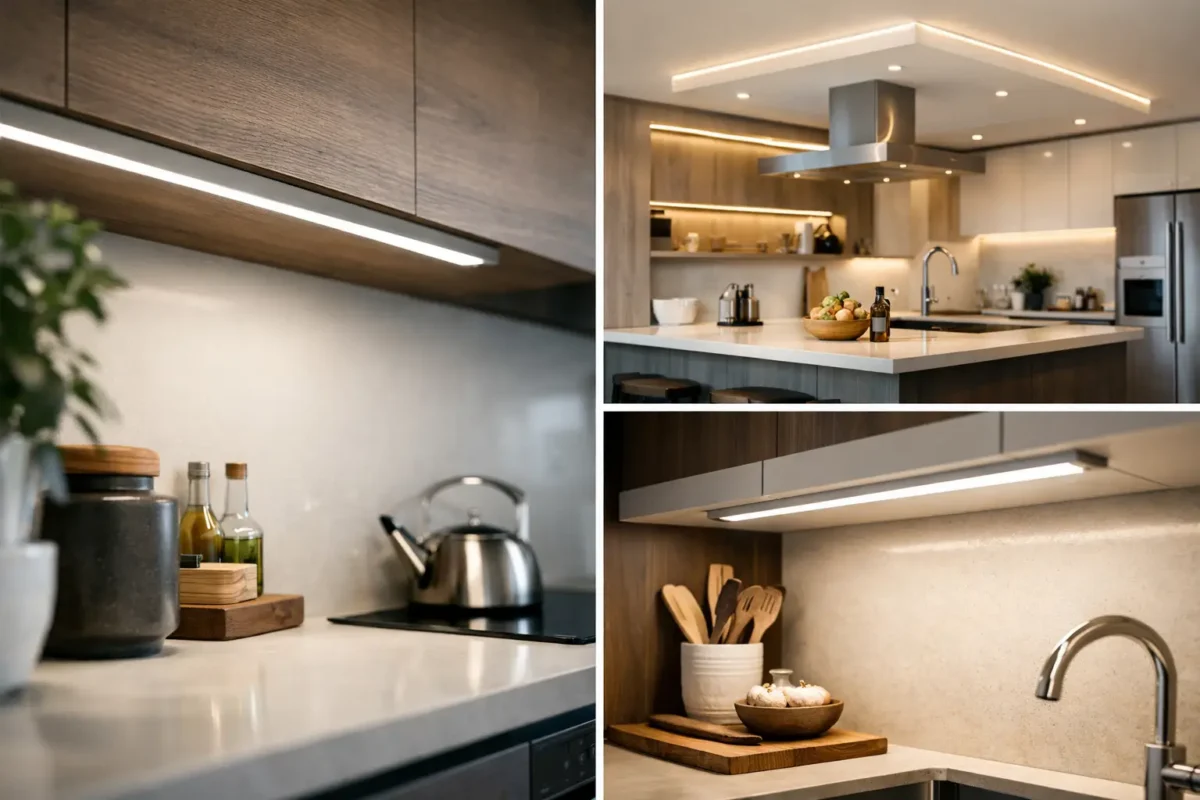
A kitchen can have excellent cabinetry, worktops and appliances yet still feel flat once daylight fades. The difference is often in the layers of light. The best LED profiles for kitchens do more than conceal an LED strip: they control glare, soften the light source and turn a practical room into a more considered interior.
For many projects, decorative LED mouldings are the most effective route. They combine architectural detail with indirect lighting, allowing a warm wash of light across a ceiling or wall without exposing individual diodes. This is particularly useful in kitchens, where hard, direct light can make glossy doors, stone surfaces and stainless-steel appliances look harsh.
Start with the light you need
Before choosing a profile, decide what job the lighting must do. Kitchen lighting generally works best in layers. Ceiling downlights or pendants provide task light, while an LED profile supplies ambient light and helps define the room after dark. Under-cabinet lighting can then illuminate the worktop where it matters most.
A ceiling LED profile is usually chosen to make the kitchen feel taller, calmer and more finished. It throws light upwards, downwards or in both directions, depending on the moulding design and where the LED tape is fitted. A wall profile can create a soft perimeter glow, highlight a feature wall or give an open-plan kitchen a clearer visual boundary.
The right choice depends on the ceiling height, cabinet layout and amount of natural light. In a compact kitchen, a discreet profile with a gentle upward throw often avoids visual clutter. In a large kitchen-diner, a deeper coving profile can carry more presence and make the ceiling treatment part of the design.
Best LED profiles for kitchens by application
Ceiling coving for indirect ambient light
LED ceiling coving is the most versatile option for a kitchen renovation. Installed around the room perimeter, it hides the strip from view and reflects light from the ceiling. The result is a broad, diffused glow rather than a bright line of light.
Profiles that direct light upwards are especially effective where the ceiling is pale and reasonably smooth. The ceiling becomes the reflector, so a matt white or light-coloured finish gives the cleanest effect. If the ceiling is uneven or heavily textured, light may emphasise imperfections. In that case, test the intended lighting direction or consider a profile that casts more light down the wall.
For kitchens with tall units, keep the profile deep enough to remain visually balanced against the cabinetry. A very small moulding can disappear beside full-height cupboards, while an oversized design may crowd a low ceiling. Proportion matters as much as brightness.
Downlighting profiles for walls and cabinetry
A downward-facing LED profile adds soft illumination to vertical surfaces. It can work well above tall cabinetry, along a bulkhead or around a kitchen-diner where you want the wall finish to remain visible in the evening.
This approach is useful when the kitchen includes textured tiles, painted panelling or a decorative wall colour. It brings out surface character without relying solely on spotlights. However, downward light needs careful positioning. If the strip is too exposed or too close to eye level, it can create glare when seated at a dining table or standing at the island.
Choose a profile with a properly recessed LED channel and allow for a diffuser where appropriate. The channel should hide the tape completely from normal viewing angles.
Recessed profiles for a contemporary finish
Recessed LED profiles suit modern, handleless kitchens and clean-lined extensions. Rather than adding a traditional coving shape, they sit flush within a ceiling, wall or joinery detail. They can frame a ceiling raft, follow a bulkhead or create a precise line above units.
The finish can be striking, but installation is less forgiving than surface-mounted decorative moulding. The substrate must be accurately prepared, corners need planning and the electrical route should be agreed before fitting begins. This is often a better option for a new build, major refurbishment or professionally managed fit-out than for a quick decorative update.
Wall-to-ceiling profiles for open-plan spaces
In open-plan homes, an LED profile can help zone the kitchen without adding a physical divide. Running a profile along the wall-to-ceiling junction around the kitchen area gives it a subtle identity, while leaving the room open and flexible.
This is particularly effective where the kitchen flows into a living area. You can use the same moulding across the space but operate lighting zones separately, keeping the kitchen brighter for cooking and the seating area softer for the evening. Plan the switching and dimming arrangement early, as it has a greater impact on usability than many people expect.
Choose the right material for a kitchen
Kitchens ask more of a decorative profile than a formal living room. There may be steam, changing temperatures, grease in the air and frequent cleaning. Lightweight polyurethane LED mouldings are well suited to these conditions because they are stable, durable and resistant to everyday knocks. Unlike traditional plaster, they do not bring the same weight, fragility or drying-time concerns.
A paintable surface is another practical advantage. Painting the profile to match the ceiling makes the light appear to emerge from the architecture rather than from an added fitting. Alternatively, painting it in the wall colour can create a stronger shadow line and a more contemporary contrast.
Use the specified adhesive for the moulding material, and do not treat adhesive as an afterthought. A sound bond and neatly finished joints are what make a perimeter profile look built in. In kitchens, where surfaces can be affected by moisture and movement, proper preparation is essential: clean, dry, stable walls and ceilings give the best result.
Light colour, output and control
A premium profile cannot compensate for the wrong LED tape. For most kitchens, warm white light between 2700K and 3000K creates a comfortable atmosphere and works well with timber, painted cabinetry and natural stone. Around 3000K is often the practical middle ground for a kitchen that needs to feel welcoming but still clear enough for food preparation.
Cooler white light can suit very contemporary schemes, but it may make cream cabinets, brass fittings and warm worktops appear less inviting. If task lighting is already handled by under-cabinet strips and downlights, the coving lighting can be warmer and lower in output.
Dimming is strongly recommended. A profile installed purely for ambience should be able to drop to a low level after dinner, while still offering more light during cleaning or entertaining. Make sure the LED driver, dimmer and tape are compatible. Flickering, buzzing or poor dimming performance usually comes from mismatched electrical components rather than the profile itself.
Where profiles are close to a hob, sink or areas likely to be affected by condensation, consider the required IP rating for the LED components and follow the electrical guidance for the specific location. The decorative moulding and the lighting system are separate considerations. A qualified electrician should specify and install the electrical elements where required.
Plan the installation before ordering
The most successful kitchen LED projects are planned around details that are hard to change later. Decide where the driver will sit, how it can be accessed for maintenance and how the cable reaches the profile. A concealed driver is desirable, but it should not become impossible to replace.
Measure every wall run, including returns around tall units and boxing. Add allowance for mitred corners and offcuts. It is also worth considering where the LED tape begins and ends, particularly if a continuous glow is important. A visible break beside a doorway or cabinet can look accidental unless it is positioned deliberately.
For a DIY installation, lightweight mouldings are far easier to cut, handle and fix than plaster alternatives. Even so, a crisp result relies on accurate mitres, adhesive applied correctly and joints finished before painting. Trade installers should coordinate with the electrician before the moulding is fitted, not after the cables have become an awkward compromise.
Common mistakes to avoid
The first is choosing a profile solely from a photograph. Room scale and lighting direction are more useful selection criteria than the shape alone. The second is using LED tape that is too bright. Indirect perimeter lighting should usually support the room, not compete with task lighting.
Another frequent issue is leaving the LEDs visible. If you can see bright points from across the kitchen, the channel position, tape angle or profile depth needs reconsidering. Finally, do not install decorative mouldings against loose paint, dusty plaster or recently applied, uncured finishes. The preparation may not be glamorous, but it protects the finish for years.
A well-chosen LED profile gives a kitchen a softer evening character while retaining the crisp detailing expected in a practical working space. If you are weighing up sizes, light direction or fitting requirements, Coving.Online can help you select a decorative moulding that suits the room rather than simply filling a perimeter.
