

Home Decor
Coving Installation Mistakes and How to Avoid Them

Oct
Most coving problems are decided before the first length goes up. Skipped preparation, the wrong adhesive, a mitre cut the wrong way round and joints left unfilled account for nearly every disappointing finish we are asked to put right. All of them are avoidable, and none needs specialist tools. This guide walks through each mistake, why it happens and what to do instead, so your coving looks crisp, stays up and needs very little touching up.
TL;DR
- Prepare the surface first: clean, dry, sound and sealed if freshly plastered. Most coving that comes loose was fitted to a poor surface.
- Use an adhesive made for the job and apply it generously along both contact edges, so the coving is held, not just stuck at a few points.
- Mark a guide line and dry-fit every corner before you glue anything. Mitres are where most visible errors appear.
- Expect some gaps on real walls. Fill, caulk and sand them properly rather than trying to hide them with paint.
- If a room has a lot of corners or very uneven walls, consider having it fitted professionally.
Table of Contents
- Mistake 1: Skipping the surface preparation
- Mistake 2: Using the wrong adhesive, or too little of it
- Mistake 3: Getting the measurements and quantities wrong
- Mistake 4: Mitres cut the wrong way round
- Mistake 5: Not marking a guide line, and fighting uneven walls
- Mistake 6: Leaving joints and gaps unfilled, or filling them badly
- Mistake 7: Painting in the wrong order
- Mistake 8: Choosing the wrong profile or product for the room
- Our perspective: why coving goes wrong
- Let us help with your coving project
- Frequently asked questions
- Sources
Mistake 1: Skipping the surface preparation
It is tempting to open the box and start. Polyurethane coving is light and quick to fit, which makes it feel as if preparation is optional. It is not. Adhesive can only hold as well as the surface beneath it.
The problems we find most often are:
- Dust and loose paint. Coving bonds to the dust or flaking paint rather than the wall, and the paint then lifts away with the coving attached.
- Fresh plaster. New plaster is absorbent and pulls moisture out of the adhesive. Seal it first so the adhesive can grip.
- Old, crumbling surfaces. If the plaster sounds hollow or flakes when you scrape it, fix that first.
- Wallpaper or lining paper on the contact strip. Strip back to a solid surface along the line where the coving will sit.
The principle of cleaning, filling and making a surface sound before you add anything to it is the same whether you are painting or fitting mouldings. The advice in this guide to wall preparation before painting applies equally to the strip of wall and ceiling your coving will sit on.
If your walls are far from flat, our guide to installing coving on uneven walls and ceilings covers the preparation step by step.
Mistake 2: Using the wrong adhesive, or too little of it
Not every adhesive suits every moulding. Polyurethane coving needs a product intended for polyurethane and for the surface it is going onto. A general-purpose filler used as glue, or a gap-filling sealant used as the sole fixing, is a common reason for coving that sags at the joints or drops away months later.
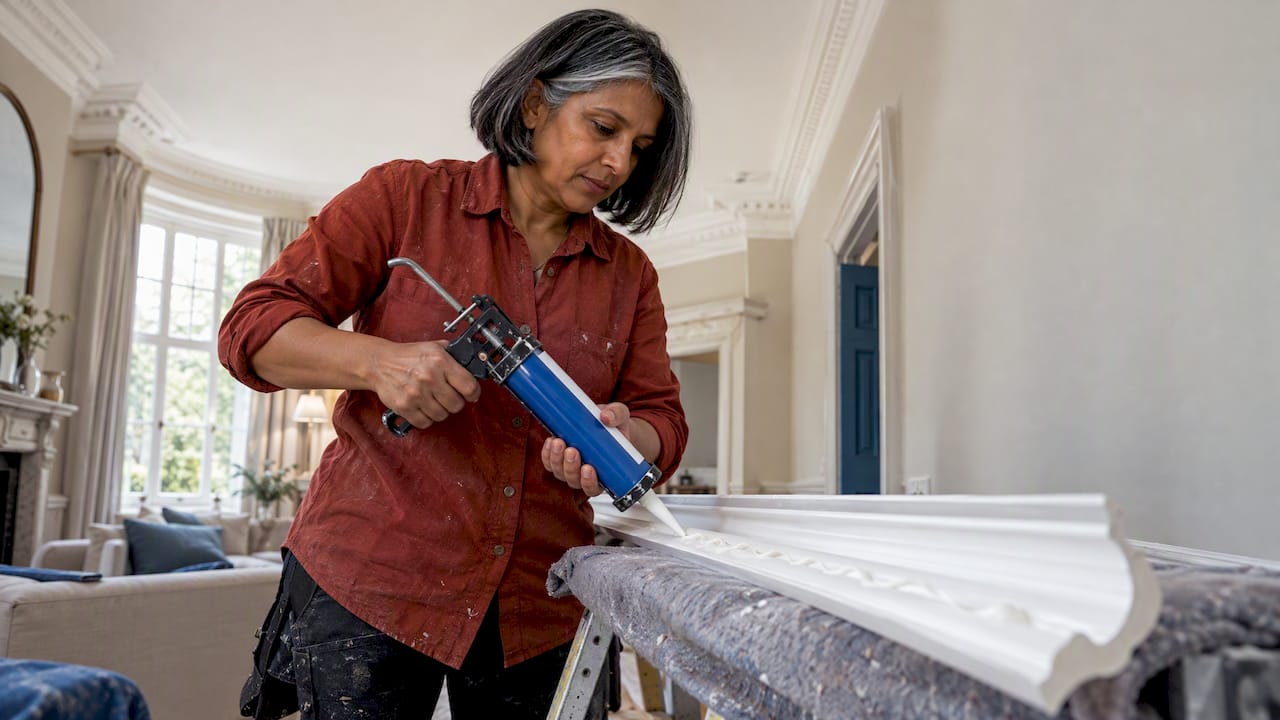
The second half of this mistake is quantity. Coving is held at two contact edges, one on the wall and one on the ceiling. If you only dab adhesive in spots, the unsupported sections can bow and leave a hairline gap along the top or bottom edge.
What works in our experience:
- Apply a continuous bead along both back edges, not isolated blobs.
- Press the coving into place firmly and hold it while the adhesive takes up.
- Leave a little adhesive squeezing out, then wipe it away neatly with a damp cloth or tool. Do not push every last drop out of a joint, because the join needs adhesive in it to stay tight.
- Support longer lengths with masking tape or temporary props if the manufacturer advises it.
We explain how to choose a product in our guide to the best adhesive for coving. Always follow the instructions on the tube, as setting times differ between products.
Mistake 3: Getting the measurements and quantities wrong
A tape measure is the cheapest tool in the job and the easiest to misuse. The usual errors are:
- Measuring the wall at floor level only. Walls are rarely identical top and bottom. Measure along the ceiling line, where the coving will actually go.
- Forgetting the mitres. An internal or external corner uses up extra length because of the angle cut. Add an allowance to each corner.
- Ordering exactly what you measured. No allowance for cutting mistakes means a second order, and sometimes a slightly different batch.
- Not planning where joins fall. Joining two short offcuts in the middle of a wall looks poor. Plan so that the longest runs are on the most visible walls, and so that any join is a clean butt joint, not a scrap piece.
A sensible approach is to sketch the room, label each wall, measure along the ceiling line and total the lengths, then add a margin for waste and for practice cuts. Our page on how coving is measured is a useful starting point if you have not done it before.
It also helps to know what you are buying. If you are unsure of the difference between the two terms, see cornice vs coving before you choose a profile.
Mistake 4: Mitres cut the wrong way round
Corners are where coving earns its reputation for being awkward. The cut itself is simple. The mistake is cutting the right angle on the wrong piece, or cutting it with the coving lying the wrong way in the saw.
Why it goes wrong
Coving sits at an angle between wall and ceiling. When you cut it, it has to be held in the saw in the same position it will have on the wall, or the angle will not match when the two pieces meet. Many first-time fitters lay it flat on its back, cut a standard 45 degrees and wonder why the corner opens at the top.
The second trap is mixing up internal and external corners. On an internal corner the two pieces meet in a recess, and on an external corner, such as a chimney breast, they wrap around a projection. The cuts are mirror images of each other.
How to avoid it
- Use a mitre box or mitre saw and set up the coving upside down and against the fence, exactly as it will sit on the wall and ceiling. Mark on the saw which side is ceiling and which is wall.
- Cut a practice corner from offcuts and hold it in the corner before you cut your good lengths.
- Label each piece on the back (for example, wall 2, left end) so you do not mix them up.
- Check the corner angle. Few rooms are a perfect 90 degrees. If a practice piece leaves a gap, adjust the angle slightly or plan to fill the difference.
- Consider pre-made corner pieces, which remove the guesswork on internal and external corners for many profiles.
Carl’s Installer Tip: In our experience, the best way to avoid a gappy mitre is to fit the two pieces of a corner as a pair. Fix the first length, then cut the second to meet it and offer it up dry before gluing. We’ve found that cutting both pieces from measurements alone is the quickest route to a corner that has to be filled afterwards. Leave the final trim of each length until the neighbouring piece is in position.
Mistake 5: Not marking a guide line, and fighting uneven walls
A coving run is judged by the eye along its whole length. If it wanders even a few millimetres, the shadow line along the bottom edge shows it. The mistake is fitting by eye instead of marking a line.
Before you glue anything:
- Hold a length of coving in the corner and mark the wall and ceiling along its two edges.
- Join your marks with a pencil line, using a spirit level or straight edge for long walls.
- Use that line as your guide for every length so that the whole room follows the same profile.
On older properties the ceiling and wall may not be straight, so the line you mark may differ from the surface you are fixing to. Where the wall dips, you will need a little more adhesive to bridge the gap, and where it bulges, you may need to ease the coving into position. We cover the full method, including how to assess a wall and which techniques suit which problem, in our guide to installation techniques for uneven walls and ceilings.
The aim is not a perfect straight edge on a crooked wall. It is a smooth, continuous look that does not draw attention to the crookedness. A flexible filler along the top edge does most of the work.
Mistake 6: Leaving joints and gaps unfilled, or filling them badly
Even a well-fitted run needs finishing. The joints between lengths, the mitred corners and the long edges against wall and ceiling all need attention before paint goes on. Skipping this is the most visible mistake because paint highlights every gap rather than hiding it.
Common errors:
- Using the wrong filler. A very hard filler is difficult to sand and can crack away from a flexible material. Choose a product suitable for polyurethane mouldings and for the gap you are filling.
- Filling too thickly. Build up in thin passes so the filler does not shrink and crack.
- Over-sanding. Rubbing too hard at a joint flattens the detail of the profile. Sand lightly and stop once the joint is smooth.
- Using filler where a flexible sealant belongs. Along the top edge, where wall meets ceiling, tiny movement is normal. A flexible decorator’s caulk gives a cleaner result than a rigid filler that can crack over time.
- Not wiping the excess. Smoothing a bead of caulk with a damp finger or tool while it is wet saves a lot of sanding.
If you want a closer look at finishing and paint, the principles in this room-by-room guide to paint finishes are worth reading before you pick a sheen, particularly for kitchens and bathrooms.
Mistake 7: Painting in the wrong order
One of the questions people ask most often is whether to paint the coving or the ceiling first. There is no single rule, but there is a sensible sequence that avoids a lot of rework.
We suggest:
- Fit the coving and finish all joints and gaps.
- Let adhesive, filler and caulk dry fully, following the product instructions.
- Paint the coving first, using a small brush, then cut in to the ceiling and wall.
- Finish with the ceiling and wall coats, so that any slight overlap is covered by the last coat.
Painting before the filler has dried is a classic cause of flashing, where patches show through the topcoat. Patience is the cheapest fix there is.
Mistake 8: Choosing the wrong profile or product for the room
A technical mistake can start with a design one. A deep, ornate cornice in a low-ceilinged room will dominate it, while a very shallow profile in a tall, formal room can look like an afterthought. Before you order, think about:
- Ceiling height. As a rule of thumb, bigger rooms and higher ceilings can carry deeper profiles, while smaller rooms look better with a restrained design.
- Period and style. A plain, simple profile suits modern interiors. Detailed, traditional designs suit period homes.
- Lighting. If you want hidden lighting, you need a profile designed for it. Our LED coving range is made for this, and our guide to choosing and fitting Orac LED profiles explains how to plan the cable route and fit it well.
- Material and weight. Polyurethane is light and easy to cut, which makes it a good match for confident DIYers. It also suits rooms where you want a clean, consistent finish.
Browse our cornice and coving collection to compare profiles. If you are still deciding on a look, our overview of coving designs shows how different profiles change a room.
Our perspective: why coving goes wrong
We supply the full Orac Decor and NOËL & MARQUET range and arrange installation through our Elite Decor UK network, so we see both sides: what customers order and what happens when it is fitted.
Our honest view is that coving rarely fails because the product is difficult. It fails because of rushed prep, guesswork at the corners and not enough patience with the finishing. A careful first-timer with a mitre box, a guide line and the right adhesive will usually beat a confident fitter who skips those steps.
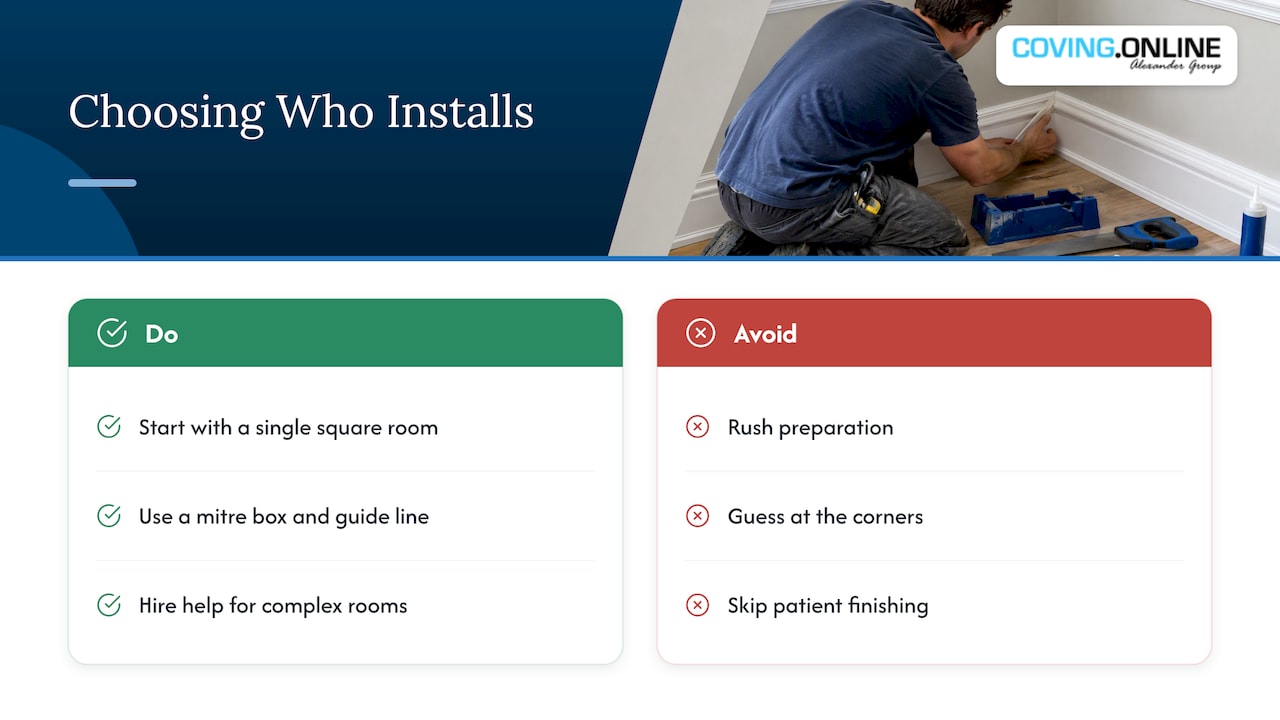
We also think the most useful decision is knowing when to hand the job over. A single square room with plain walls is a good first project. A hallway with multiple corners, a bay window, a staircase, a high ceiling or walls that are clearly out of true is a different job. It needs scaffold or a tower, a second pair of hands and a trained eye for the corners. Paying for that once is usually cheaper than buying the lengths twice.
If you are comparing options, ask yourself how many corners the room has, how high the ceiling is and how much time you can give the finishing. That tells you more than the cost of the coving itself.
— Carl
Let us help with your coving project
Whether you fit it yourself or want it done for you, we can supply the profile, the adhesive and the fitting. Our cornice and coving range covers traditional and contemporary styles from Orac Decor and NOËL & MARQUET, and our adhesives and accessories keep everything you need in one order. If you would rather leave the cutting and finishing to someone else, we can arrange professional installation across the UK through our national installer network.

Prices are shown on each product page, so you can compare profiles and order online.
Frequently asked questions
Is coving easy to fit?
Plain polyurethane coving in a simple, square room is a reasonable DIY job if you take your time. The difficult parts are the corners and the finishing, not the fixing. Practise your mitres on offcuts and you will avoid most errors.
Should you paint coving or the ceiling first?
Fit the coving and complete the filling and caulking first. Then paint the coving, and finish with the ceiling and walls so that the final coat tidies the edges. Always let fillers and caulk dry fully before painting.
What angle do you cut cornice corners?
The angle depends on the profile and the corner, because coving sits at a slant between wall and ceiling. The reliable method is to cut with the coving positioned in the saw exactly as it sits on the wall, and to test a practice corner first. Our guide on how to install coving shows the sequence.
What can you use instead of coving on a ceiling?
If you want a clean line without the profile, a flexible caulk bead between wall and ceiling gives a minimal finish. For more character, a shadow gap, a cornice, or a lighting profile can frame the ceiling edge instead.
Can I fit coving to uneven walls?
Yes, but it takes more adhesive, careful marking and flexible filler along the edges. See our guide to coving on uneven walls for the full method.
Sources
Recommended
- Coving Orientation: 5 DIY Steps to Avoid Reversed Mitres
- Homeowners: Calculate Coving with 10%/15% Wastage and Carl’s Tips
- Coving Installation in the UK – Seamless & Stylish Finishes
- DIY Coving Installation – Step-by-Step Guide
