

Home Decor
Dentil moulding: a UK buyer’s guide to the classic detail

Aug
Dentil moulding is a decorative cornice detail made from a repeating row of small, tooth-like blocks, spaced evenly along the trim to create a rhythmic shadow line. If you want that classical finish without the weight or cost of traditional plasterwork, the practical next step is straightforward:
- Choose your material: carved plaster, timber, or lightweight polyurethane from ranges like Orac Decor and NOËL & MARQUET.
- Measure the full run of your cornice, including corners, before you order anything.
- Speak to a trade supplier or installer if the room has awkward angles or a pattern repeat that won’t divide evenly.
For UK homeowners and designers working on a period restoration or a classically inspired new build, Coving.Online stocks profiles suited to both jobs, with guidance available for tricky runs.
Key Takeaways
Dentil moulding succeeds when the repeat module is measured accurately and matched to lightweight, paint-ready materials suited to the room’s scale.
| Point | Details |
|---|---|
| Definition | Dentil moulding is a repeating row of tooth-like blocks set within a cornice or frieze. |
| Material choice | Polyurethane profiles from Orac Decor and NOËL & MARQUET give a classical finish at a fraction of plaster’s weight. |
| Measure before ordering | Map the full perimeter and repeat module first, then order 10 to 15 percent extra for waste and mitres. |
| Corner planning | Start the pattern from the most visible corner so any join lands somewhere unobtrusive. |
| Coving.Online support | Coving.Online supplies dentil profiles and can arrange fitting through its Elite Decor UK installer network. |
Table of Contents
- What is dentil moulding? Origins and how it looks
- Materials and modern lightweight alternatives
- Where does dentil moulding work best?
- How to measure and install dentil moulding correctly
- Sizes, ordering rules and cost considerations
- Finishing and maintenance
- Ready to order your dentil profile?
- Sources
What is dentil moulding? Origins and how it looks
The word comes from the Latin dens, meaning tooth, and a “dentillated” course is simply a run of these repeated blocks. A dentil is formally defined as a small block used as a repeating ornament in the bedmould of a cornice, and that definition has barely shifted since antiquity.
The detail began as a genuine timber feature. Ancient Greek and Roman builders were reproducing the ends of roof rafters, and when they moved from timber to stone construction, they carried the pattern across as pure decoration. It never lost that appeal. Renaissance architects revived it, Georgian builders used it extensively on both facades and interior cornices, and Victorian plasterers leaned on it for grand hallways and dining rooms.
Dentils cast a fine, repeated line of shadow along a cornice. That crisp rhythm is what gives classical and neoclassical rooms their sense of order and formality, rather than any structural function the blocks once had.
Visually, dentils sit within the bedmould section of a cornice, below the main crown profile, reading almost like a row of small teeth beneath the ceiling line. Because they’re rhythmic, your eye tracks along them, which is part of why they suit long runs such as hallway cornices or dining room perimeters.
Materials and modern lightweight alternatives
Traditional dentil cornice was carved from stone or run in wet plaster on site, which delivers a genuinely crisp, individually finished result but comes with real drawbacks: plaster is heavy, slow to install, prone to cracking with building movement, and expensive to repair once damaged. Timber dentil inserts are still available, commonly in red oak or poplar, and suit joinery-led interiors where the moulding will be stained rather than painted.

For most UK projects today, polyurethane has taken over as the practical choice. It’s decorative rather than structural in modern use, so there’s no engineering reason to choose a heavier material, and ranges like Orac Decor and NOËL & MARQUET replicate the carved detail in a fraction of the weight.
| Material | Weight | Best suited to |
|---|---|---|
| Plaster | Heavy | Listed buildings, bespoke restoration work |
| Timber | Moderate | Stained joinery, period interiors |
| Polyurethane | Light | DIY installs, most interior and exterior retrofits |
- Polyurethane cuts cleanly with a mitre saw and fixes with adhesive, no plastering skills required.
- It arrives pre-primed, ready for a standard paint finish.
- It tolerates minor building movement far better than rigid plaster.
Where does dentil moulding work best?
Dentil cornice suits rooms where you want a formal, considered finish rather than a plain, understated line, which is the real difference between a dentil profile and a simple coving run. A smooth cove reads quietly; dentils announce themselves and reward a room with some scale to carry them.
Hallways, entrance halls, dining rooms and formal living spaces are the classic candidates, particularly in period properties or homes with higher ceilings. In a low-ceilinged modern box room, a deep dentil run can look cramped rather than grand.
- Hallways and stairwells: long, uninterrupted runs suit the repeating pattern.
- Dining rooms: dentils pair naturally with picture rail and panel moulding for a layered, formal look.
- Georgian and Victorian properties: dentils sit comfortably alongside existing period detailing.
- Contemporary classical schemes: a restrained dentil profile can anchor a otherwise plain room.
Pro Tip: Keep the cornice projection and dentil block size proportionate to the room. A general rule is to scale the cornice height to roughly 1 inch of drop for every foot of ceiling height, then choose a dentil repeat that divides evenly into your longest wall.
How to measure and install dentil moulding correctly
Getting the pattern to align around a room takes more planning than a plain coving run, because every corner and doorway has to land on a full or deliberately mitred block rather than cutting one in half awkwardly.
- Measure every wall run in the room, including alcoves and door reveals, and note the total perimeter.
- Establish your product’s repeat module (the width of one block plus one gap) and check how many repeats fit into your longest run.
- Plan corners first. Dentil patterns look best when a full block sits at or near each internal and external corner, so adjust your starting point along the wall rather than starting at a fixed edge.
- Order 10-15% extra length to allow for mitring, mistakes and pattern adjustment.
- Dry-fit lengths on the floor before fixing, checking the repeat lines up across joins.
Fixing methods vary by material. Polyurethane profiles fix with a specialist adhesive (Coving.Online’s Orac Decor ranges each specify a compatible product), timber inserts are typically screwed and pelleted or pinned into a fixed sub-batten, and traditional plaster dentil is keyed and fixed by a specialist plasterer.
- Tools needed: mitre saw or mitre box, tape measure, adhesive or fixings, caulk for joints, a laser level for long runs.
- If a room has more than four corners, curved walls, or a bay window, book a professional. Getting the repeat wrong on a visible run is far harder to fix after the adhesive has cured.
Pro Tip: Always work outwards from the most visible corner of the room, usually the one you see on entry. If the pattern has to break somewhere, hide the join in the least prominent corner instead of the focal point.
Sizes, ordering rules and cost considerations
Dentil products are specified by three figures: overall cornice height, projection from the wall or ceiling, and the pattern repeat, which is the block width plus gap measurement. As a broad guide, the projection of a dentil block is often close to its width, with the gap between blocks roughly half that measurement, which is why manufacturers state the repeat rather than a single block size.
Most UK suppliers sell polyurethane profiles in standard 2 metre or 2.4 metre lengths, with timber inserts often available as stock or custom-sized pieces. Minimum order quantities and lead times vary by product, so check availability before finalising a fitting date.
- Measure every run twice before ordering.
- Note timber grain direction if you’re ordering stained inserts.
- Confirm whether the product arrives primed, pre-finished or raw.
- Build in your waste allowance for corners and mitres.
Heavier materials, complex ceiling geometry, or multiple room runs are usually the point where professional installation earns back its cost in time saved and finish quality.
Finishing and maintenance
Polyurethane dentil moulding takes standard emulsion or eggshell paint directly, though a coat of primer over any filled joints keeps the finish even. Timber inserts need conventional primer, undercoat and topcoat if painted, or a wood stain and sealer if left natural. Plaster dentil should be sealed with a mist coat before final decoration.

On exterior cornices, check sealant at joints annually and look for hairline cracks or movement, which can signal a failing adhesive bond behind the profile. Store delivered lengths flat, indoors, and away from direct sunlight until you’re ready to fit them, since warping before installation is a common and avoidable problem.
Carl’s Installer Tip
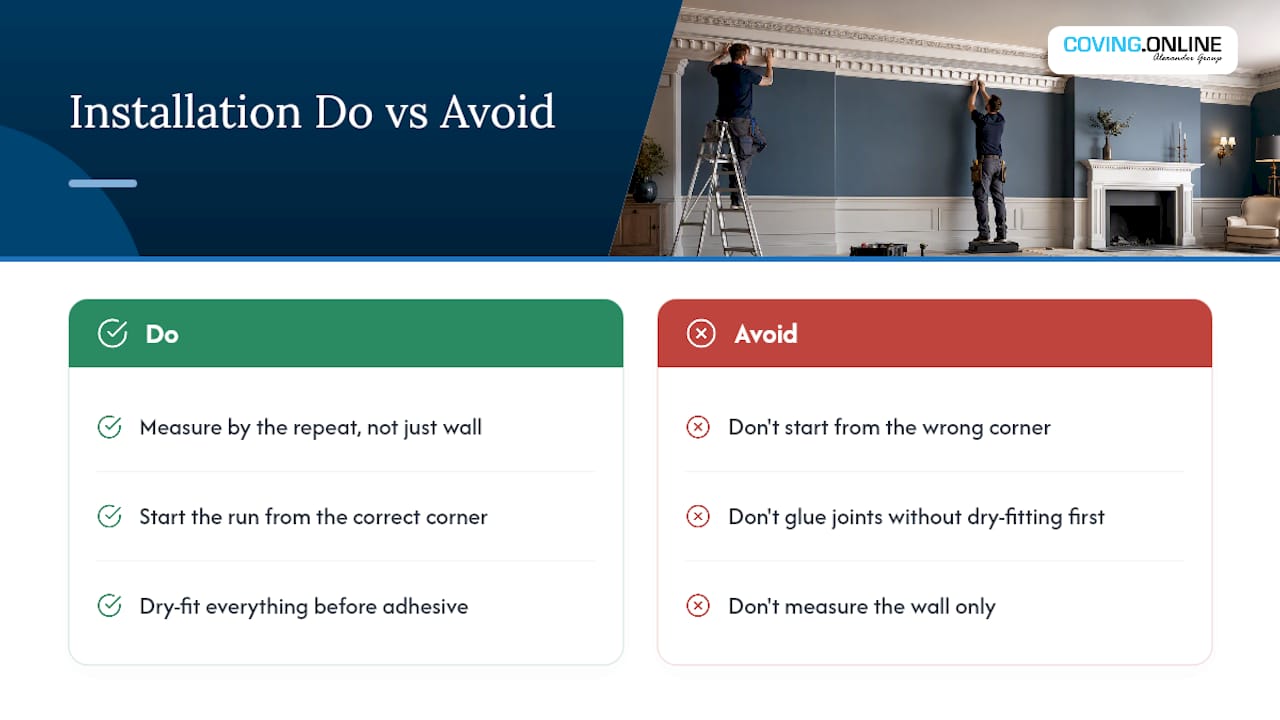
In our experience, the pattern rarely fails because of the material. It fails because installers measure the wall but not the repeat. Two mistakes crop up constantly: starting the run from the wrong corner, and gluing joints without dry-fitting the pattern first. Dry-fit everything before adhesive touches the wall.
A note from Coving.Online
Our range covers polyurethane dentil profiles from Orac Decor and NOËL & MARQUET, chosen for consistent moulding detailing and clean paint finishes. For bespoke measuring or trade orders, our Elite Decor UK installer network can handle the fitting for you.
Ready to order your dentil profile?
Once you’ve settled on scale and material, the next step is choosing an actual profile rather than working from a generic spec sheet. Coving.Online carries a dedicated range of dentil and classical cornice profiles from Orac Decor and NOËL & MARQUET, both supplied in standard lengths with clear height, projection and repeat measurements listed on each product page, so you can check the numbers against your own room before you buy.

If measuring corners and pattern repeats feels like more than you want to manage alone, our Elite Decor UK installer network fits dentil cornice and coving across the country, and can also advise on door surrounds and panelling to match, an area where choosing the right interior door style matters just as much as the cornice above it. Get a quick quote through the Coving.Online site to see fitted pricing for your room before you commit to a material.
Sources
- Dentil — Wikipedia
- Dentil Molding: A Detail that’s Making a Comeback — ThoughtCo
- Dentil definition | Architerms
- Wholesale Dentil Mouldings and Embossed Mouldings | Rex Lumber Company
Recommended
