

blog
How to Install Wall Panelling for a Premium Finish
Aug
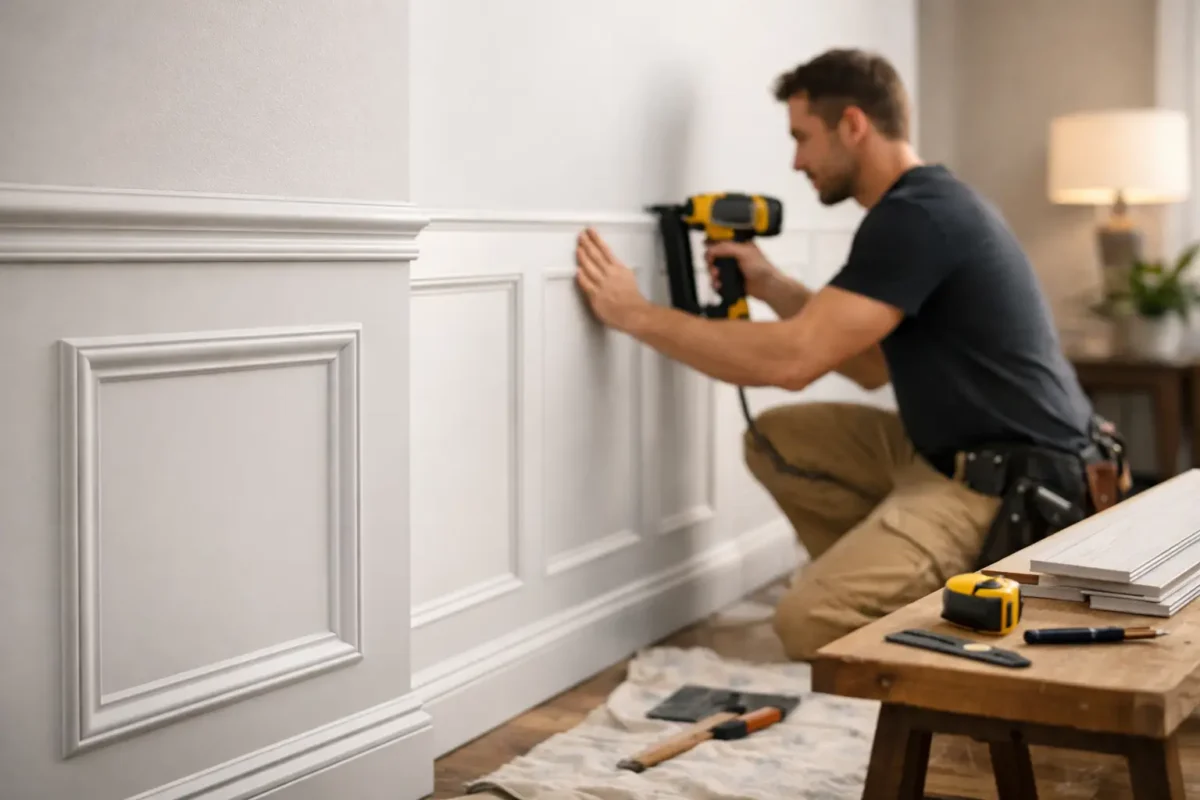
A wall panel design only looks expensive when the spacing is consistent, the mouldings sit flat and the paint finish is clean. That is why learning how to install wall panelling starts long before adhesive reaches the wall. Careful setting out is what turns a collection of decorative strips into a convincing architectural feature.
Lightweight polyurethane wall mouldings are a practical choice for this work. They provide the crisp profile of traditional joinery or plaster detailing, but are easier to cut, handle and fit in a typical renovation setting. They are also durable, moisture-resistant and ready to paint, making them suitable for living rooms, hallways, bedrooms and many bathrooms when the wall itself is properly prepared.
Choose the right wall panelling layout
First decide what you are trying to achieve. Traditional picture-frame panelling uses individual rectangular or square moulding frames. Shaker-style panelling tends to use larger, simpler rectangles or vertical battens. A dado rail with panels below it can add proportion to a period hallway, while full-height moulding frames create a more formal finish in a dining room or reception space.
The room should guide the design. In a narrow hallway, slimmer mouldings and fewer horizontal divisions can stop the wall feeling busy. In a room with high ceilings, taller panels help use the height rather than leaving a large blank area above the design. If the wall already has a skirting board, coving, radiator or built-in furniture, work these features into the layout instead of treating them as obstacles.
Measure the width and height of each wall separately. Older homes are rarely perfectly square, and assuming that opposite walls match can lead to awkward final panels. Note the position of sockets, switches, doors, windows and radiators before committing to a design.
Tools and materials for fitting wall panelling
For moulding-based wall panelling, the essentials are straightforward. You will need a tape measure, pencil, spirit level or laser level, mitre box or mitre saw, fine-tooth saw, caulking gun, decorator’s caulk, sandpaper and paint. Use an adhesive specified for the moulding material and wall surface. For lightweight decorative mouldings, a high-grab installation adhesive is normally the correct choice, while a finishing adhesive can be useful for joints where required.
Do not substitute a random construction adhesive simply because it is already in the garage. Some adhesives can remain too flexible, grip poorly to painted surfaces or react badly with certain materials. Matching the adhesive to the manufacturer’s fitting guidance helps ensure a durable result.
For walls that are uneven, powdery or freshly plastered, preparation matters even more. A wall moulding can follow minor surface variation, but it cannot disguise major humps or loose paint. Repair, sand and prime unstable areas first.
Plan the panels before cutting
Mark the overall outside edge of the panelling design with light pencil lines. Then establish the key reference lines: usually the top of the lower panel section, the bottom of any upper section and the vertical centre line of the wall. Use a laser level where possible. It speeds up setting out and makes it easier to carry lines around corners.
The best-looking layouts usually begin from the centre of a focal wall, not from one corner. Divide the available width so the outer panels are equal or visually balanced. If an exact equal division would leave two very narrow end panels, slightly adjust the number or width of the central panels. A balanced design is more important than forcing a mathematical measurement that looks accidental.
Allow for the width of the moulding itself. The clear opening inside each frame is not the same as the overall panel size. Draw the full frame positions on the wall, including the moulding widths, before making your cut list.
How to install wall panelling step by step
Clean the wall to remove dust, grease and loose material. If it has a glossy or poorly bonded paint finish, lightly abrade it and wipe it down. Mark your layout lines clearly enough to follow, but lightly enough that they will not show through after decorating.
Start with the longest horizontal mouldings. Apply adhesive in a continuous bead to the rear contact surface, keeping it away from the outer edges so excess does not squeeze across the face. Press the moulding firmly to the wall, align it to your pencil or laser line and make small adjustments immediately. Hold it in place for the adhesive’s initial grab time.
Fit the vertical sides next, then the top and bottom mouldings that complete each frame. Check each piece with a level rather than relying only on the previous moulding. A small error in the first frame becomes much more noticeable once repeated across a whole wall.
For square picture-frame panels, use clean 45-degree mitres at each corner. Dry-fit the pieces before applying adhesive, particularly if the room has uneven walls or the mouldings have a pronounced profile. If a mitre opens slightly because the corner is not true, avoid forcing the moulding out of line. Fit it accurately to the layout and use the appropriate joint filler during finishing.
Wipe away adhesive squeeze-out promptly with a clean, damp cloth if the product instructions allow it. Dried adhesive is harder to remove and can spoil a sharp painted edge. Continue across the wall, stepping back regularly to check the overall rhythm of the panels rather than focusing only on the piece in front of you.
Dealing with sockets, radiators and awkward corners
Plan around electrical accessories rather than covering them. Decorative mouldings should not obstruct socket faces, switches or required access points. If a panel line meets a socket, adjust the frame dimensions so the detail looks deliberate. In many cases, it is better to terminate a moulding neatly beside the accessory than create a narrow, difficult-to-paint section around it.
Radiators need sensible clearance for heat circulation and future maintenance. A lower panel design can often sit above the radiator, or the panel widths can be adjusted on either side. Do not fit mouldings where they will prevent radiator valves, covers or pipework from being accessed.
Internal corners are often less than 90 degrees, especially in renovated properties. Test-cut a small offcut first if you are unsure. For external corners, use a neat mitre where the design continues around the edge. If the panelling ends at a corner, a purposeful straight termination can look cleaner than trying to create a partial frame.
Fill, caulk and paint for a professional result
Installation is only half the job. Fine finishing is what makes wall panelling look built in rather than applied. Once the adhesive has cured as directed, inspect every joint, mitre and wall edge in good daylight. Fill small gaps in mitres with a suitable lightweight filler, then sand carefully once dry.
Use paintable decorator’s caulk along the outer edges where the moulding meets the wall. Apply a narrow, controlled bead and smooth it straight away. Caulk hides minor surface irregularities and creates the crisp shadow line associated with professionally fitted panelling. It should not be used to fill large gaps caused by poor measuring or an uneven wall, so address those issues before decorating.
Prime any filled or sanded areas as needed, then paint the mouldings and wall. Painting the full wall in one colour gives a calm, architectural effect and lets the profile create the contrast through light and shadow. A contrasting colour can make the design more decorative, but it demands sharper cut-in lines and will draw more attention to any inconsistency in the layout.
Use a quality brush for the moulding profiles and a mini roller for broad, flat sections. Two thin coats usually give a better finish than one heavy coat, particularly on detailed profiles. Satinwood or eggshell is often chosen for a subtle durable finish, while matt can create a softer, more contemporary look when the wall surface is very smooth.
Common wall panelling installation mistakes
Rushing the setting out is the most common problem. Unequal end panels, frames that drift out of level and inconsistent gaps are difficult to ignore once the wall is painted. Spend more time measuring than you think you need, and cut only after the complete layout has been checked.
The second issue is fitting to an unsuitable surface. Loose paint, damp walls and crumbling plaster need resolving before panelling goes up. Decorative mouldings improve a room’s finish, but they are not a repair for an underlying wall defect.
Finally, do not judge the result before the caulking and painting are complete. Small joints can look more obvious during fitting than they do after proper finishing. Conversely, large gaps and poorly aligned mitres will not disappear under paint, so correct them while the adhesive is still workable.
A well-planned wall panel feature adds structure to a plain room and can make even a modern space feel more considered. If you are uncertain about profiles, adhesives or a layout for a particular wall, specialist guidance from Coving.Online can help you choose a system that is practical to fit and designed to look right for years to come.
