blog
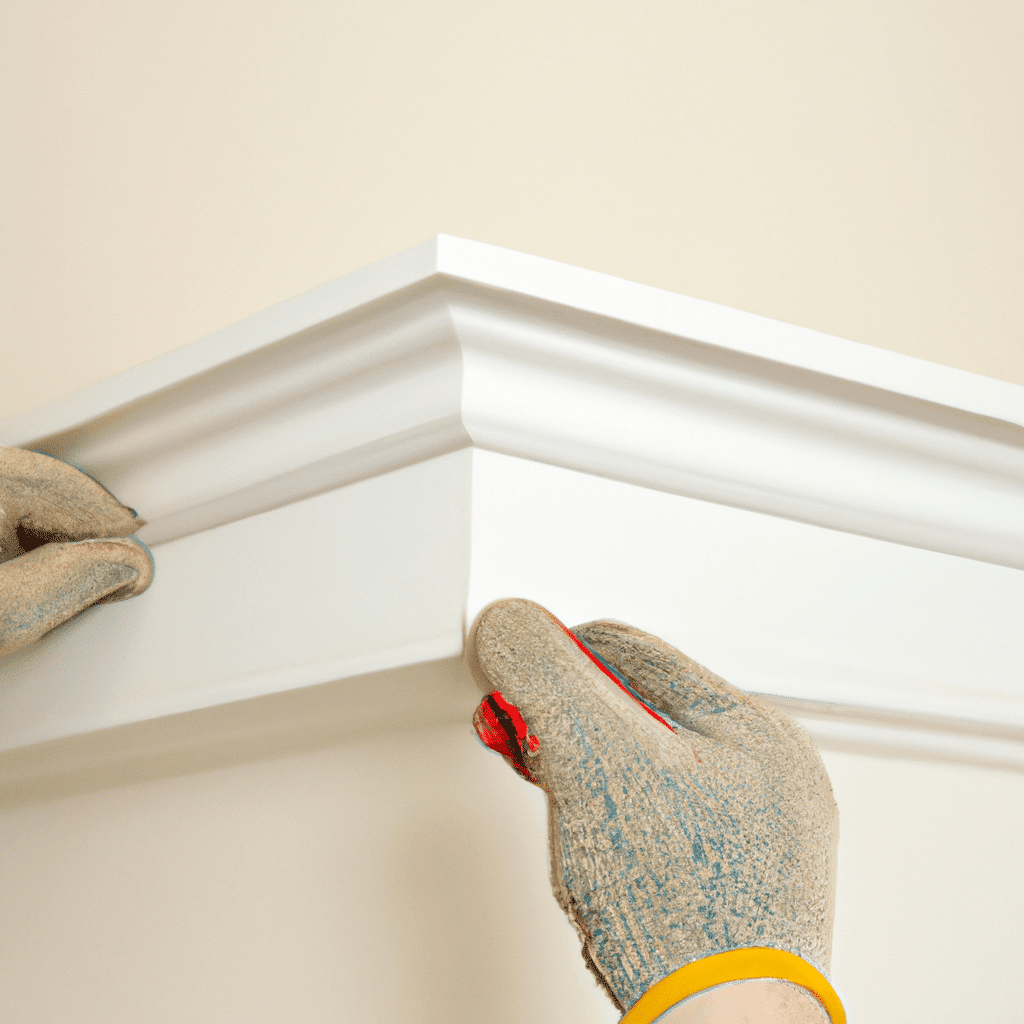
How to install Coving
Jazz up your home with coving!
If you want to add a touch of elegance to your home, coving is the perfect solution. It is an easy and affordable way to transform any room into a masterpiece. Coving can enhance the beauty of your house, and it also has practical benefits. It can hide unsightly gaps between walls and ceiling, and it can also provide insulation. With a little bit of effort, you can install coving in your home and create a stunning look that will impress your visitors.
Easy steps to install coving!
- Measure and mark the wall or ceiling: The first step in installing coving is to measure the length of the wall and mark it with a pencil. Then, measure the height of the ceiling and mark it on the wall. This will help you align the coving properly.
- Cut the coving: Using a saw and mitre box. Cut the coving to the desired length. If the corner is 90 then the coving is to be cut at 45. Make sure you check the corners or angles in the room if you’re not sure.
- Apply adhesive: Using a caulking gun, apply adhesive to the back of the coving. Make sure you apply enough adhesive to ensure a strong bond.
- Install the coving: Carefully place the coving onto the wall and press it firmly into place. Use a spirit level to make sure it is straight.
- Fill any gaps: Once the coving is installed, fill any gaps between the coving and the wall or ceiling with a joint compound. Smooth it out with a scraper and let it dry.
- Paint the coving: After the compound has dried, paint the coving with your desired color. This will give your room a finished look.
OUTRO:
Now that you know how to install coving, you can transform any room in your home into a work of art. With a little bit of effort and creativity, you can create a stunning look that will impress your guests. So why wait? Go ahead and jazz up your home with coving today!


